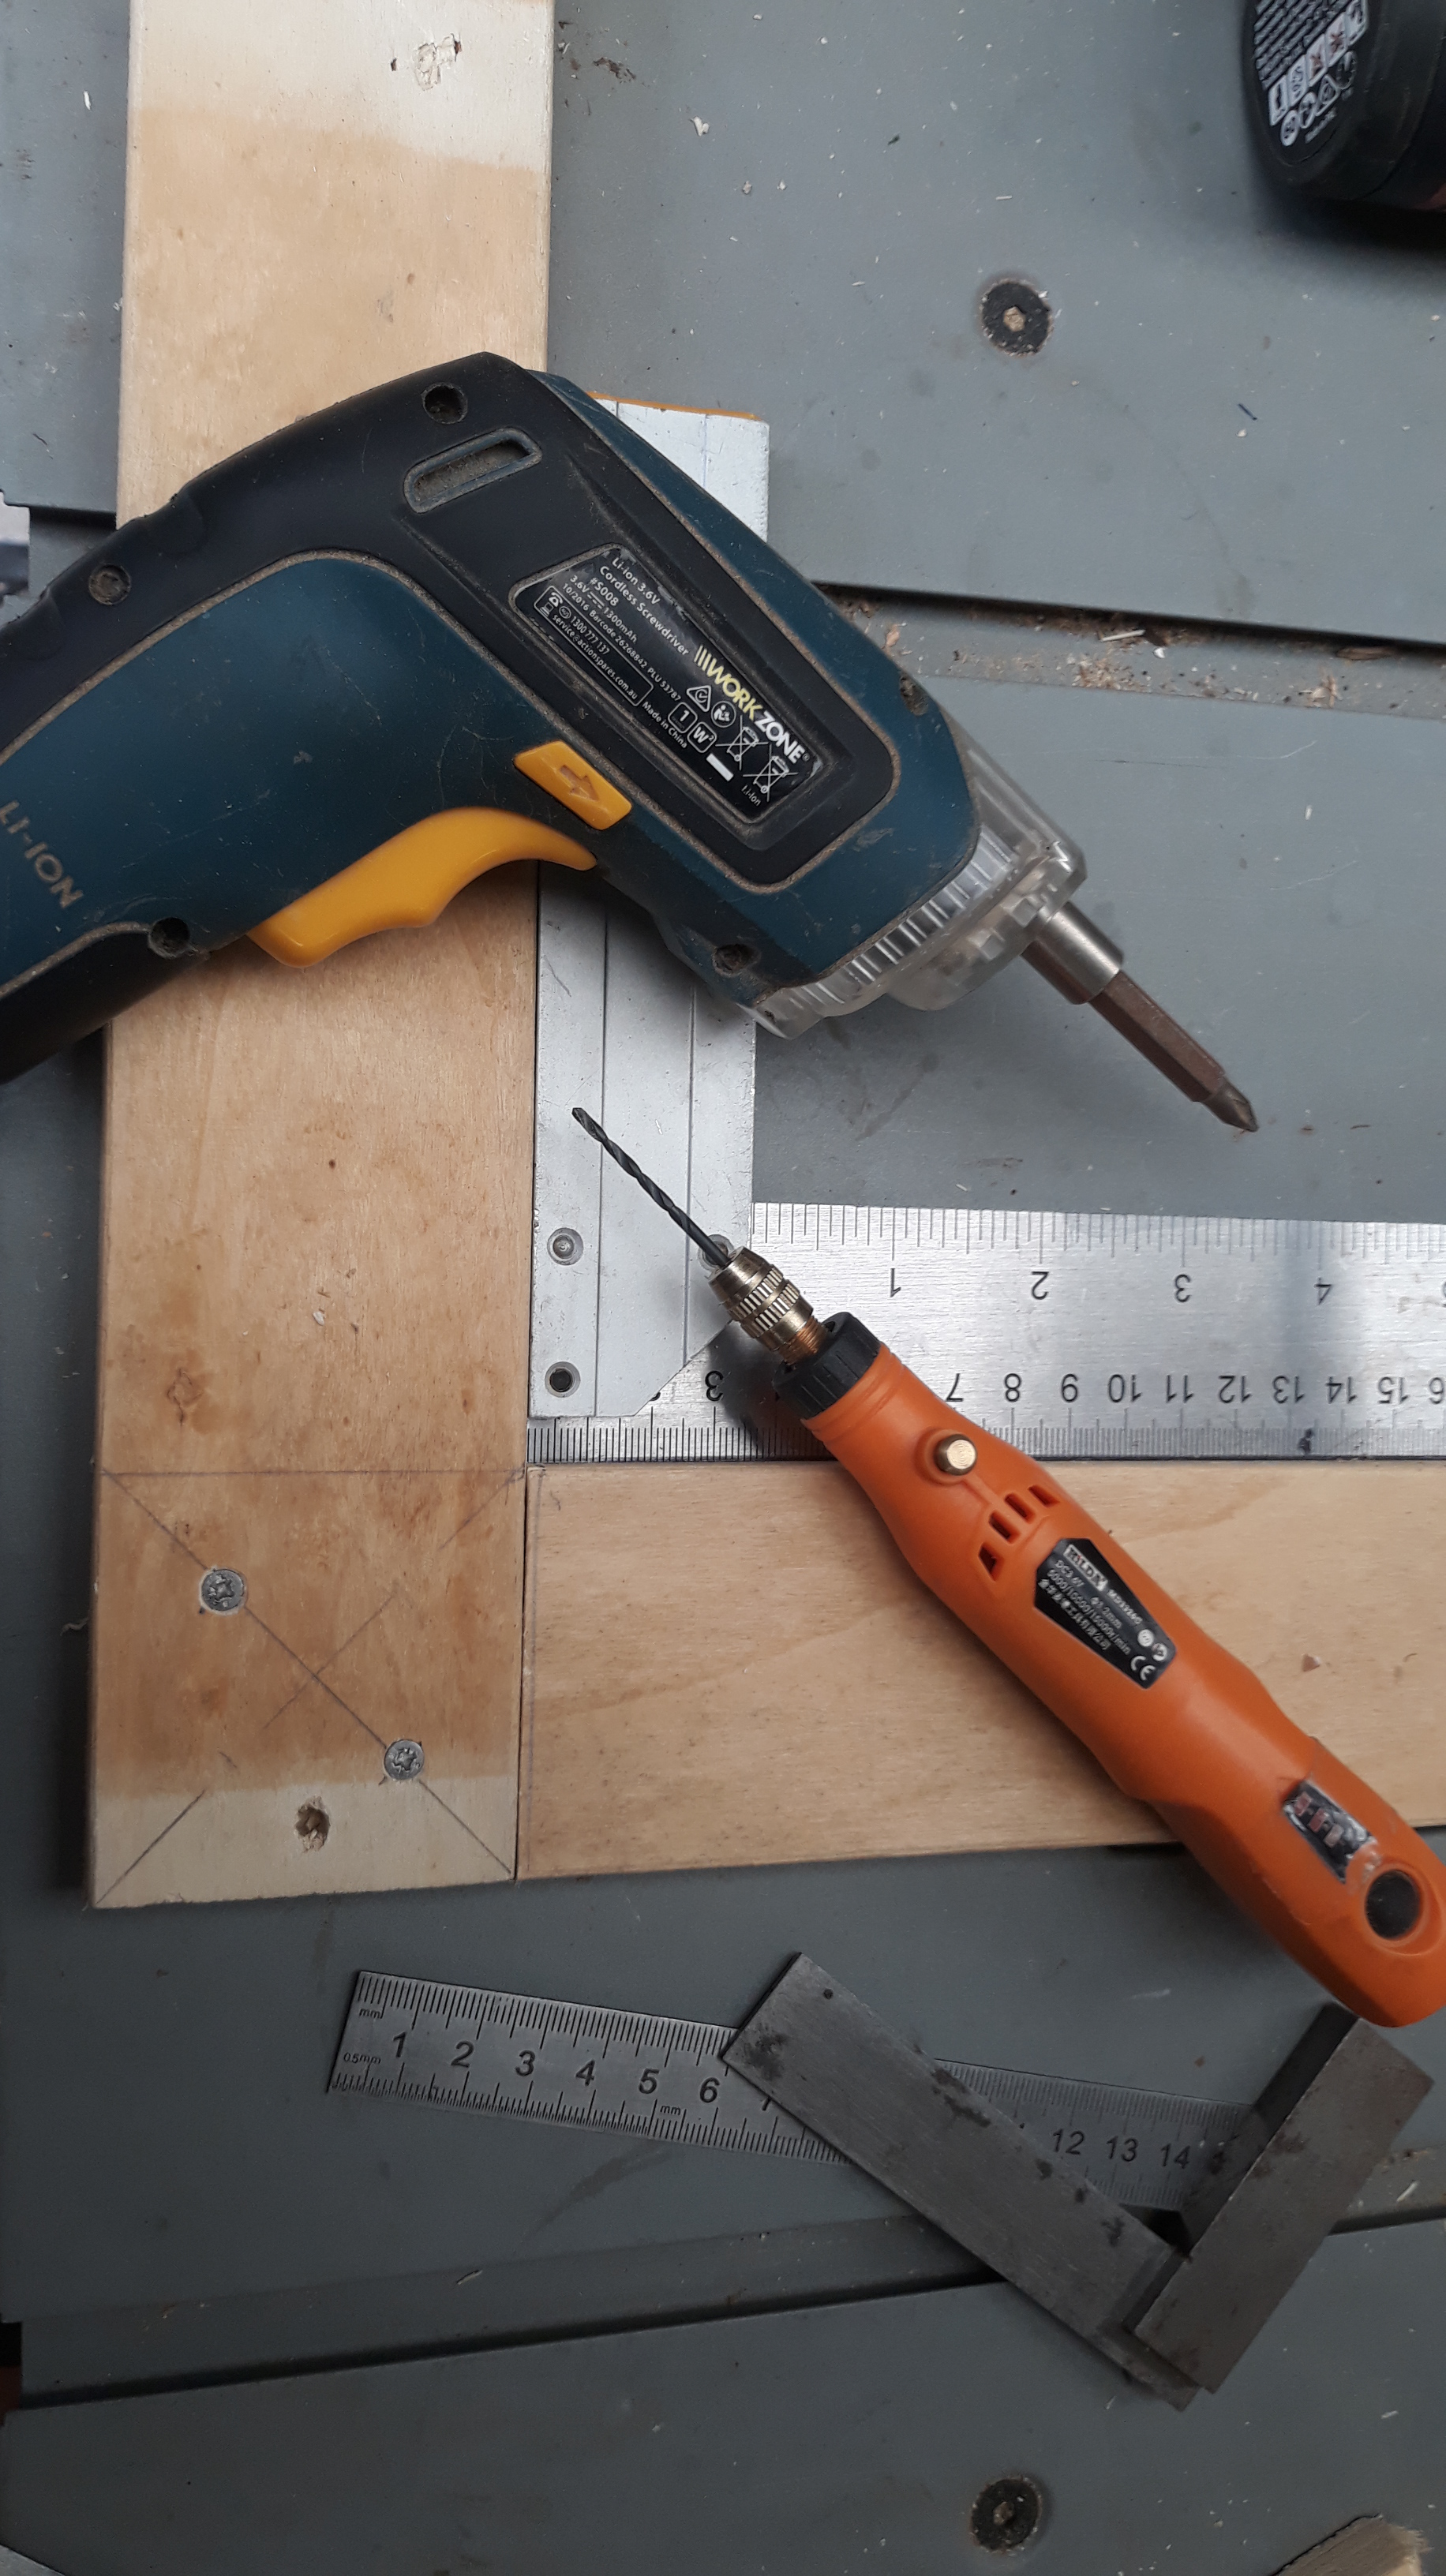
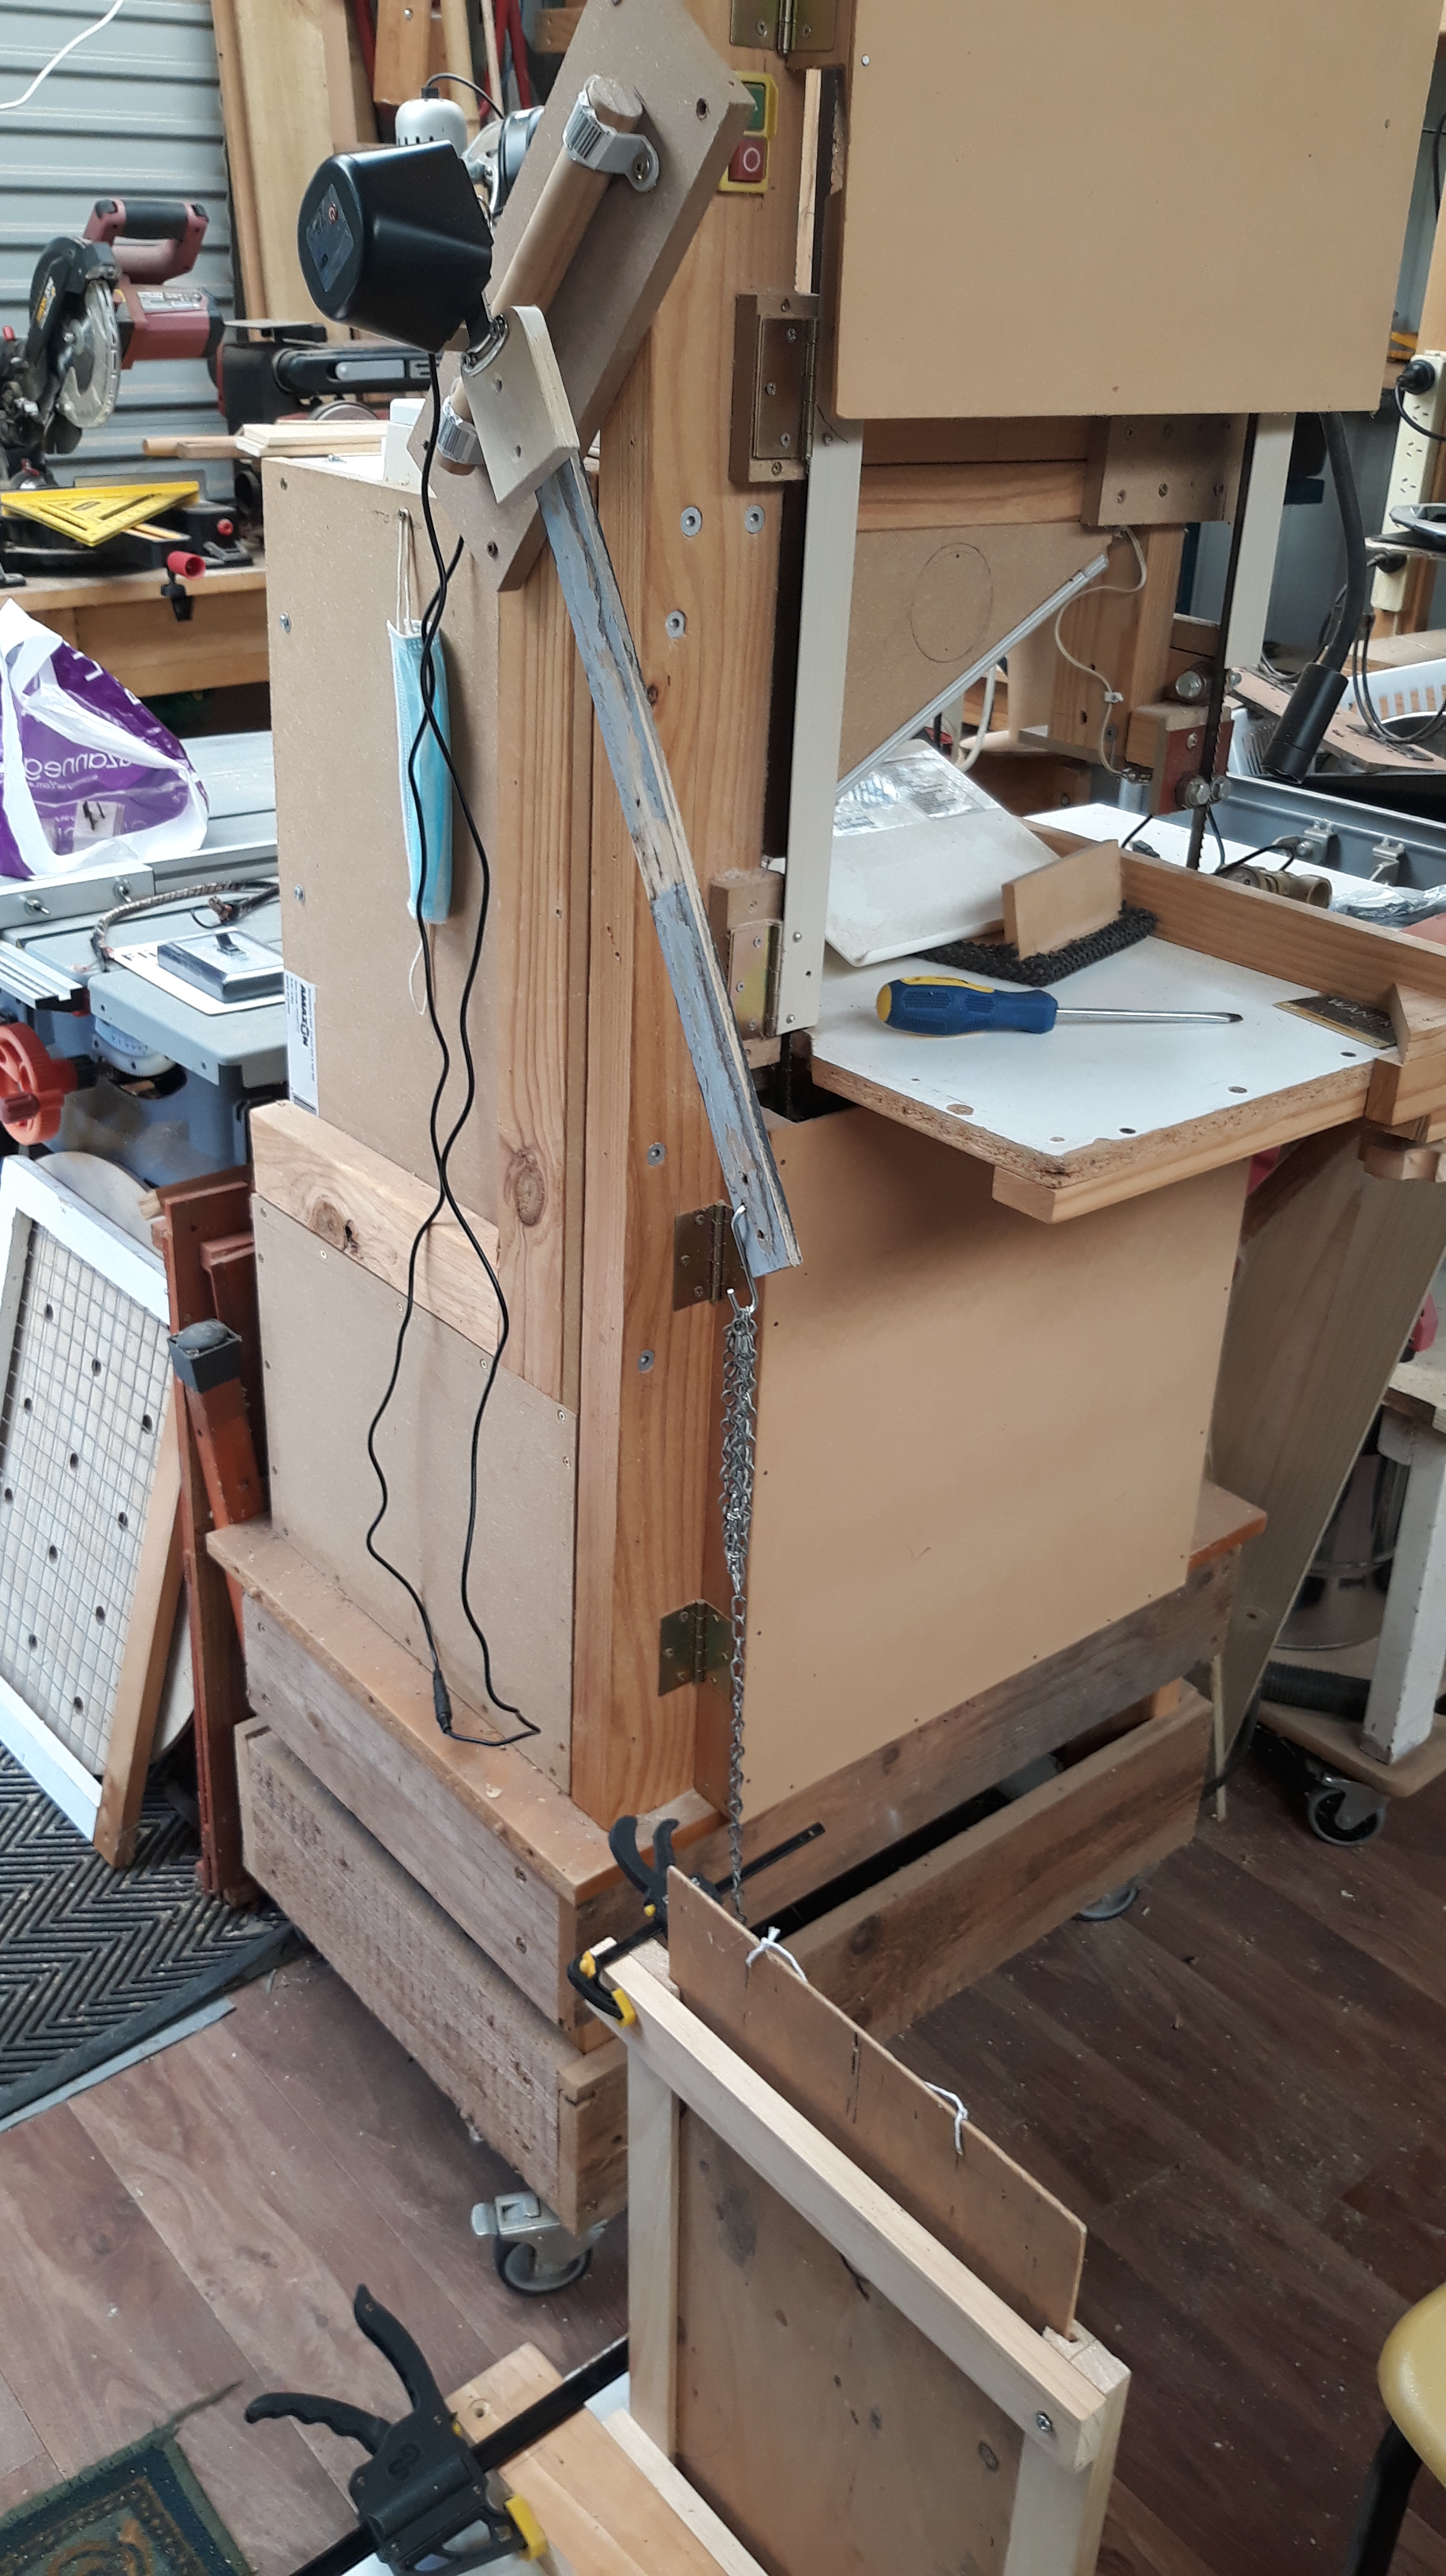
For testing am using my 14″ band saw to secure the actuator mechanism (wi-fi valve)
 Construction photos showing the main components and configuration of the device via the Alexa app on my Samsung J7 Pro phone.
For testing am using my 14″ band saw to secure the actuator mechanism (wi-fi valve)
Construction photos showing the main components and configuration of the device via the Alexa app on my Samsung J7 Pro phone.
[wpvideo p5wSoZlL W=450]
Swapped out MDF for plywood door.
We are up to Version 3.0
Has some problems… the right frame side was slightly bowed :-(
To discover that I had to lay the complete chicken door on a level surface and then gently press down on all four corners and yes… one was sitting up a bit!
[wpvideo F7QIjEWX W=450]
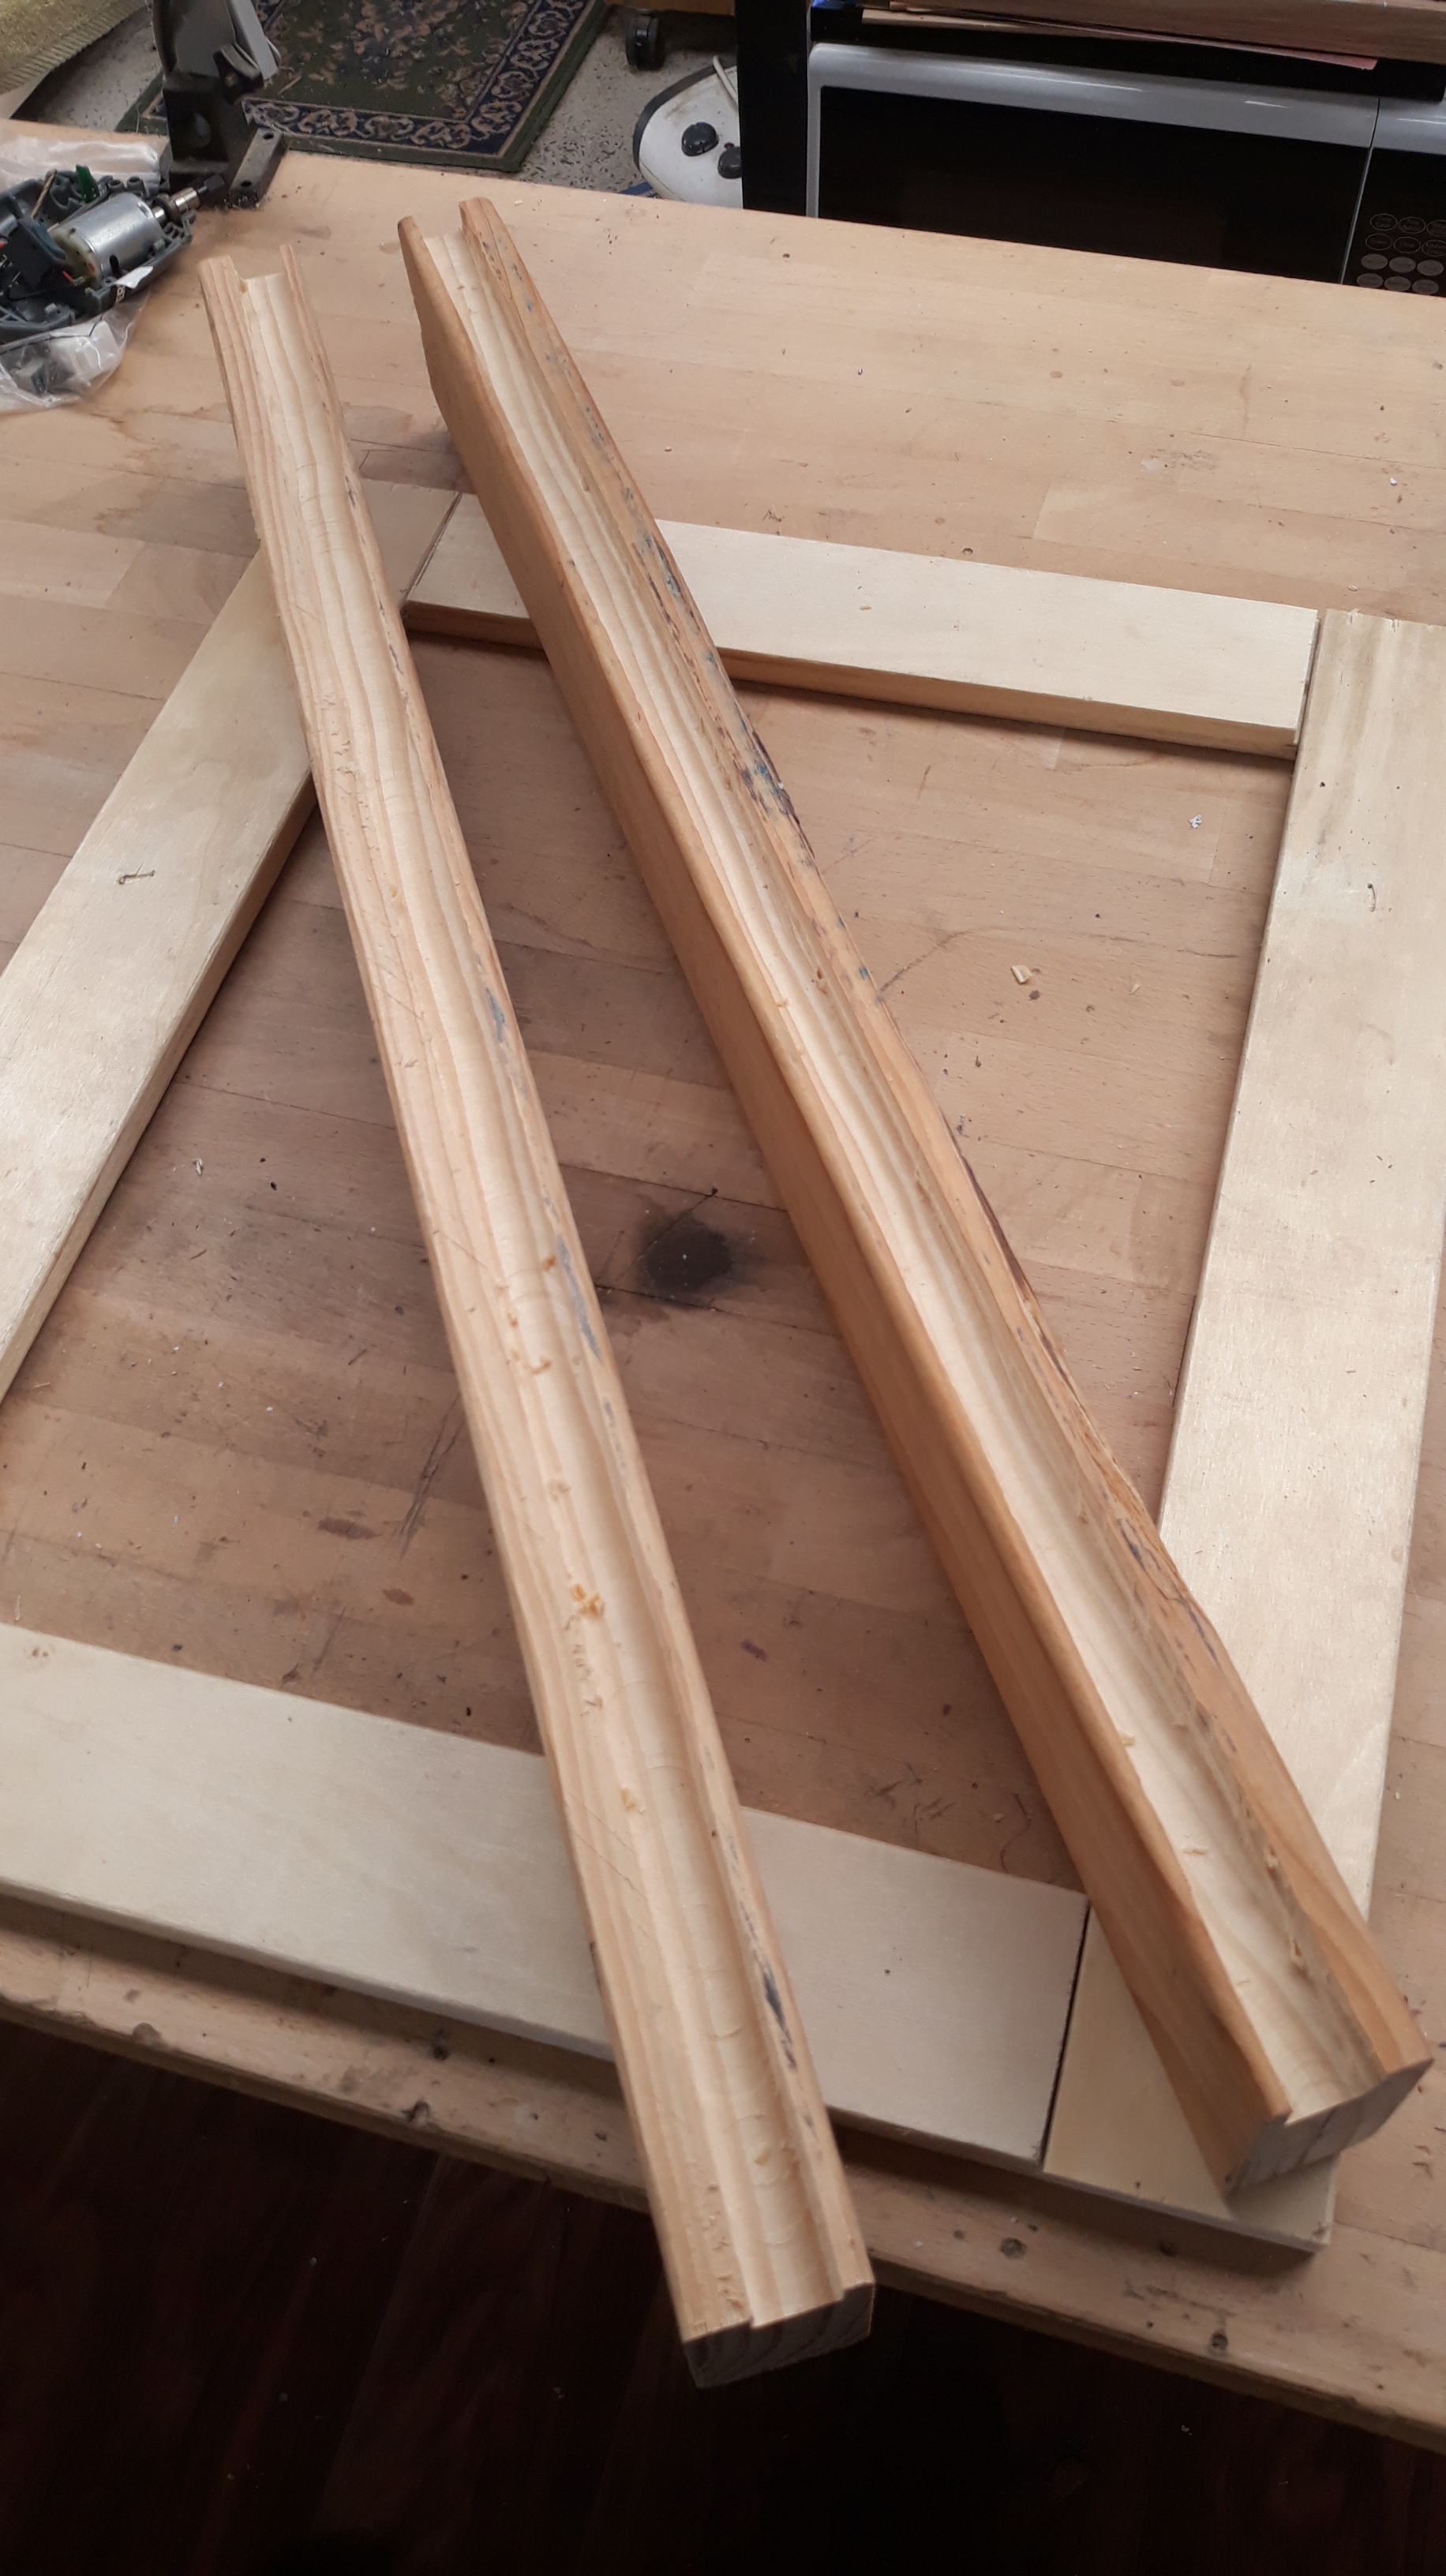
Went through my 40 x 20mm pine and picked the best one which I cut in half the ran them through the table saw to cut the channels.
Version 3.0 is working well and I’ll check operation during weather changes – mainly humidity.
In the last session we decided to use the wi-fi valve mounting hardware and here we are making a new frame for the smaller 3mm MDF door using the previous chicken door.
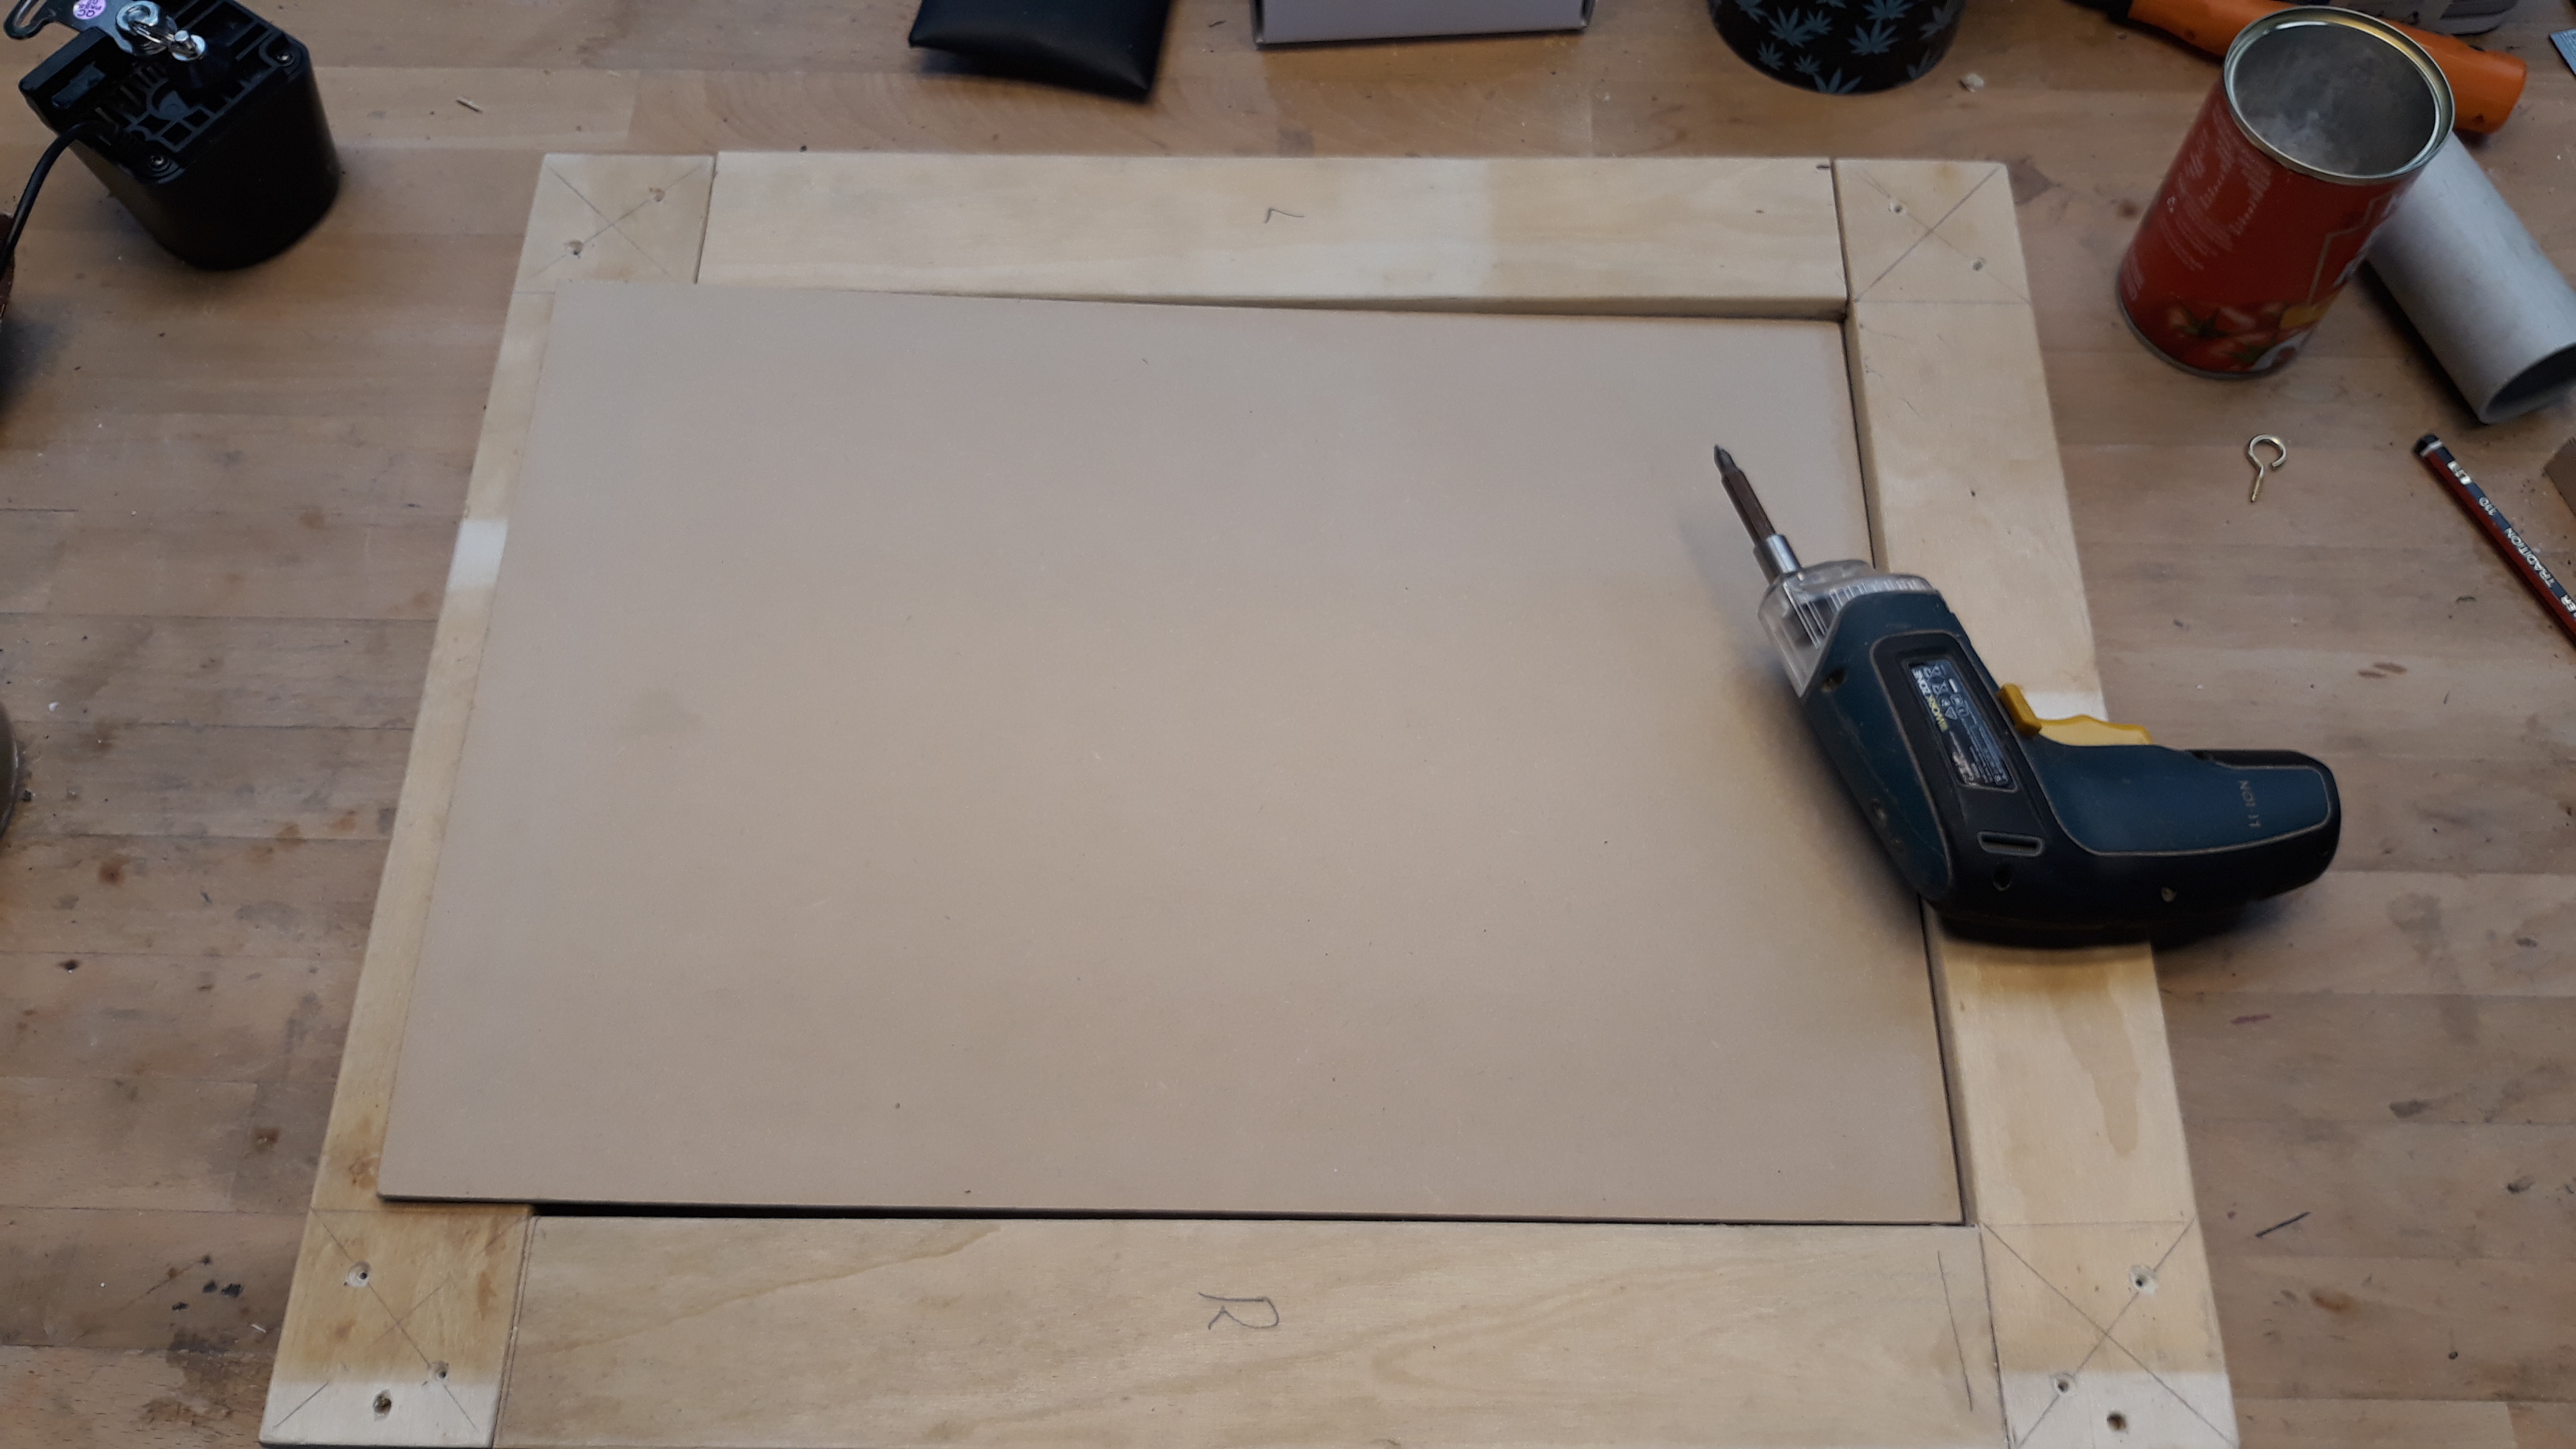
The new door will slide inside the previous door which is now the new doors frame!
[wpvideo v3TgPCFq W=450]
Table router adapted with a jig to rout the V-grove.
[wpvideo wiyVjZTy W=450]
With the door and frame assembled we can now start working out how to mount the water valve with a string connection to the top of the door – new ground.
We have reached a project milestone :-)
[wpvideo kfLXmv1v W=450]
Tomorrow we can start working on connecting the Wi-Fi Valve to the top of the door via a cord or simply string.
The chicken door opener can be controlled from my Samsung J7 Pro using Alexa or the Amazon Echo Show 8 smart hum using Smart Home or the Amazon Fire TC 4K Max again using the Smart Home app. Oh… forgot one more. If watching TV we can control the chicken door opener via the lounge Amazon Fire TV Cube. Alexa…Open the chicken door.
 For this session we are up to the point where the frame sides and the bottom (base) have been screwed together with the door sliding nicely up and down. In the next session we will fit the frame top and take it from there. Oh… lovely day.
Preparing to route the side frame channels but things came to a abrupt halt – false start! Got held up with a router table problem!
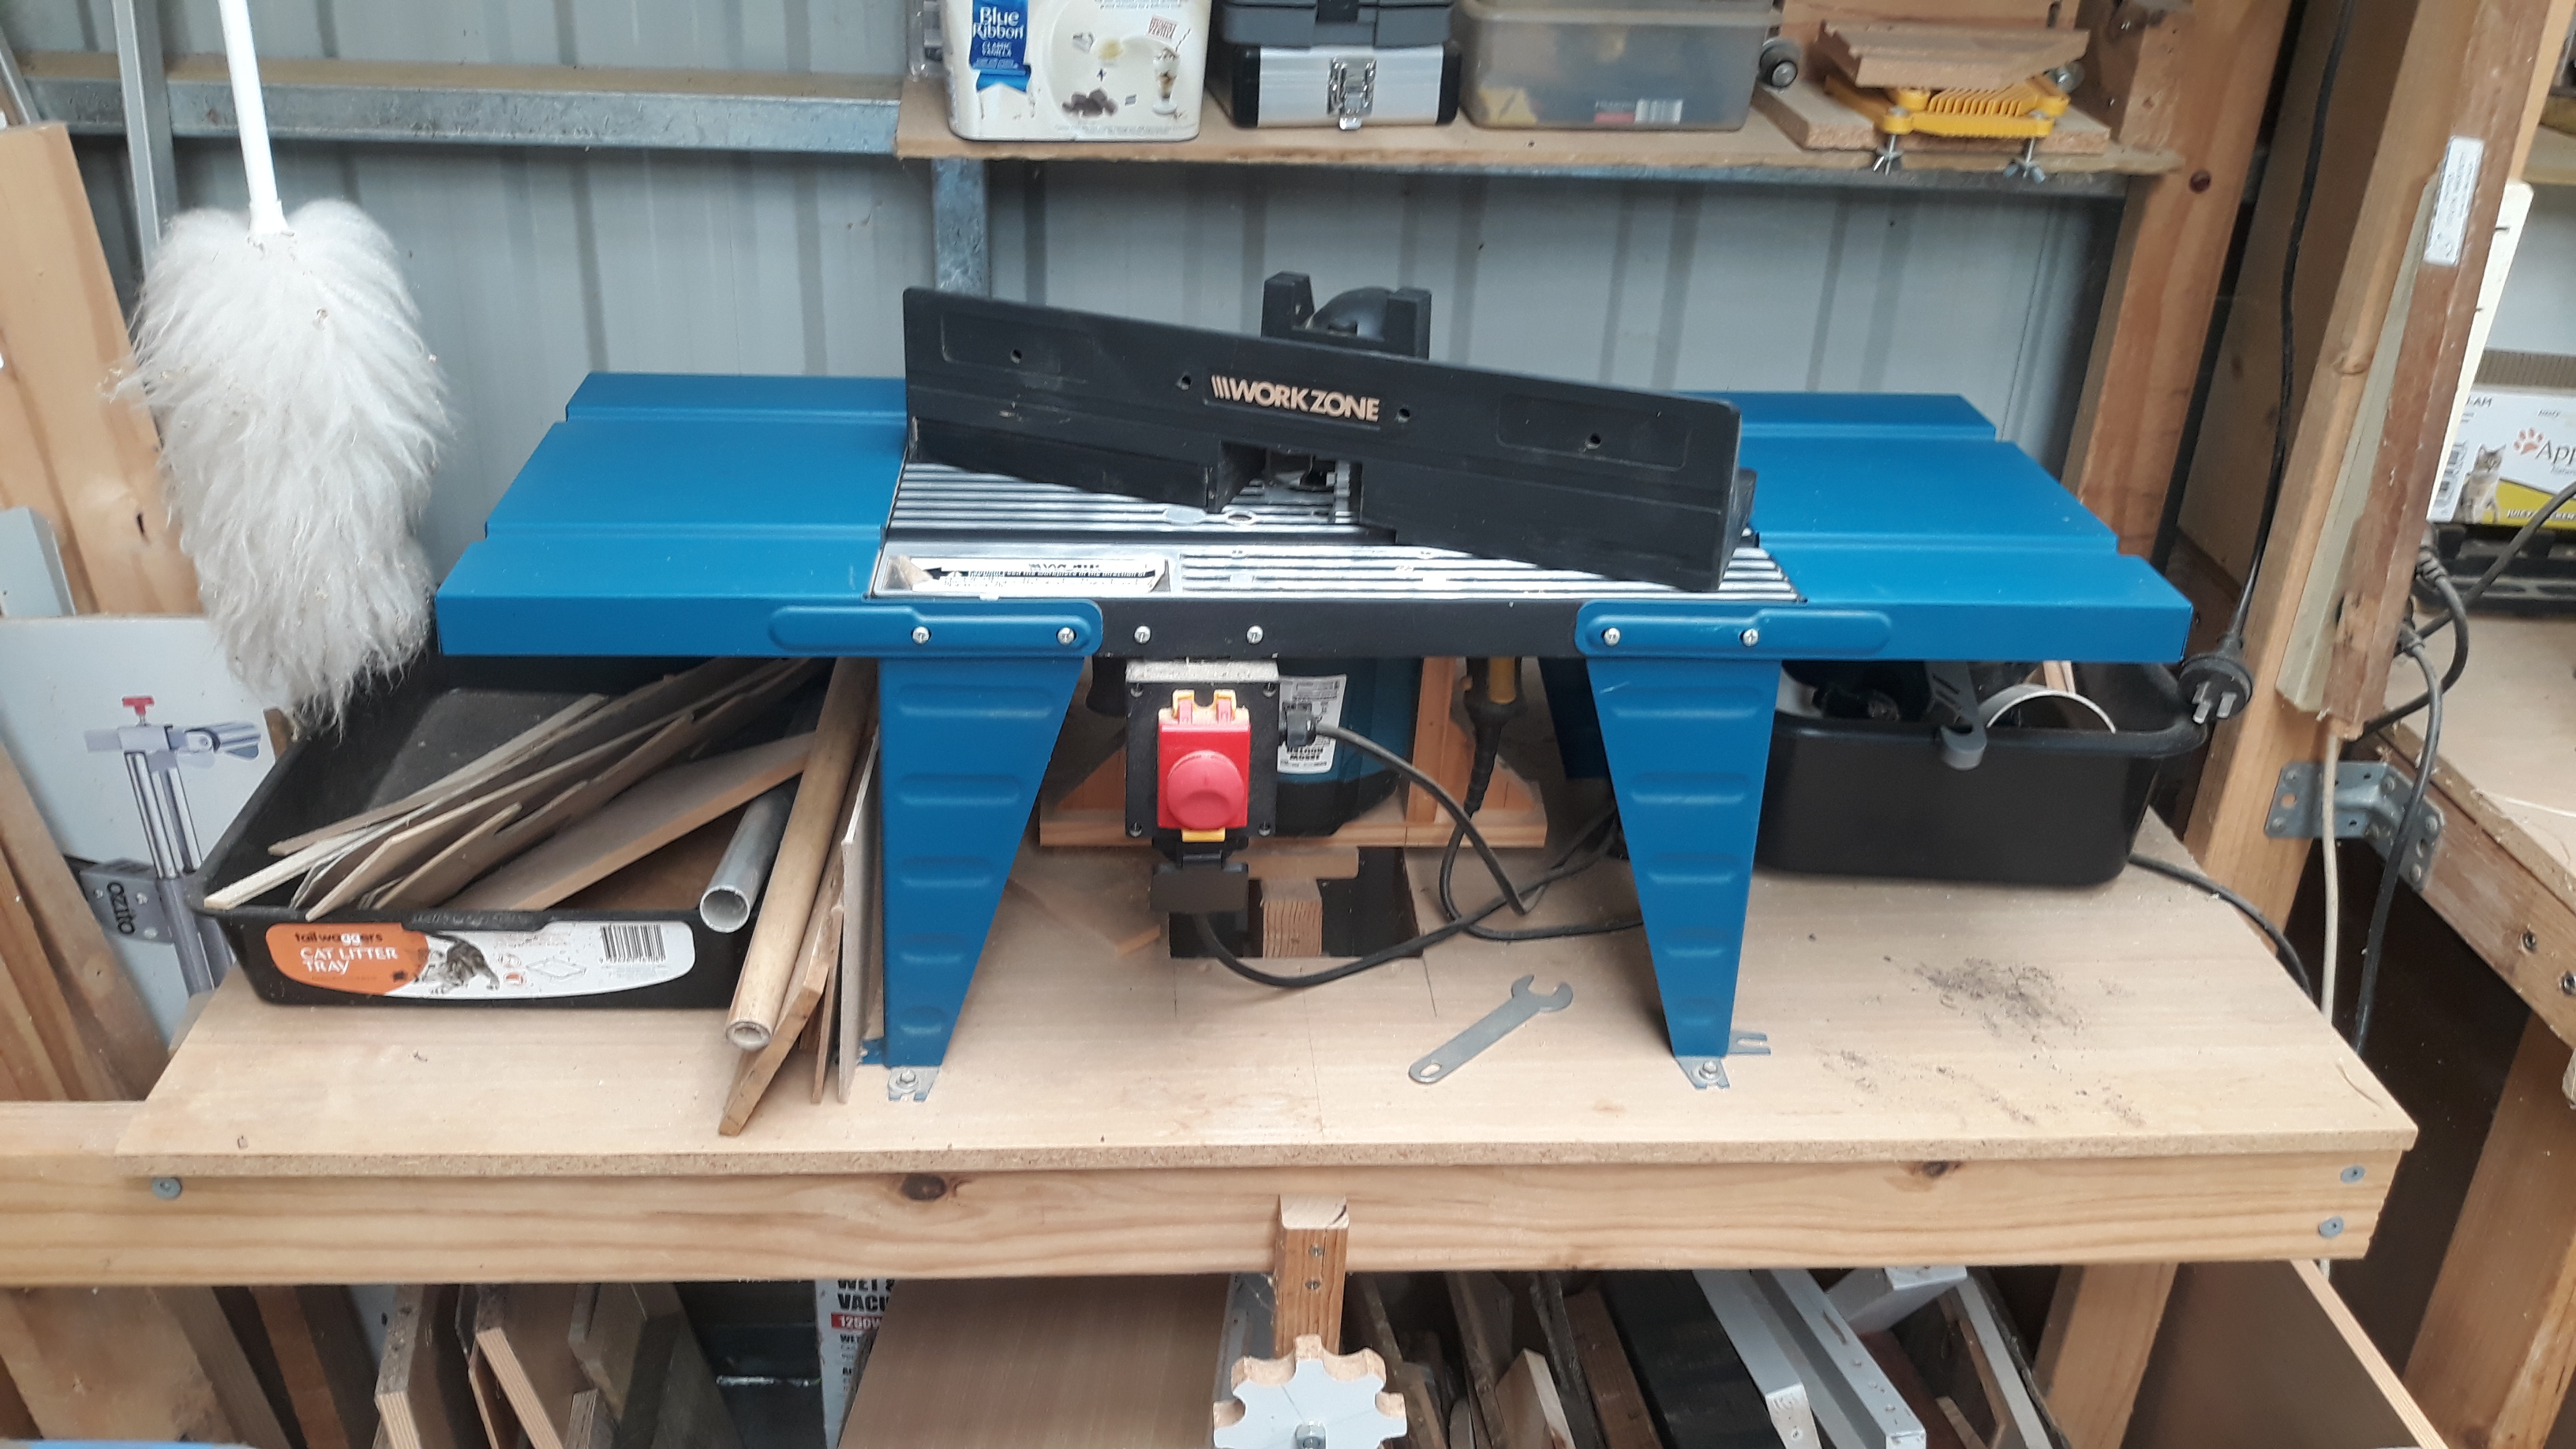
Back after lunch… we are going to route channels in the frame sides. I haven’t used the router table for over 12 months, had to clear away all the stuff that was stored on top and brush off all the sawdust – and cobwebs.
Continue reading “Wi-Fi Chicken Door – Part 5”