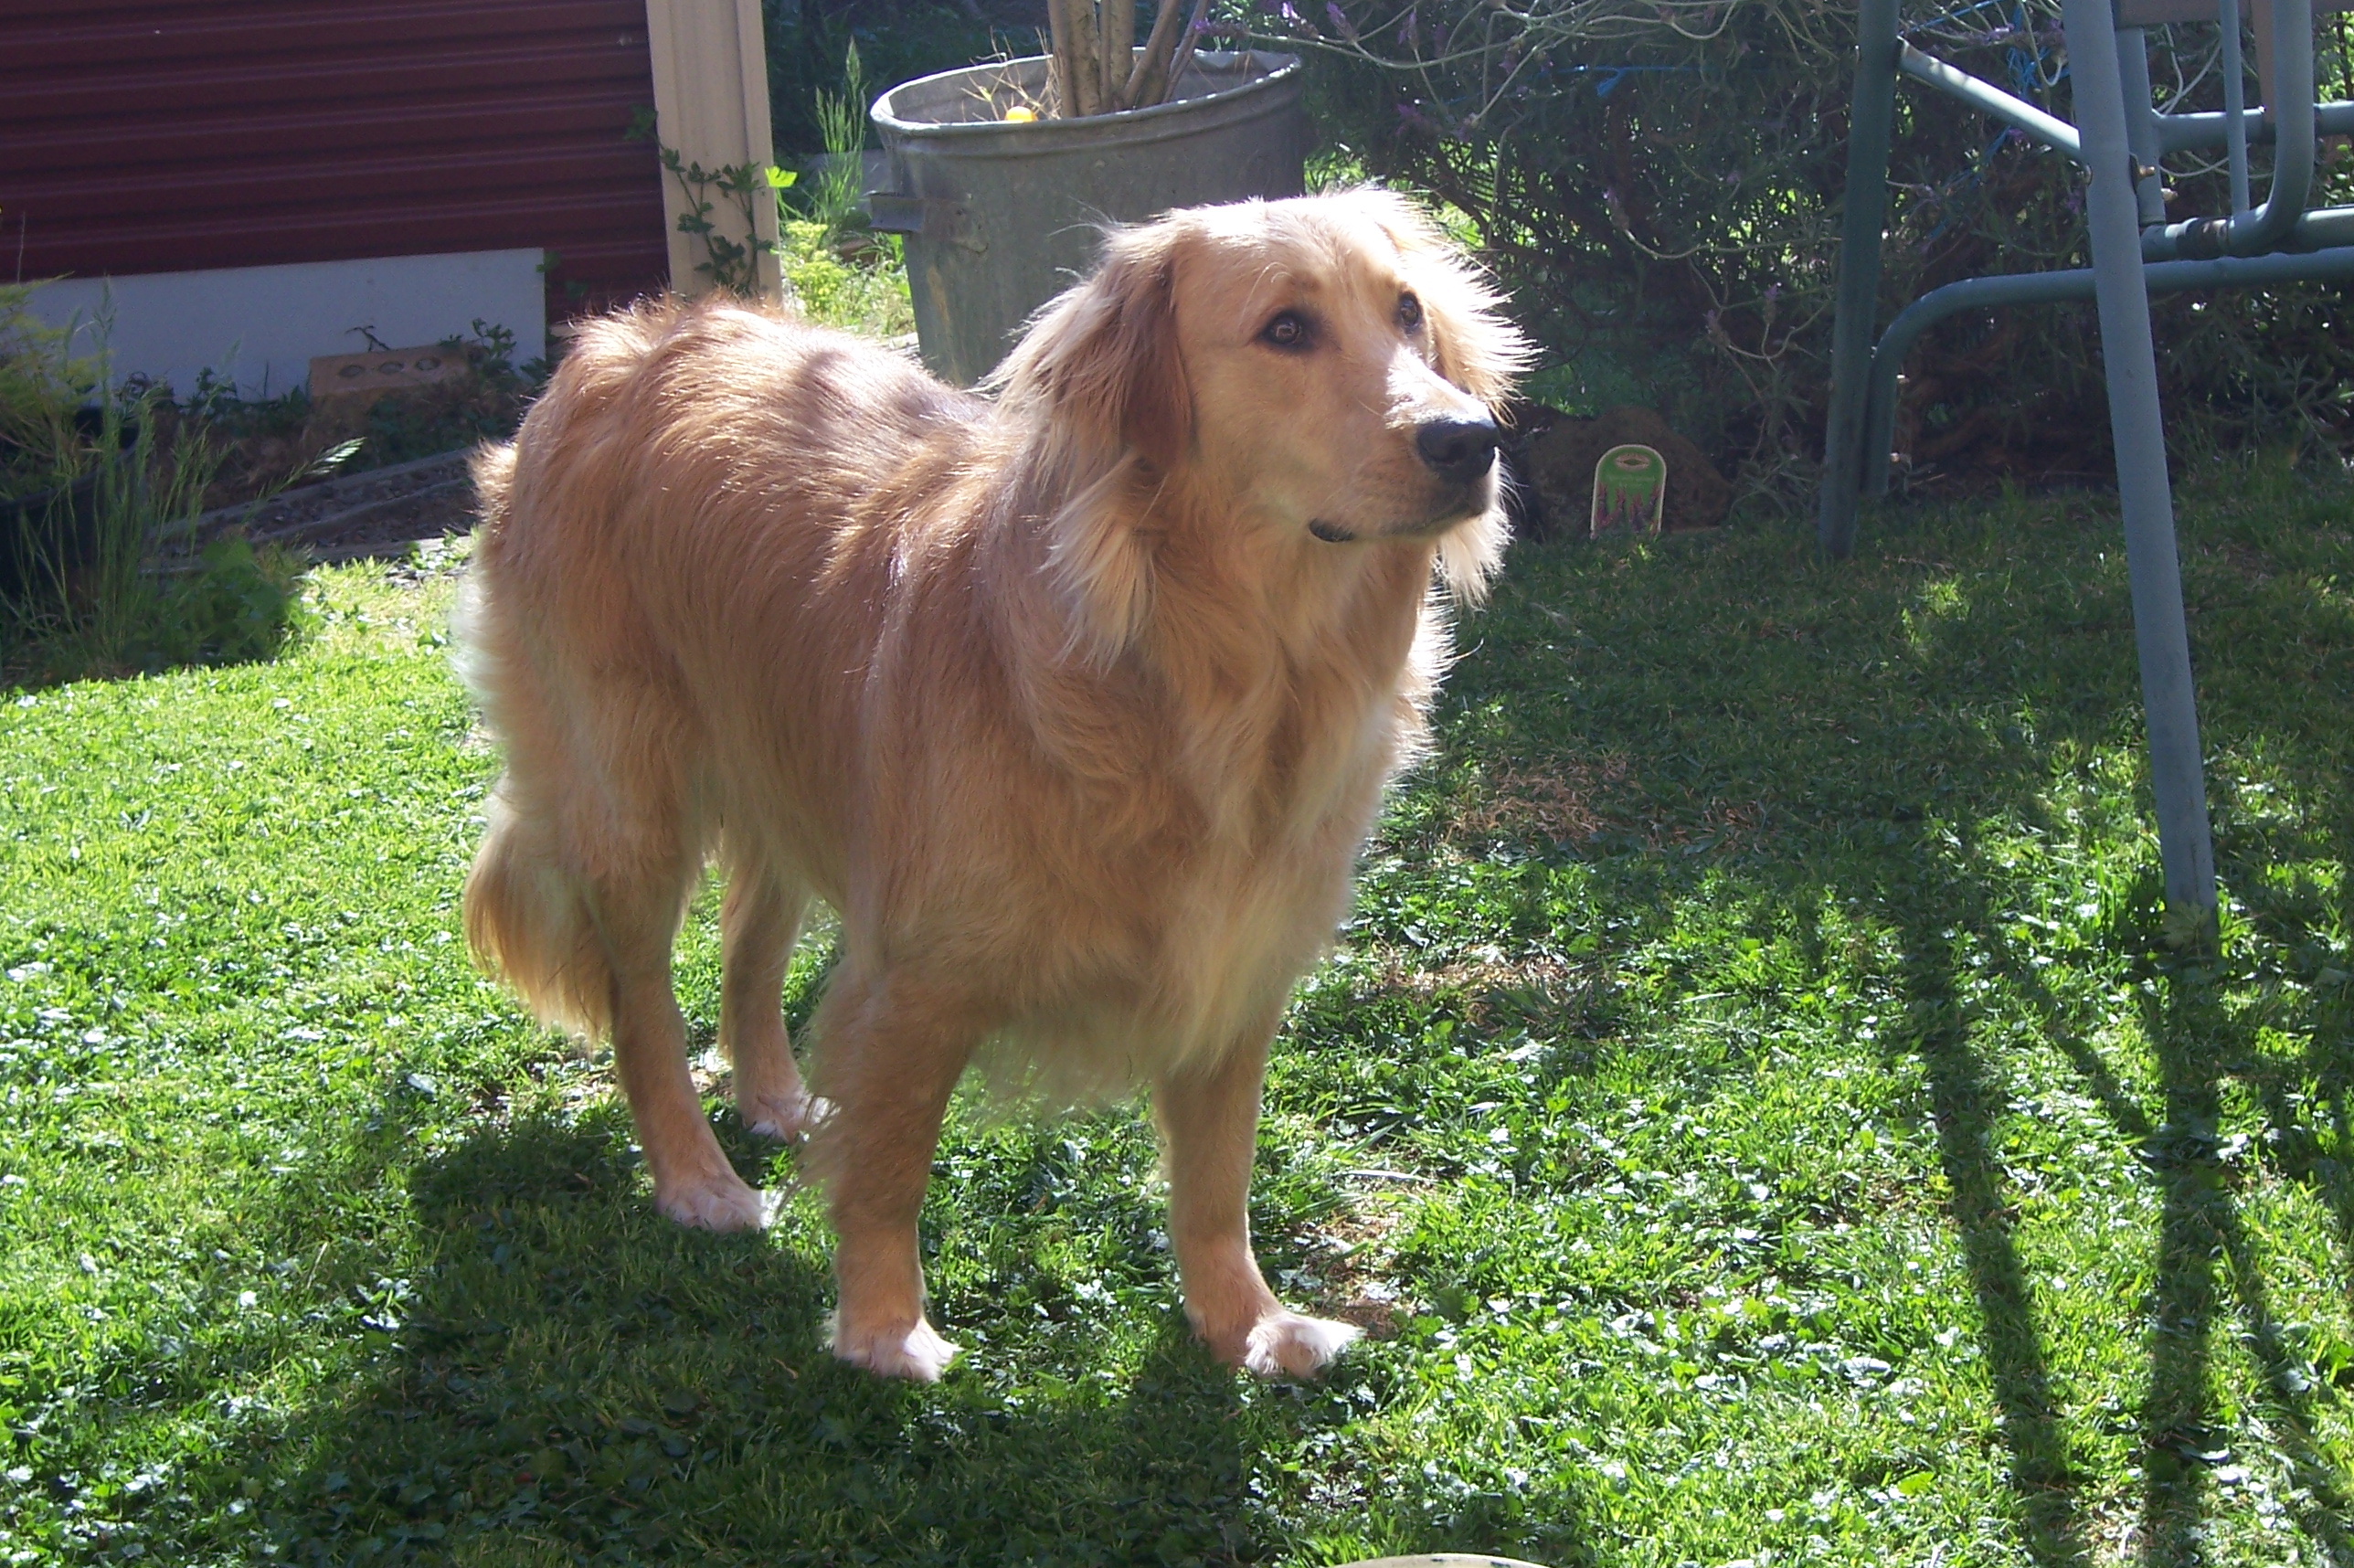
Holly

Pixie

Holly and Pixie

Luna, Phoenix and Milo

Chester

Elvis

Dusty

Chooks


 Chester our ‘dwarf’ rabbit is growing up quickly and will soon need larger accommodation – like a hutch!


He loves his outing’s in the cat run, everyone has fun.


Having a rest and catching up on backyard gossip with Holly our Golden Retriever.

Down to business in the garage workshop. I have a good supply of laminated chipboard from a shop refit so that’s what the hutch will be made of – easy choice.

The boy will have a two story dwelling with sleeping quarters upstairs and daytime lounge on the ground floor.

Adjacent to the spacious private bedroom is a balcony area that will have a nice view of the entry foyer.
A ramp provides access down to the ground floor.
For added entertainment there is also a play shelf that extends into the bedroom.


All this ex-shop timber is taking up a lot of room, need to move it out of the way – somehow?


The doors are ready to install. Waiting or the iron to reach ‘cotton’ temperature.
Applying the iron-on edge tape requires some patience

The boy has just moved in – lots of excitement!


View from the stairs landing. Chester having a chat with Milo while he waits for mum to finish the house cleaning for the first time.


Above: Chester with MK my older daughter in the lounge watching Foxtel.

Above: Going out to the backyard cat run.

Above: Chester and Phoenix in the cat run with Holly looking on.
A $39 gazebo from K-Mart converted into cat run with extra poles and chicken wire all around – plus gate.

Above: Checking out mother earth…

Above: Milo playing with Chester.

Above: Phoenix and Milo distracted by the Maggies.
Sent: Friday, 4 May 2007 3:19 PM
Meet Chester:
He is supposed to be a dwarf rabbit, hmm…not sure about that?

Next 2: With my older kid in the lounge watching Foxtel

Below: Chester on his way to the backyard cat run.

Below: In the new enclosure (V2.0) with Phoenix and Holly looking on.

Below: Smelling mother earth