
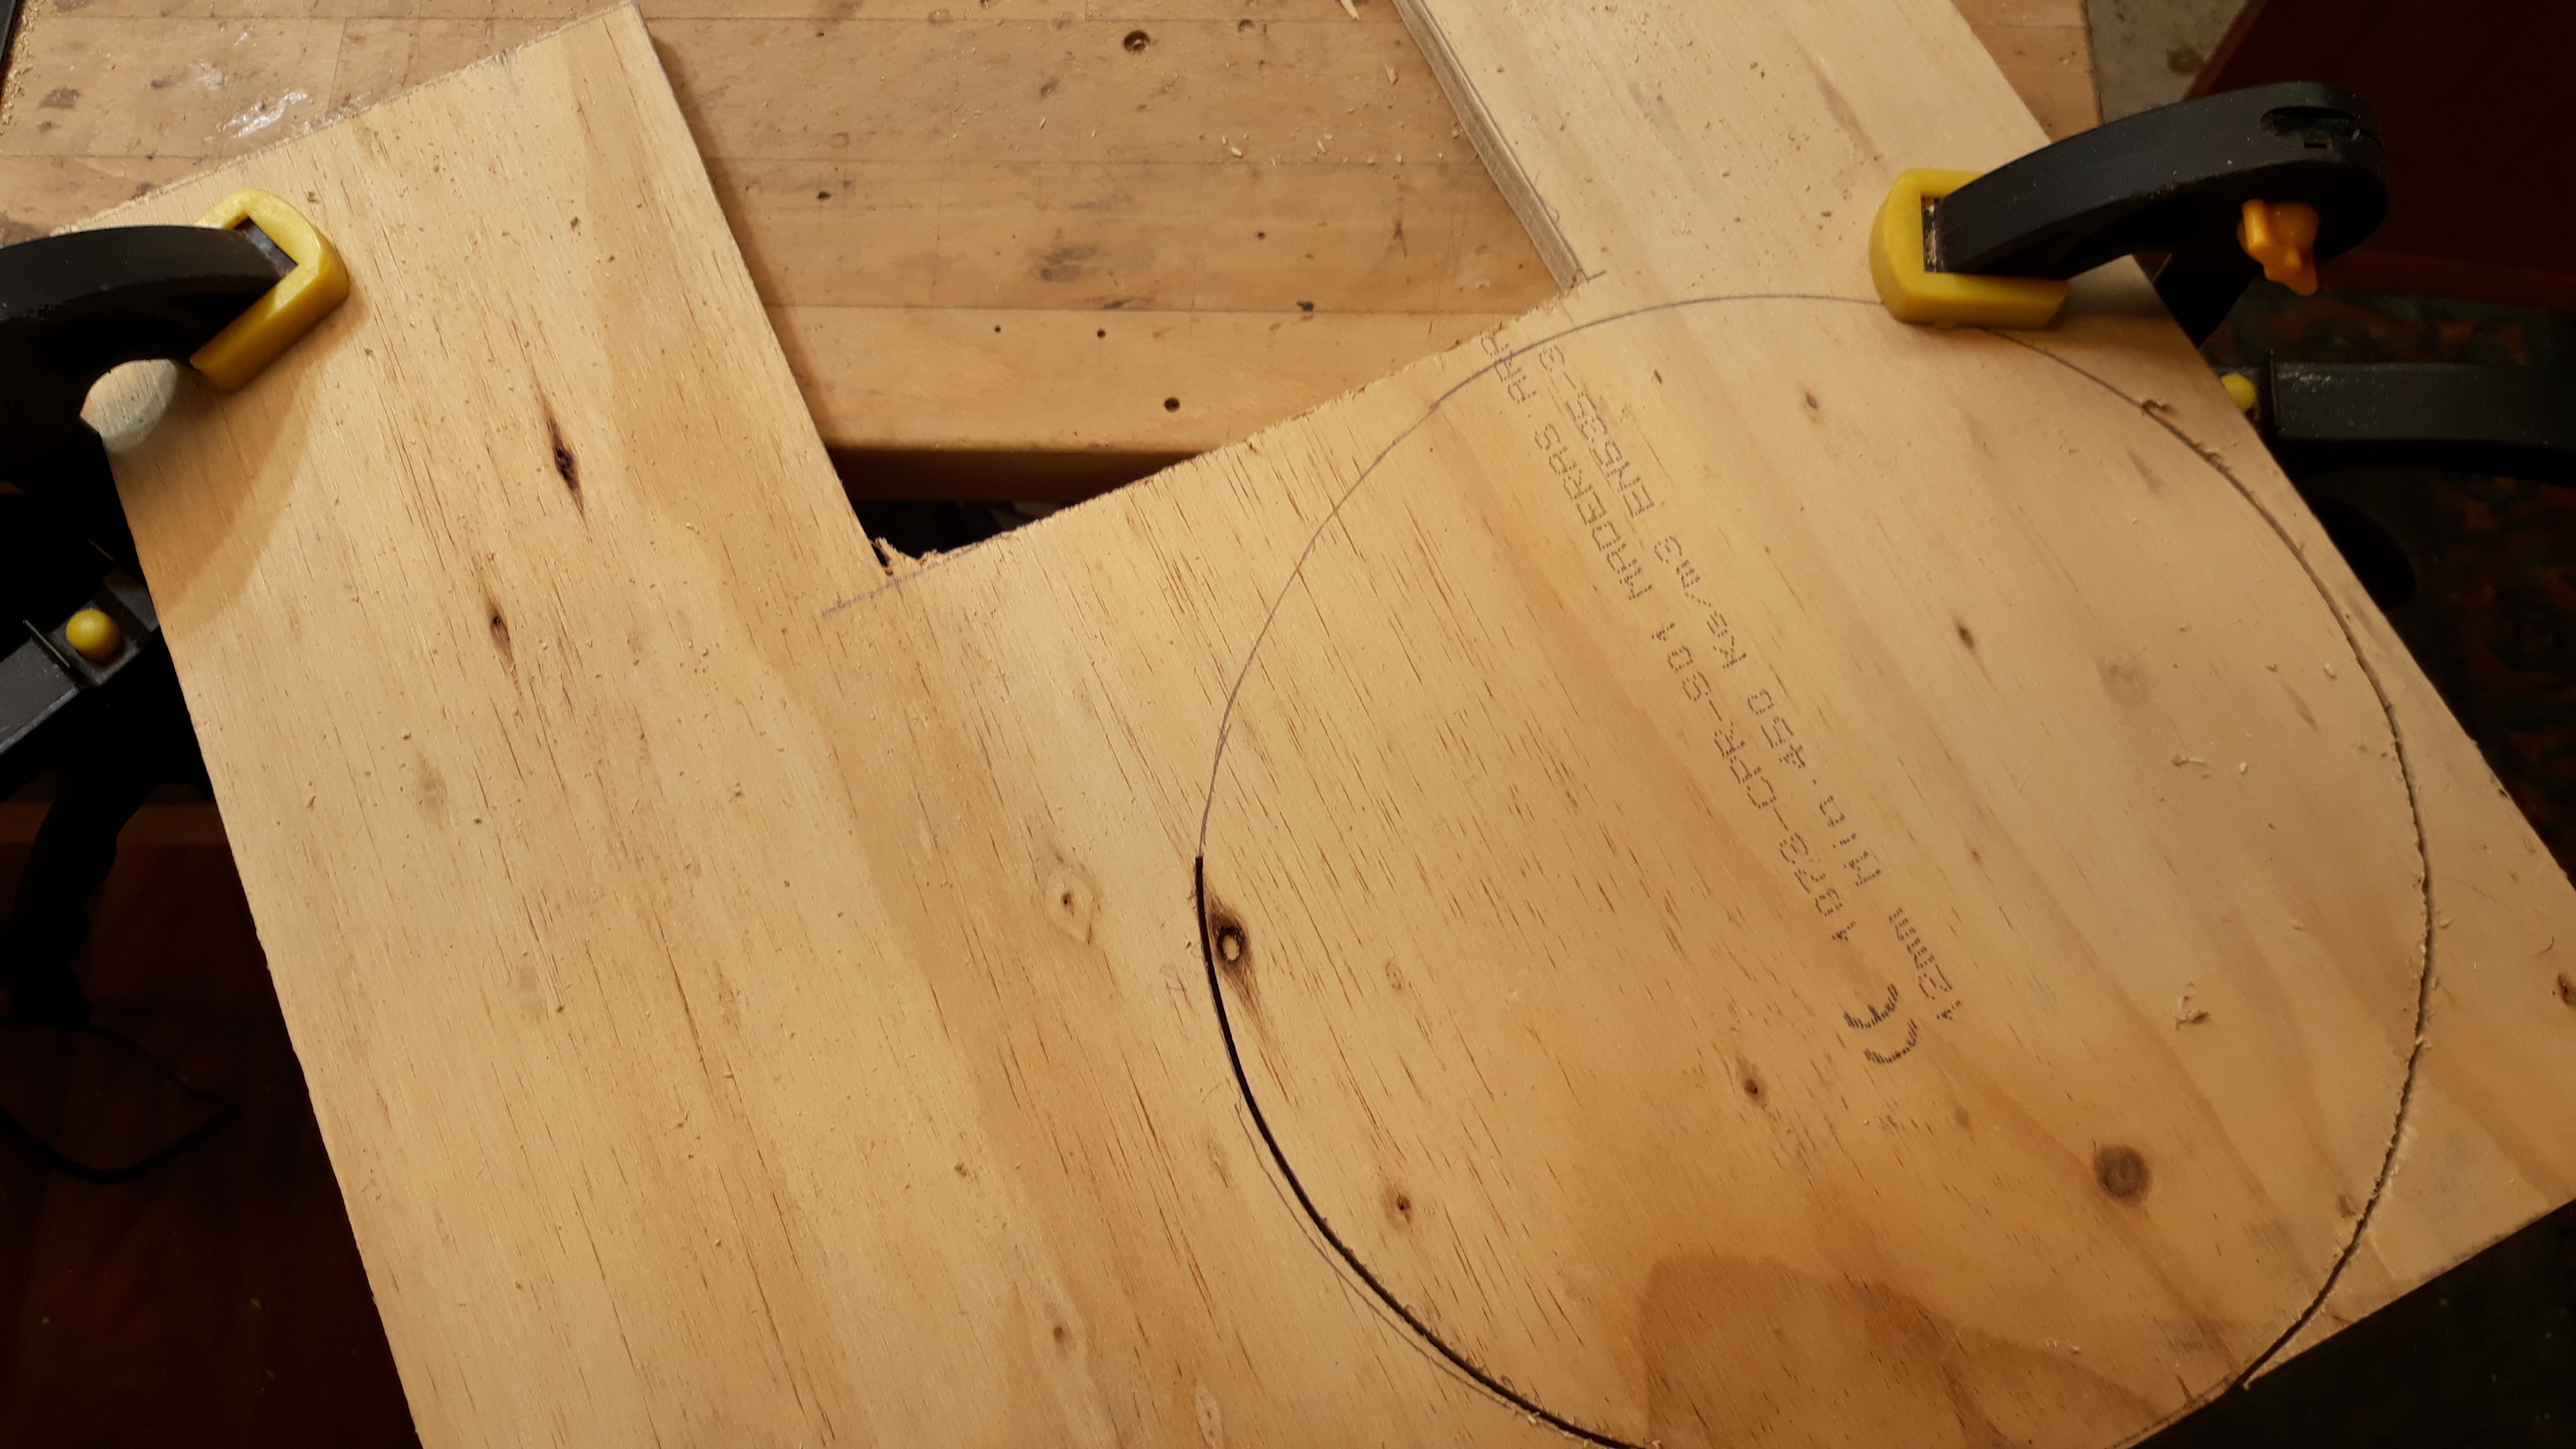
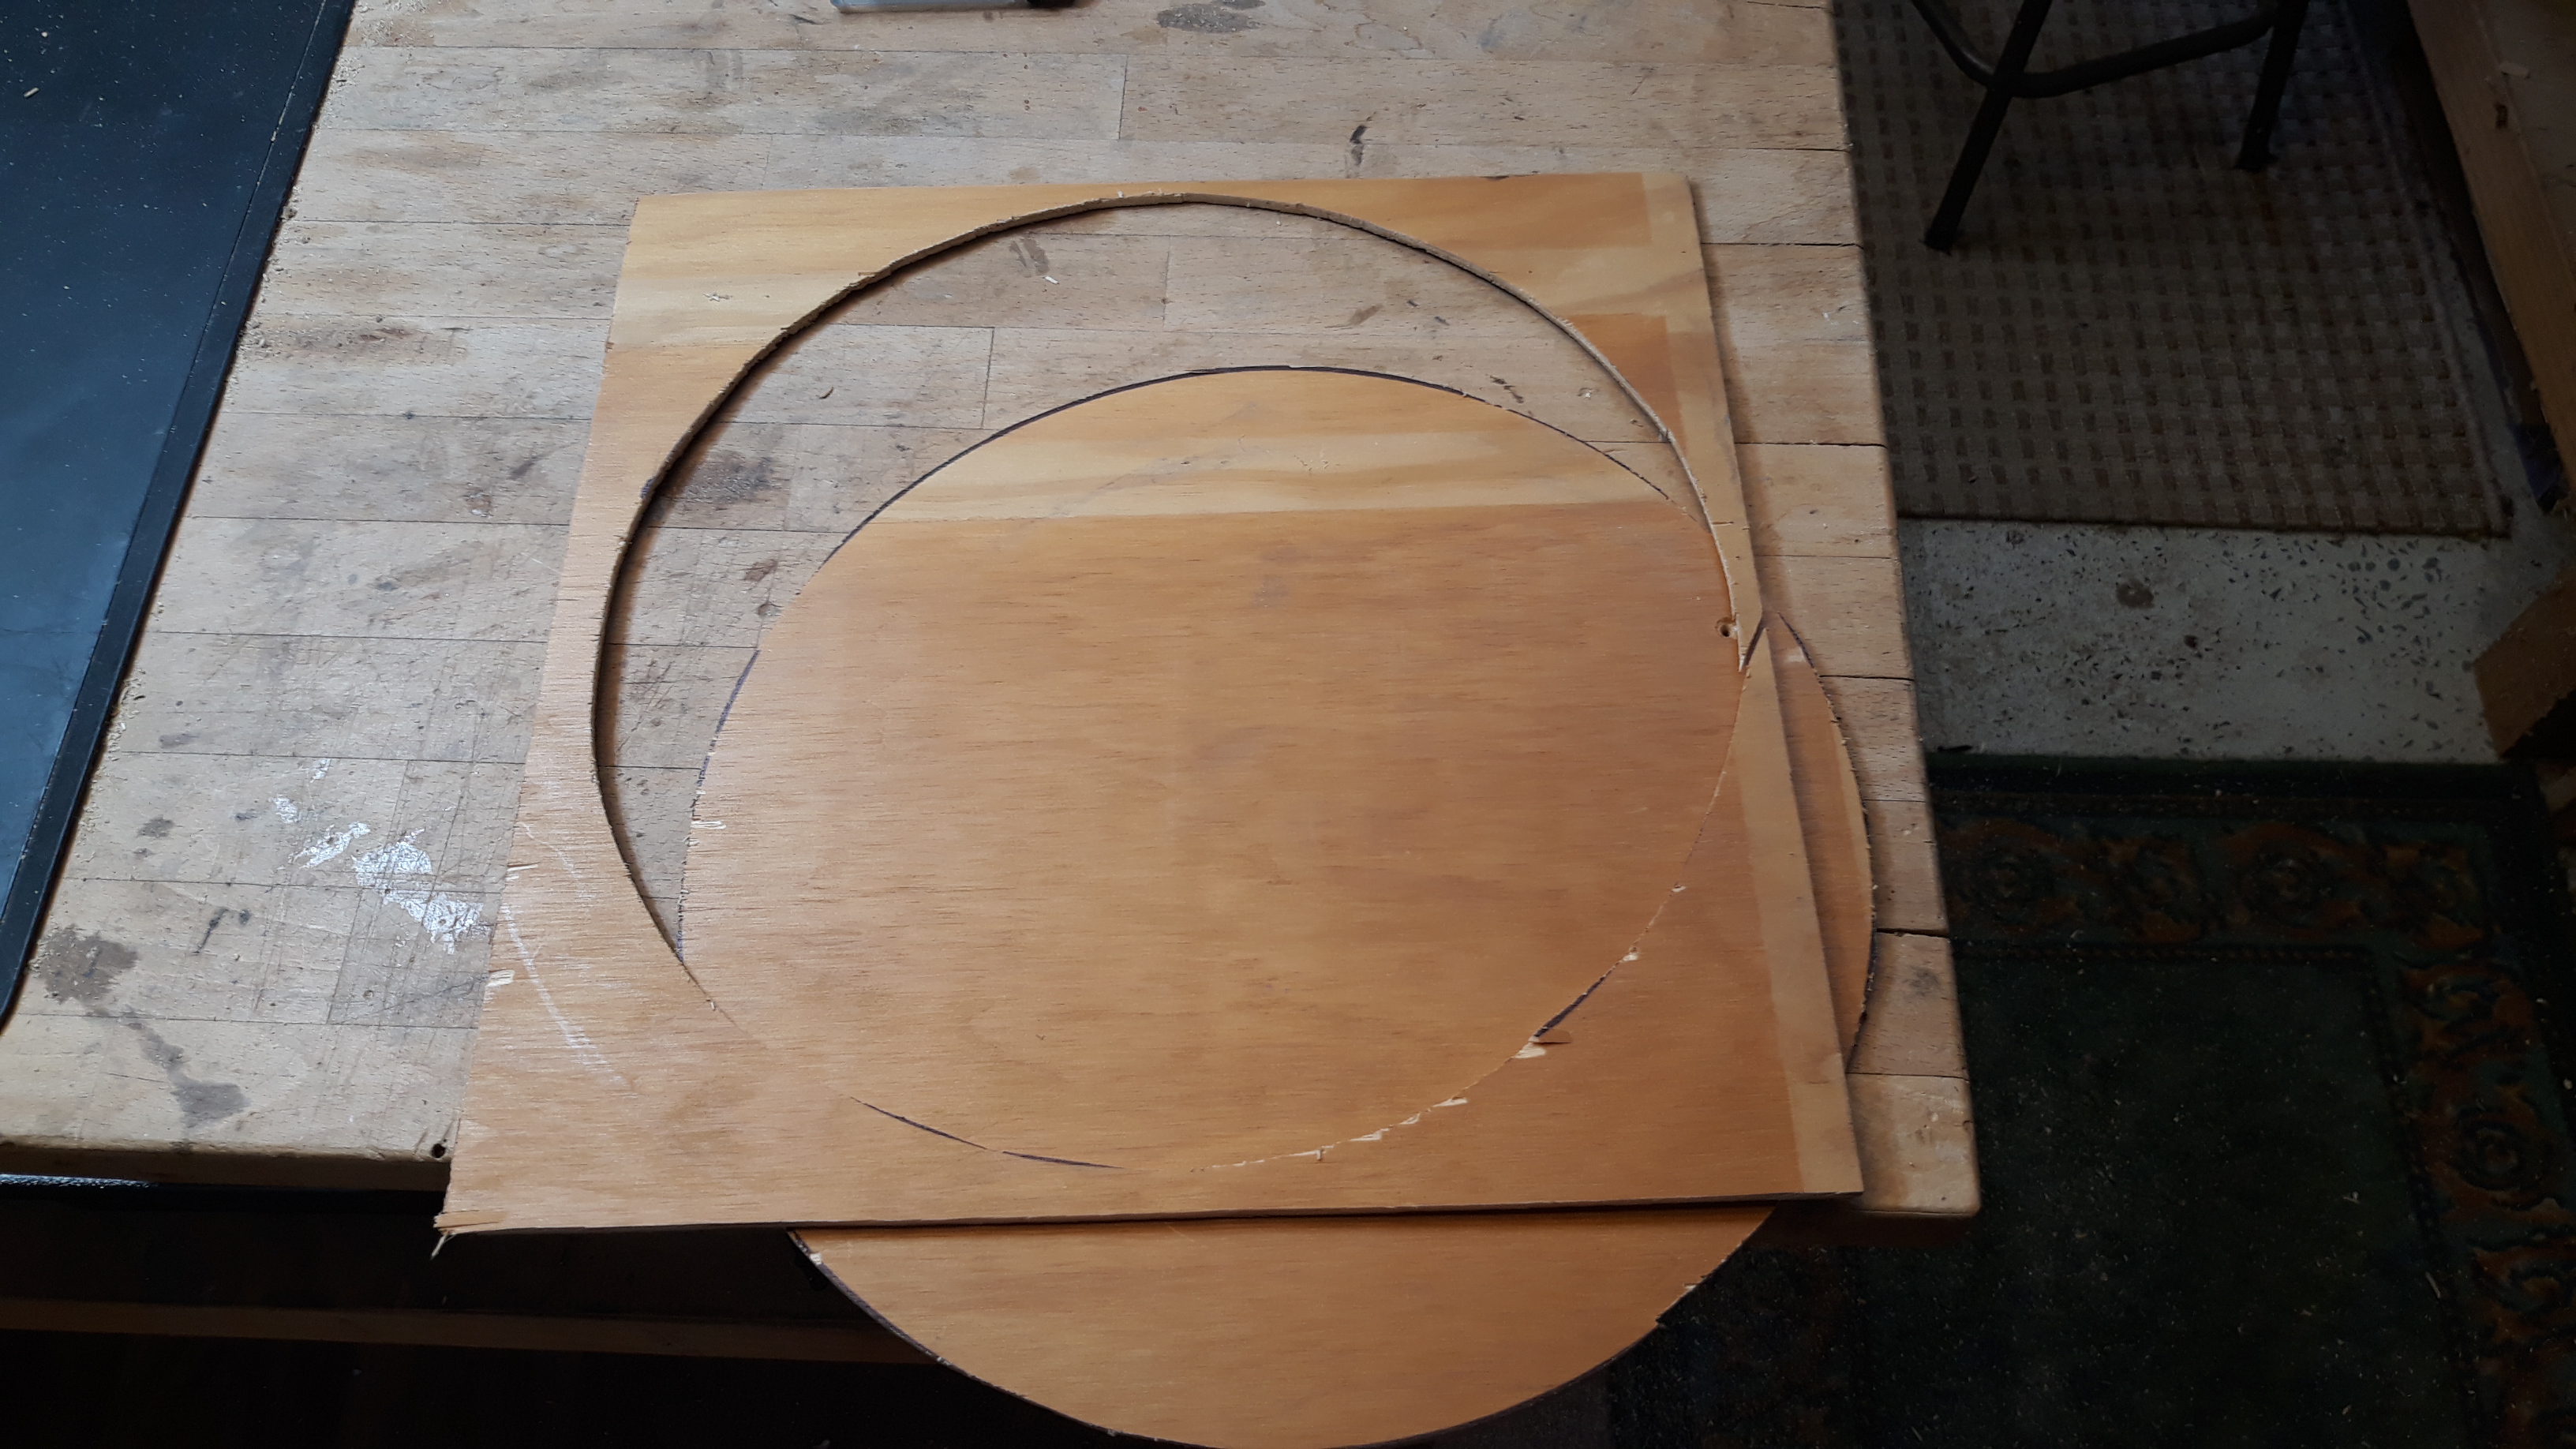
In this session we pick up from where we downed tools and start by cutting out the square and circular sections.
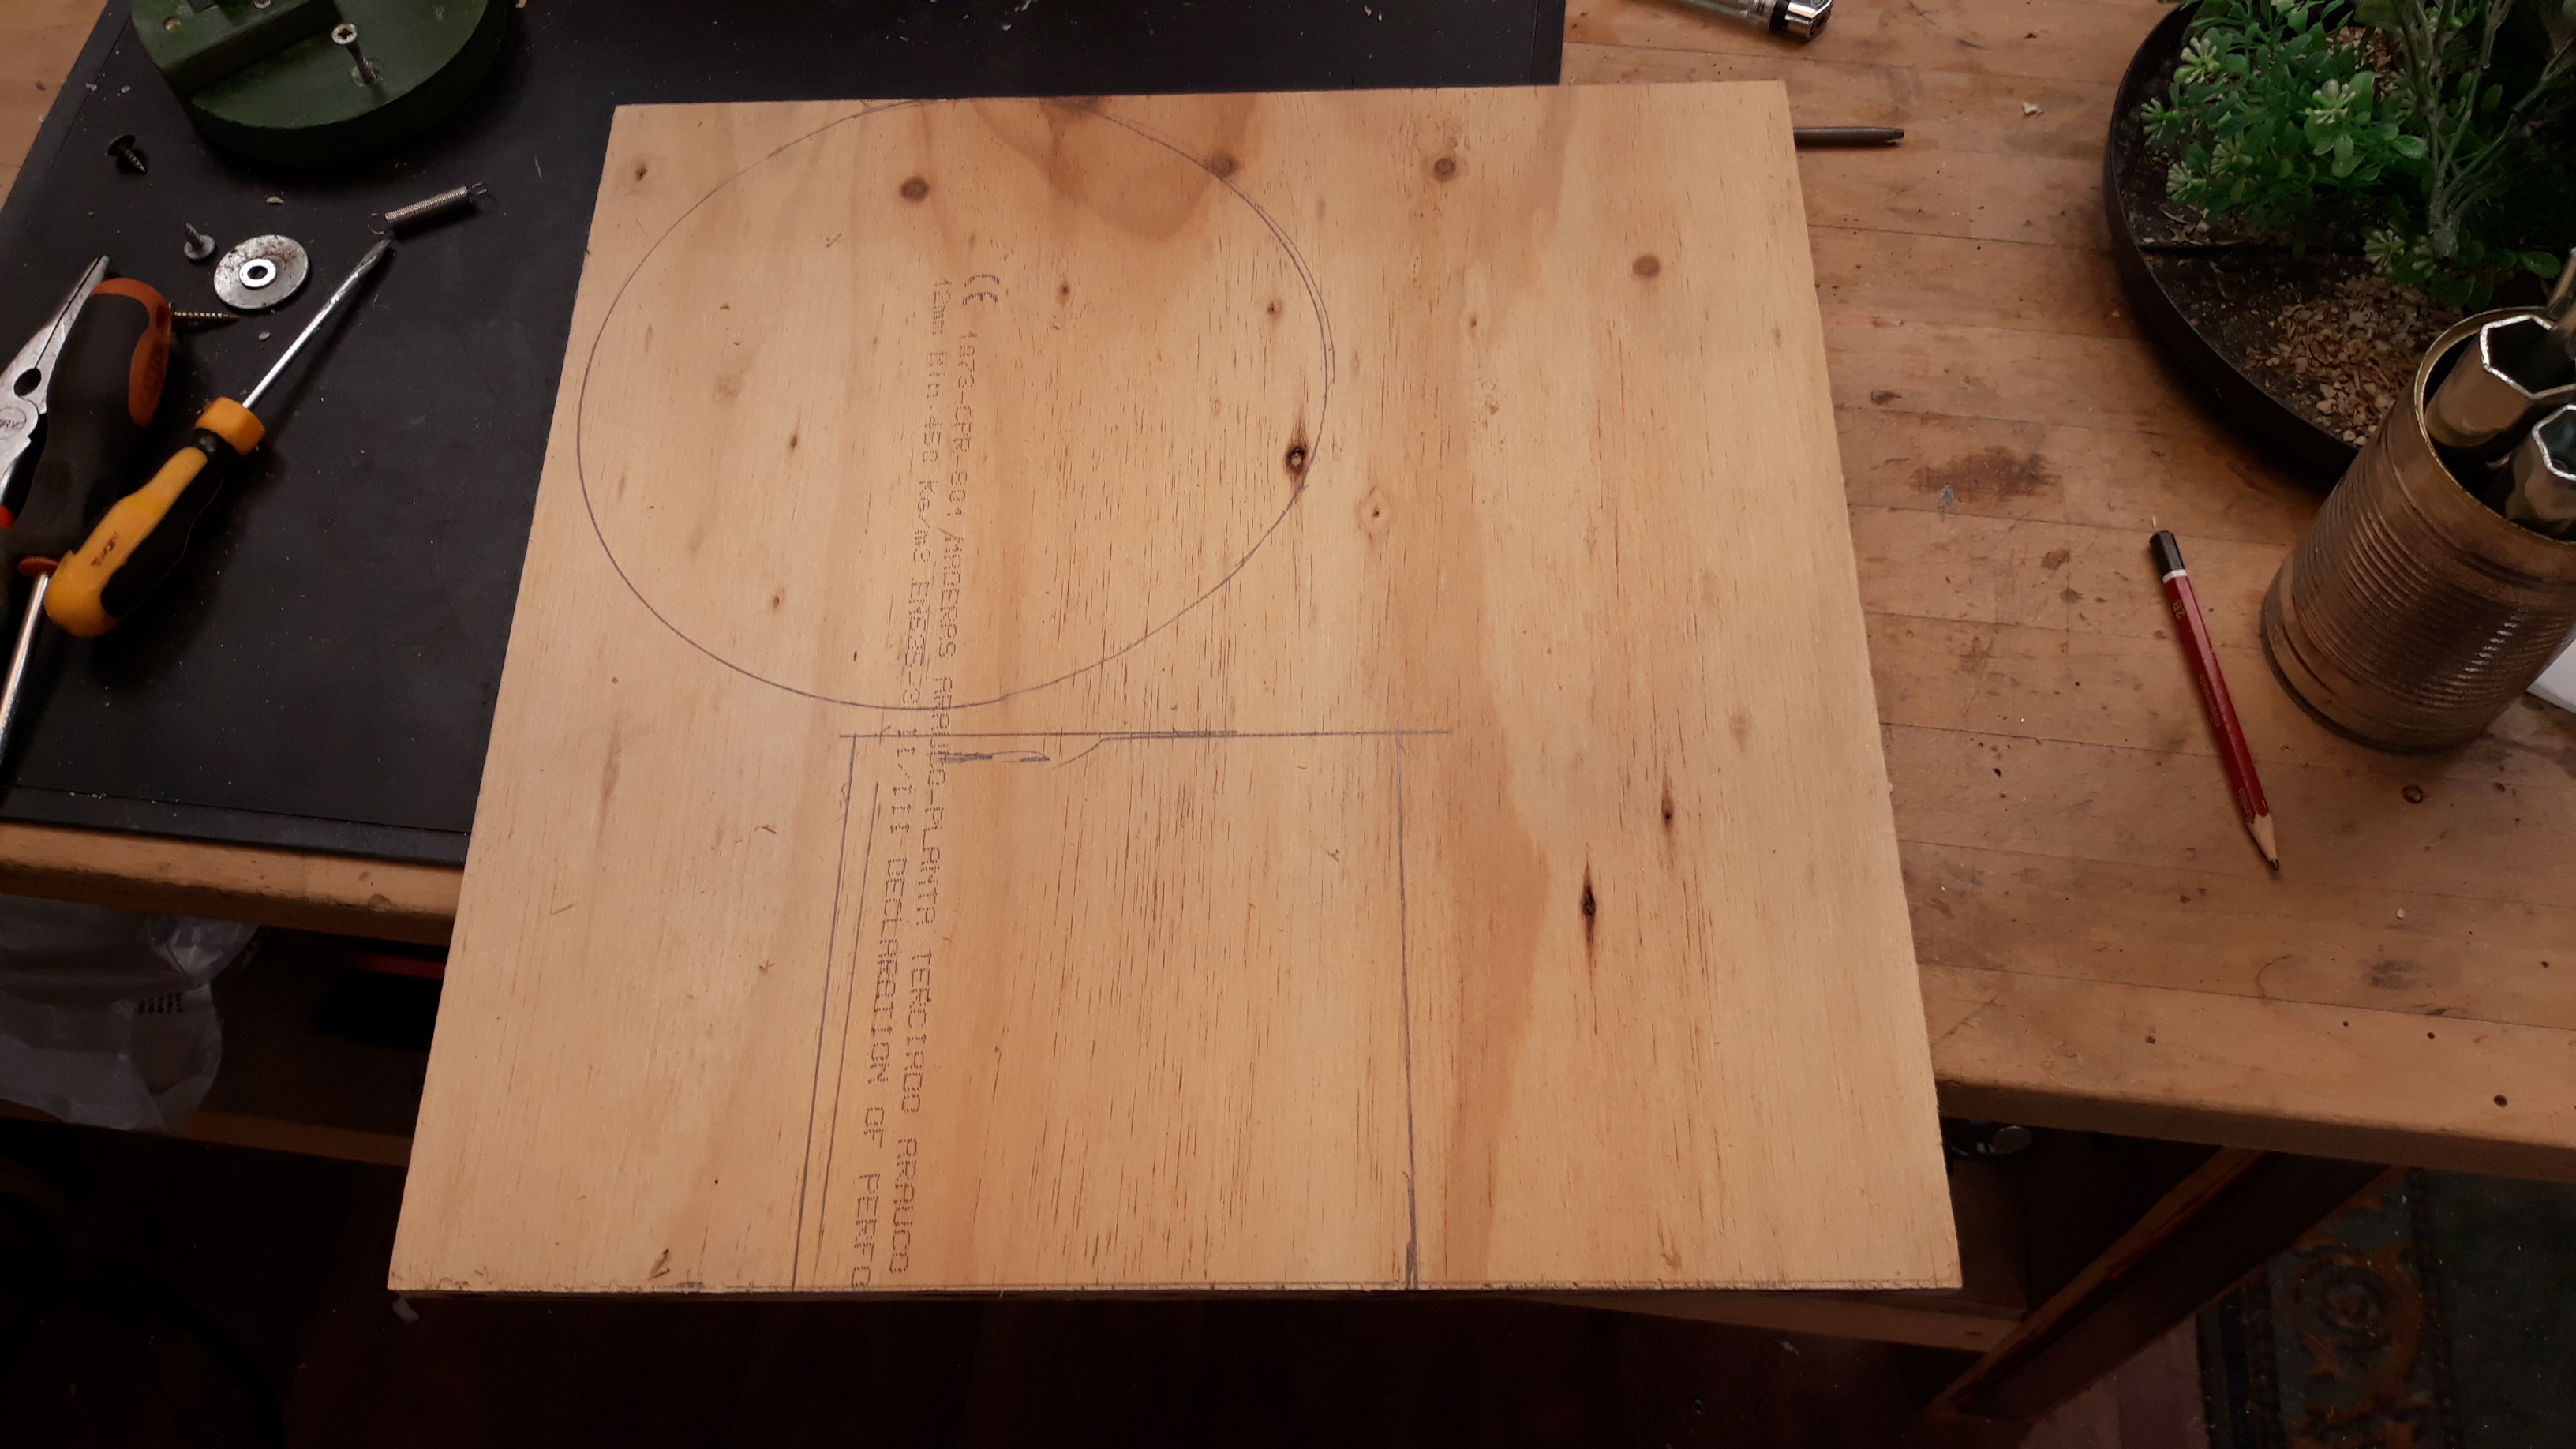
We finished the last session here, with the board marked out it’s time to grab the jigsaw.
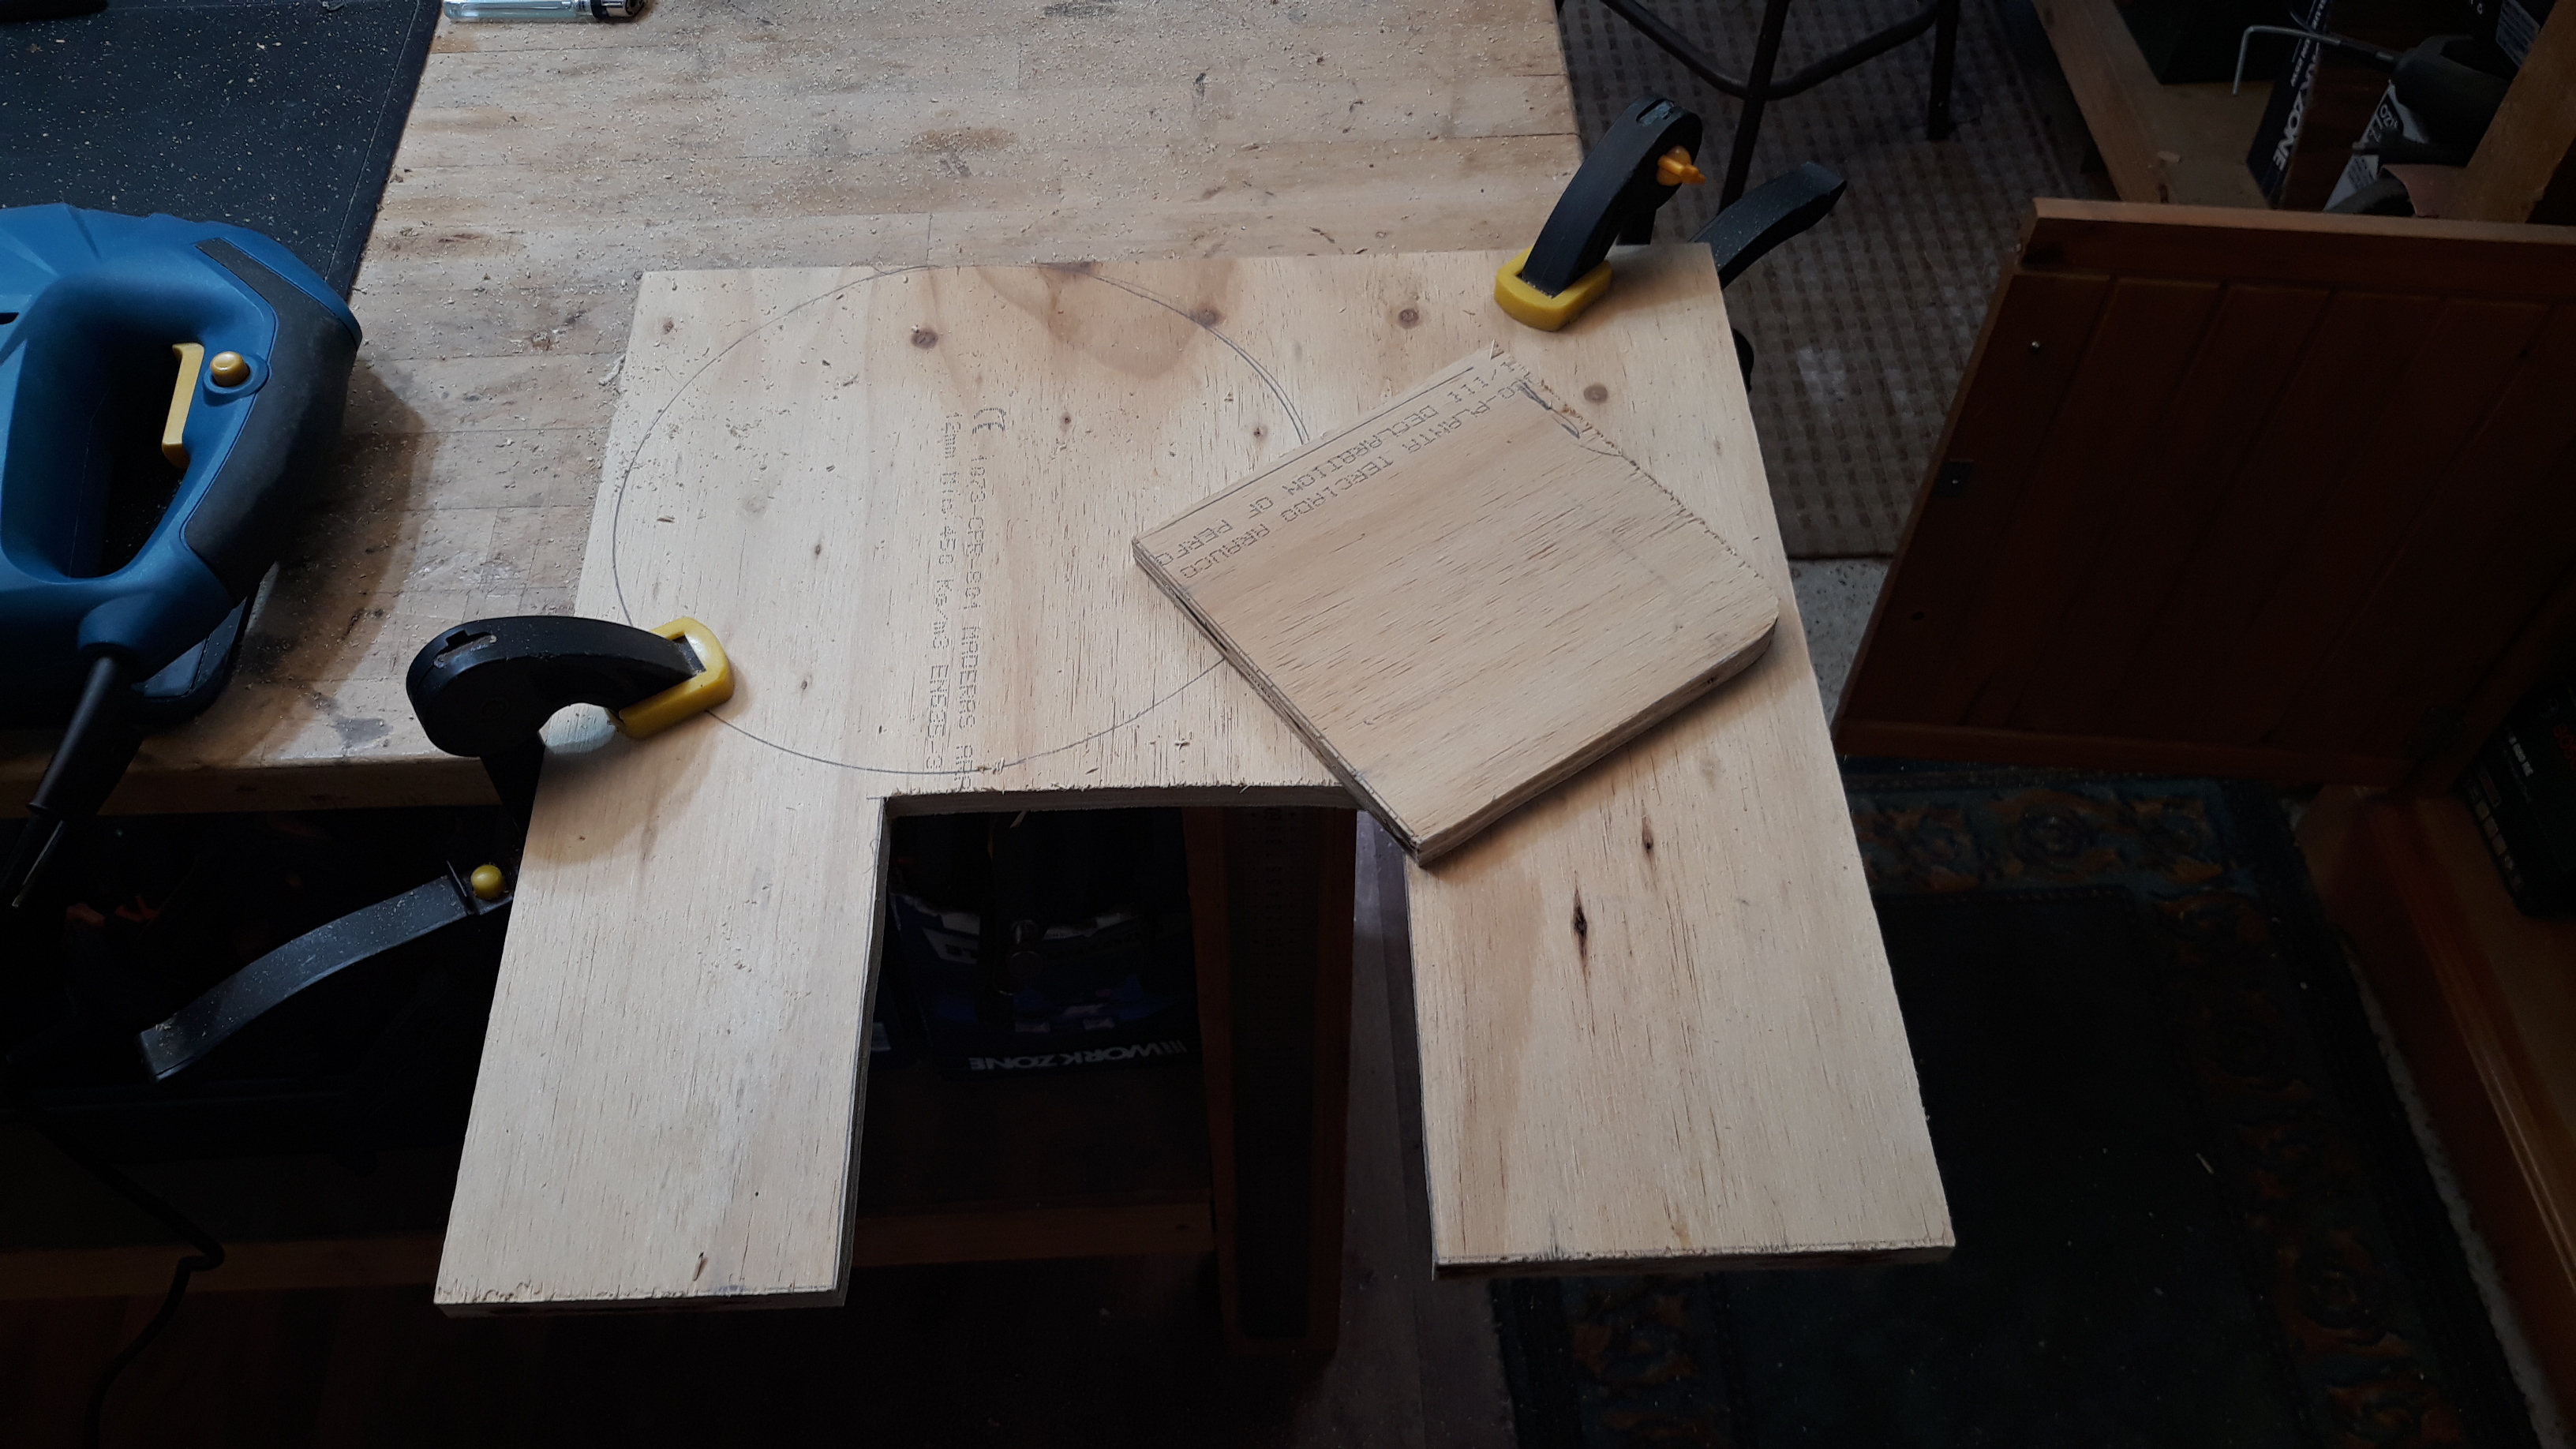
The square one is the servo actuator base.
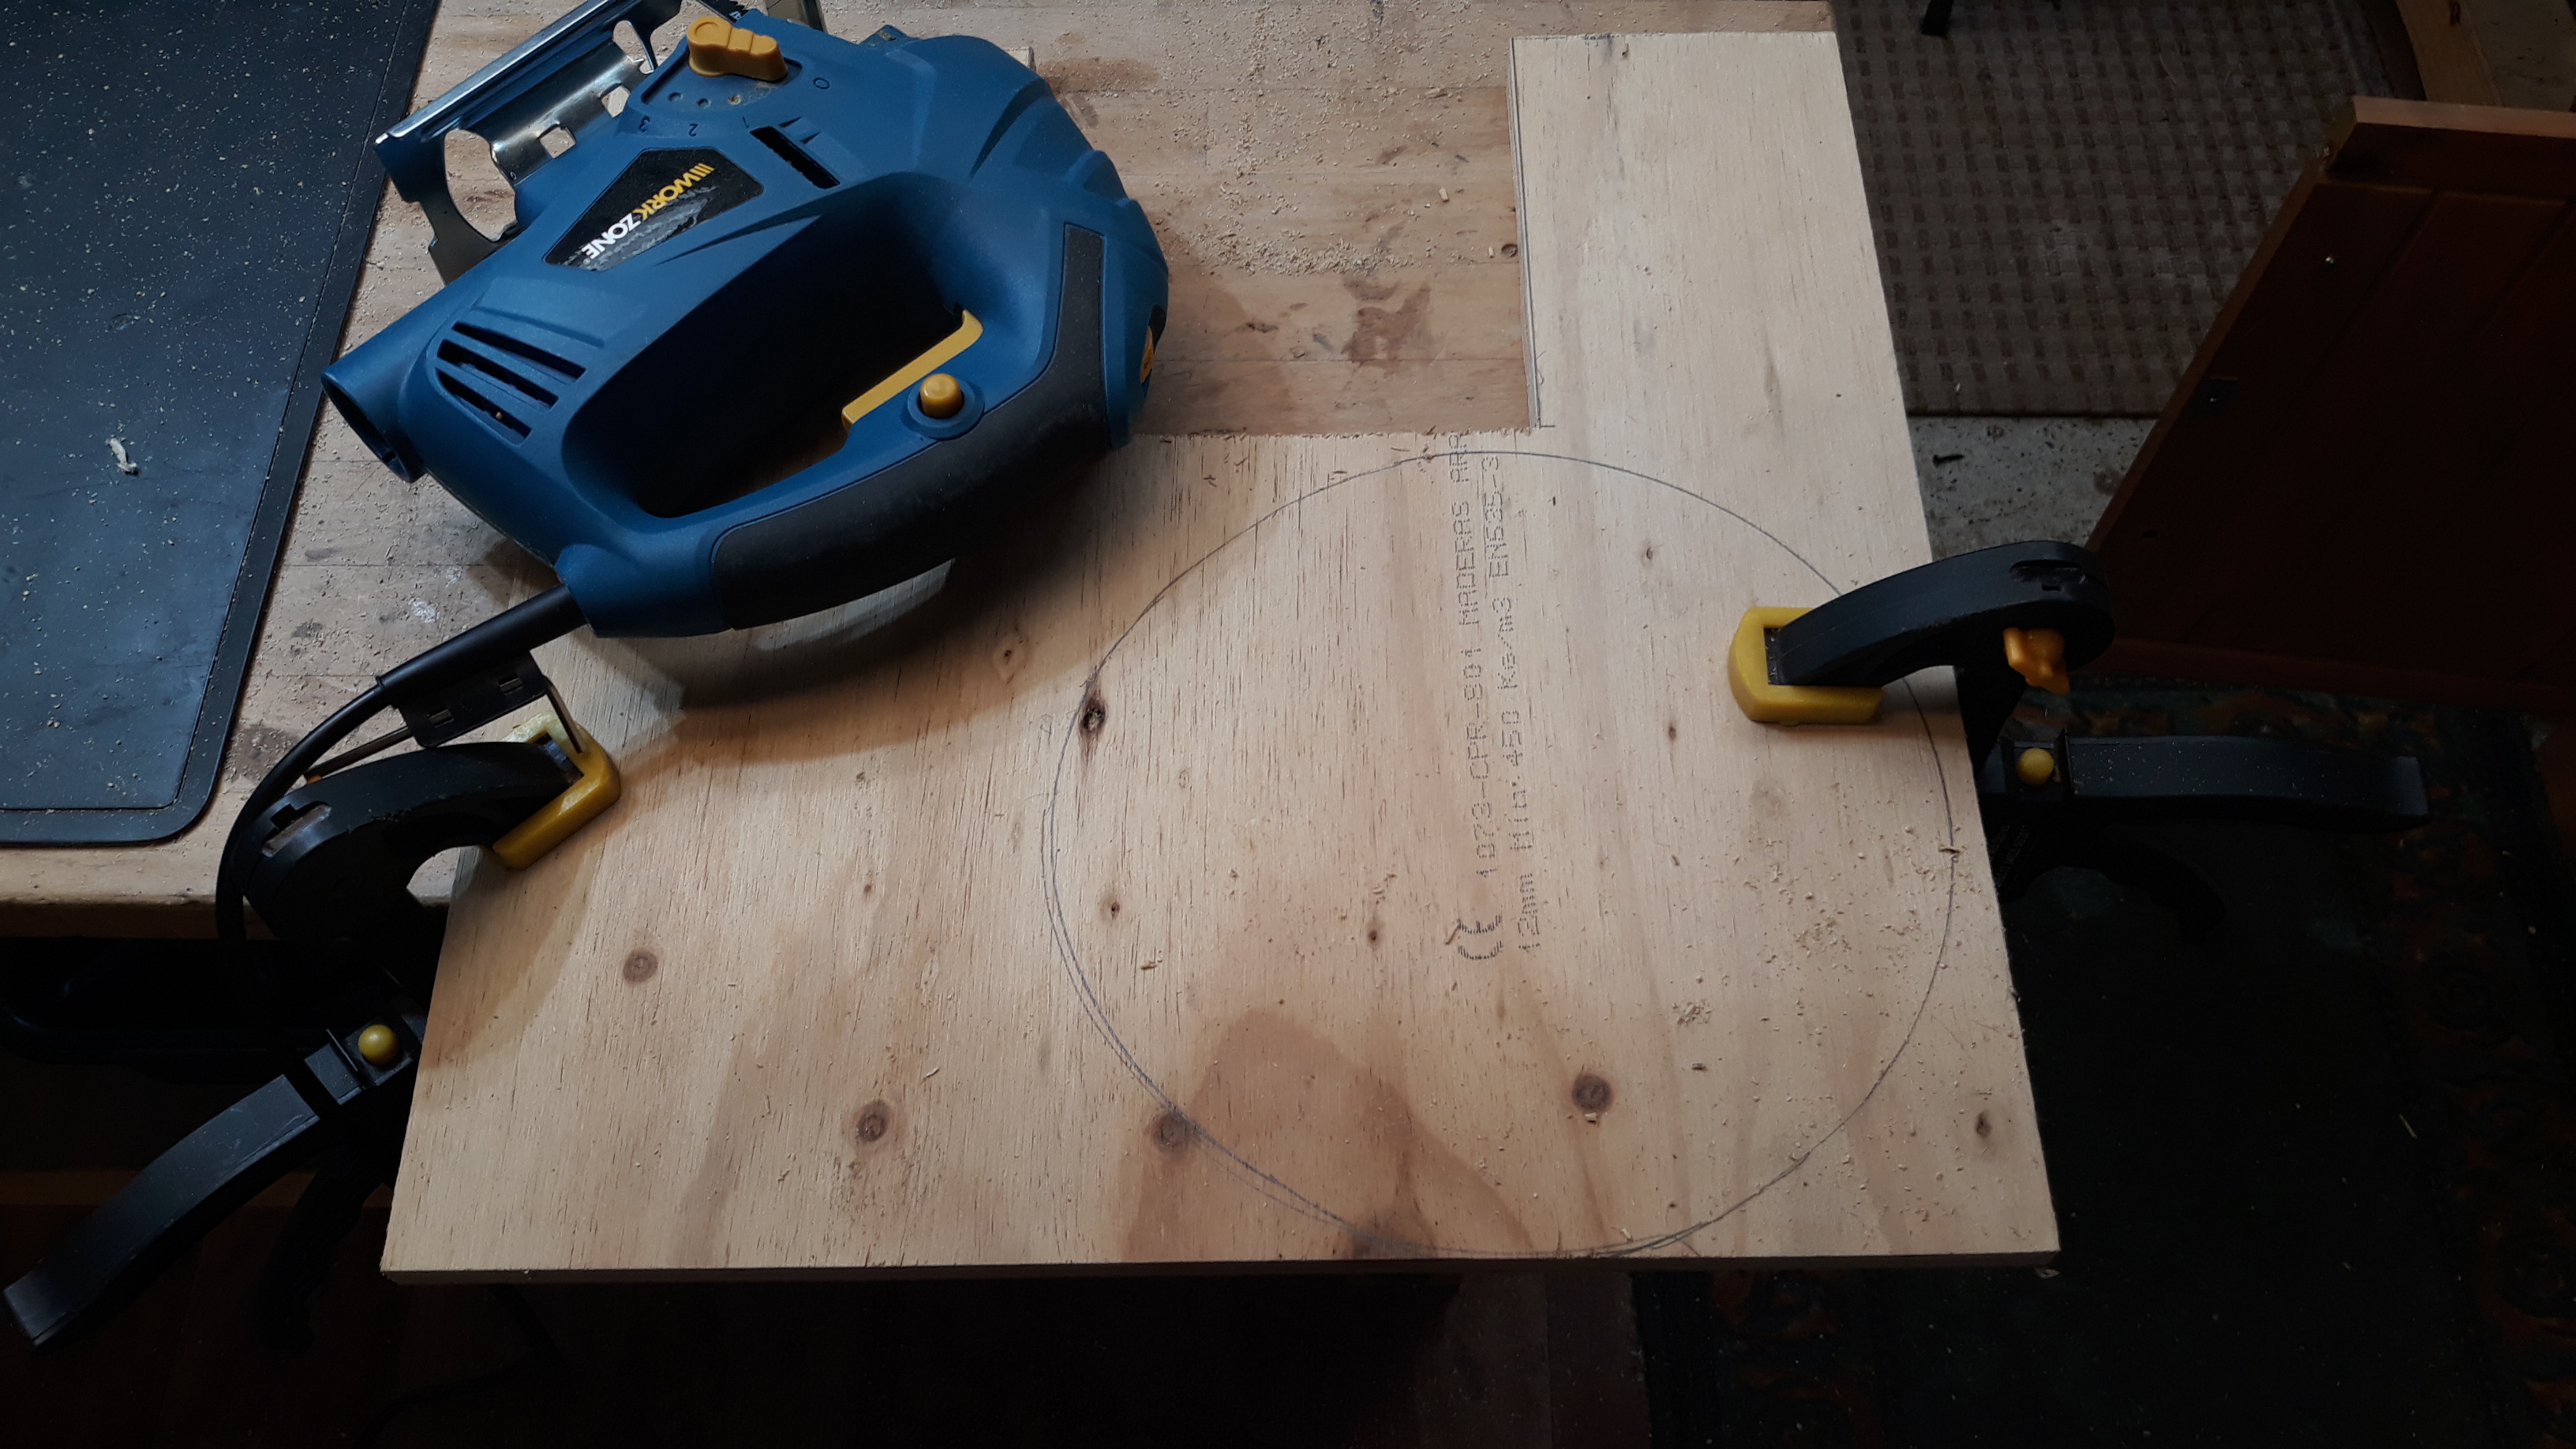
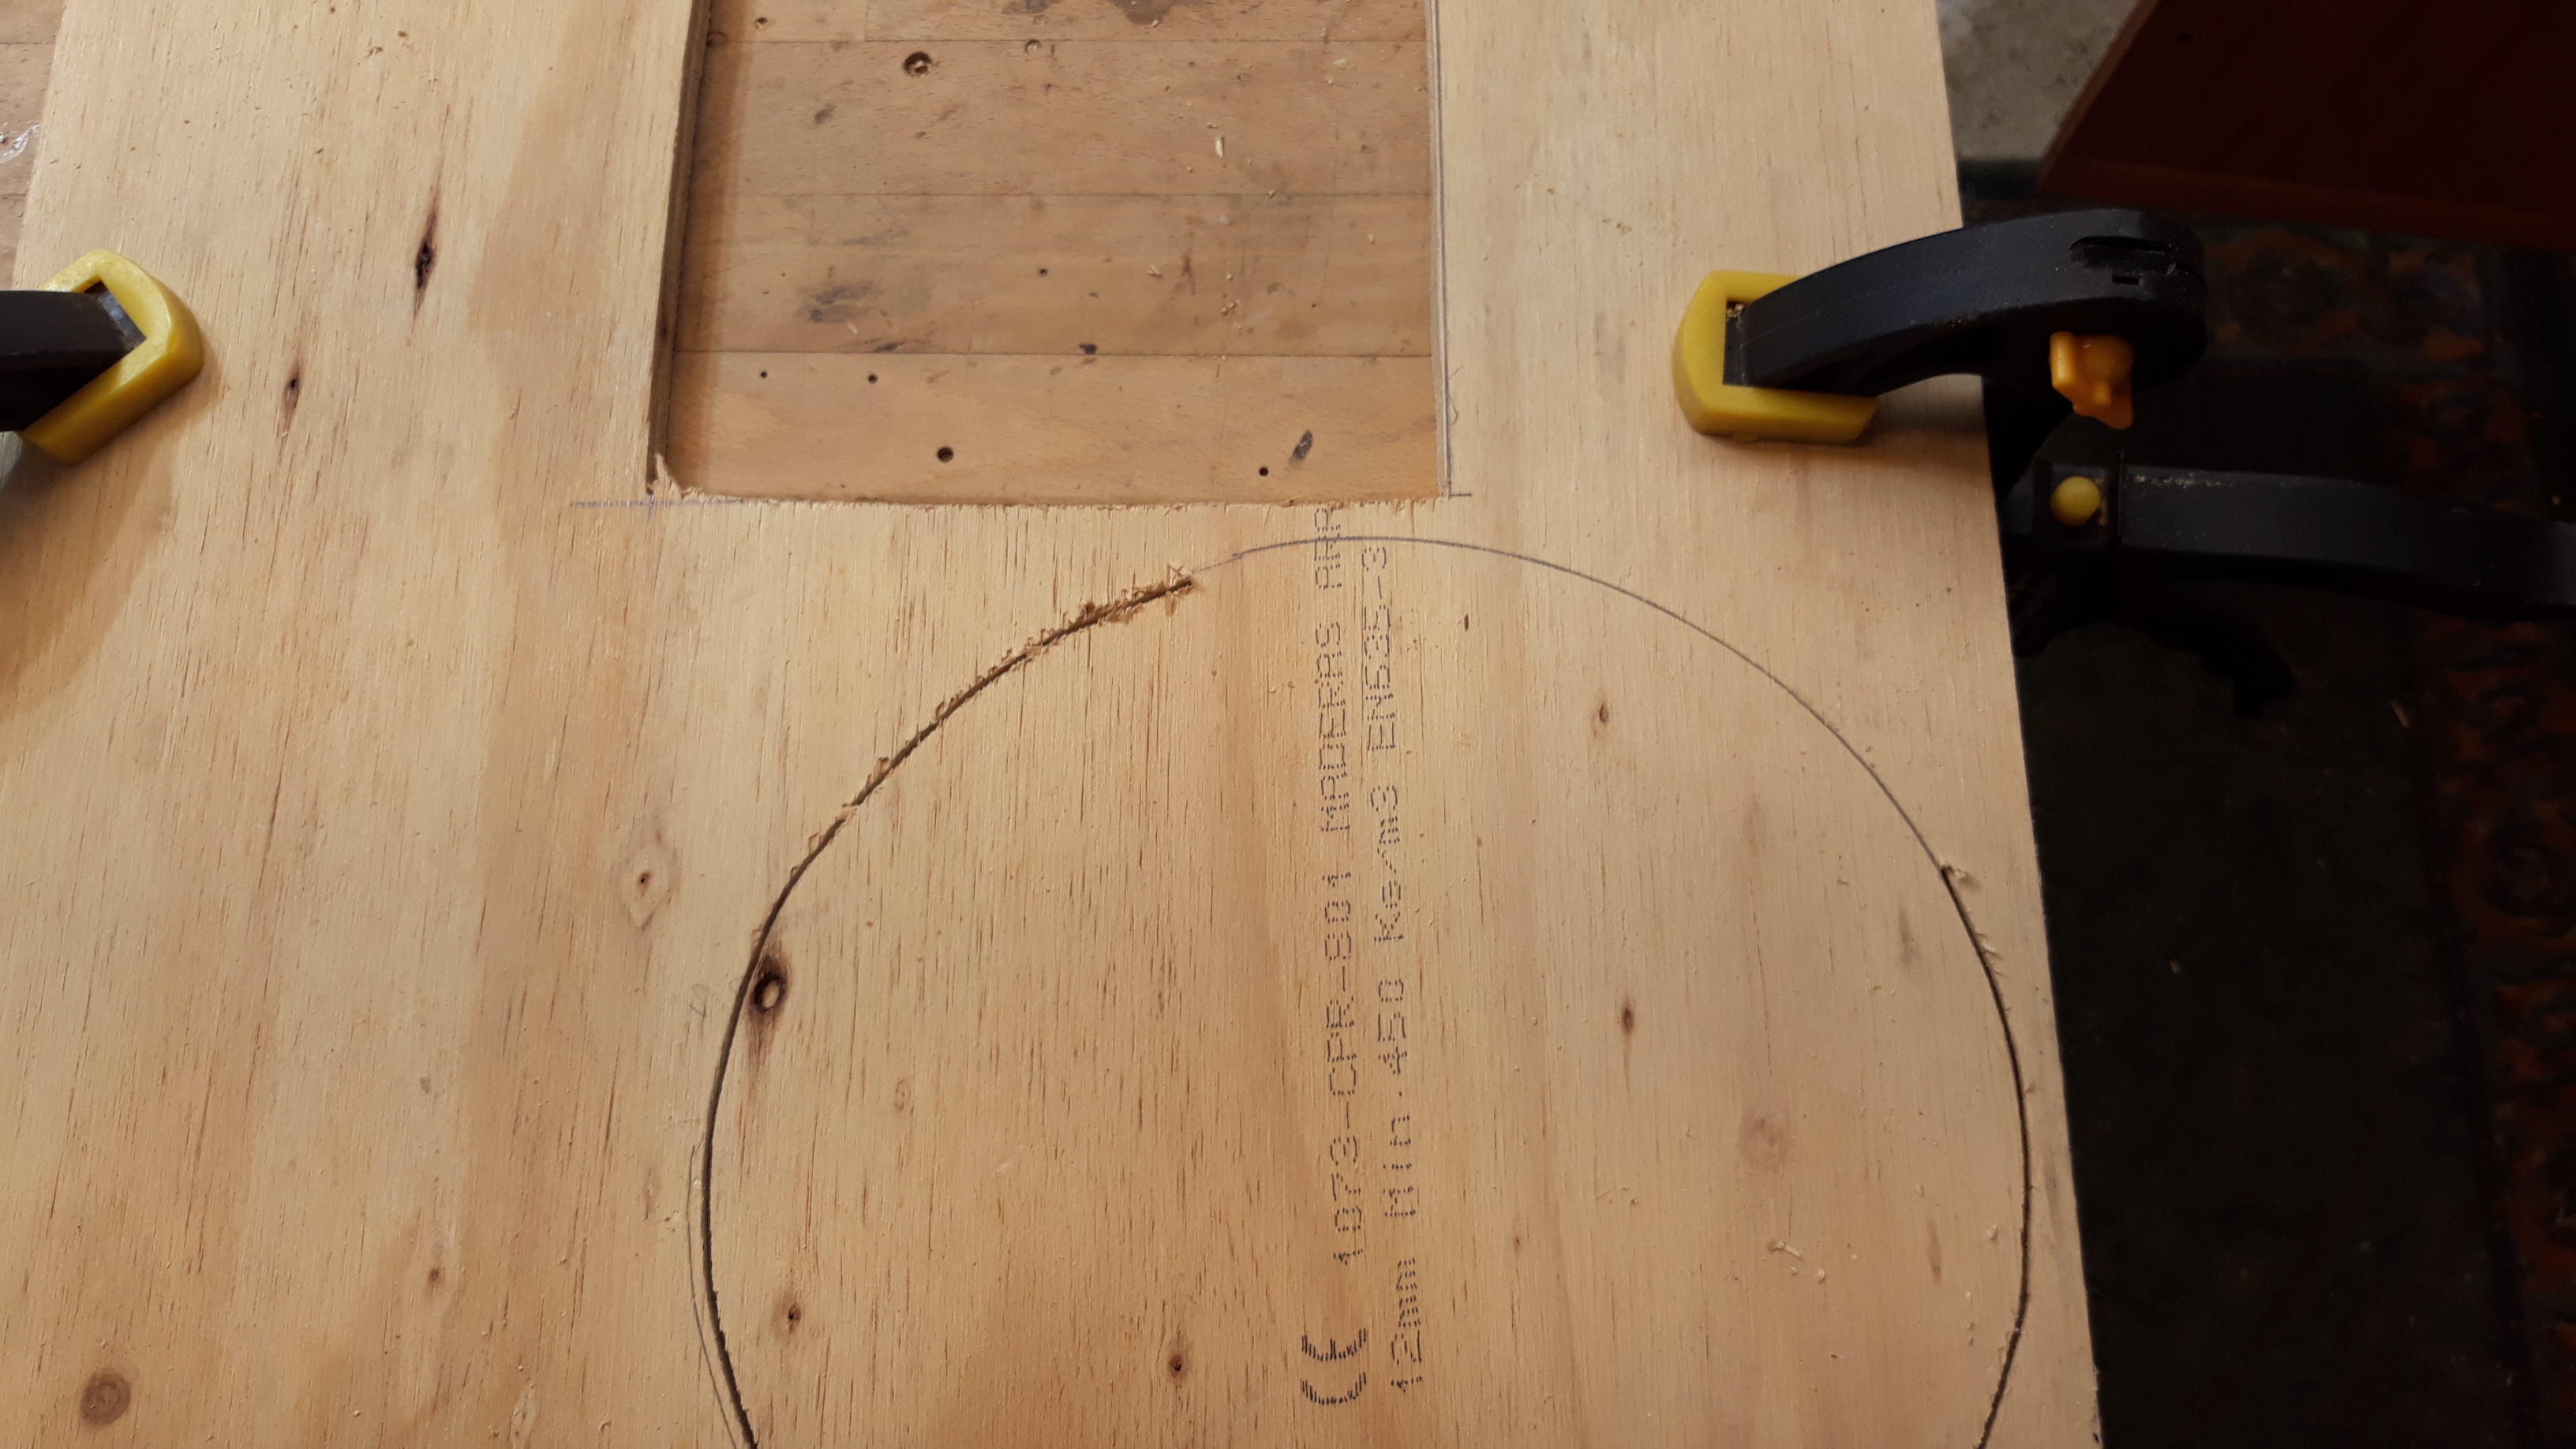
Prepping to cut the circle cutout.
Now relocate and clamp.
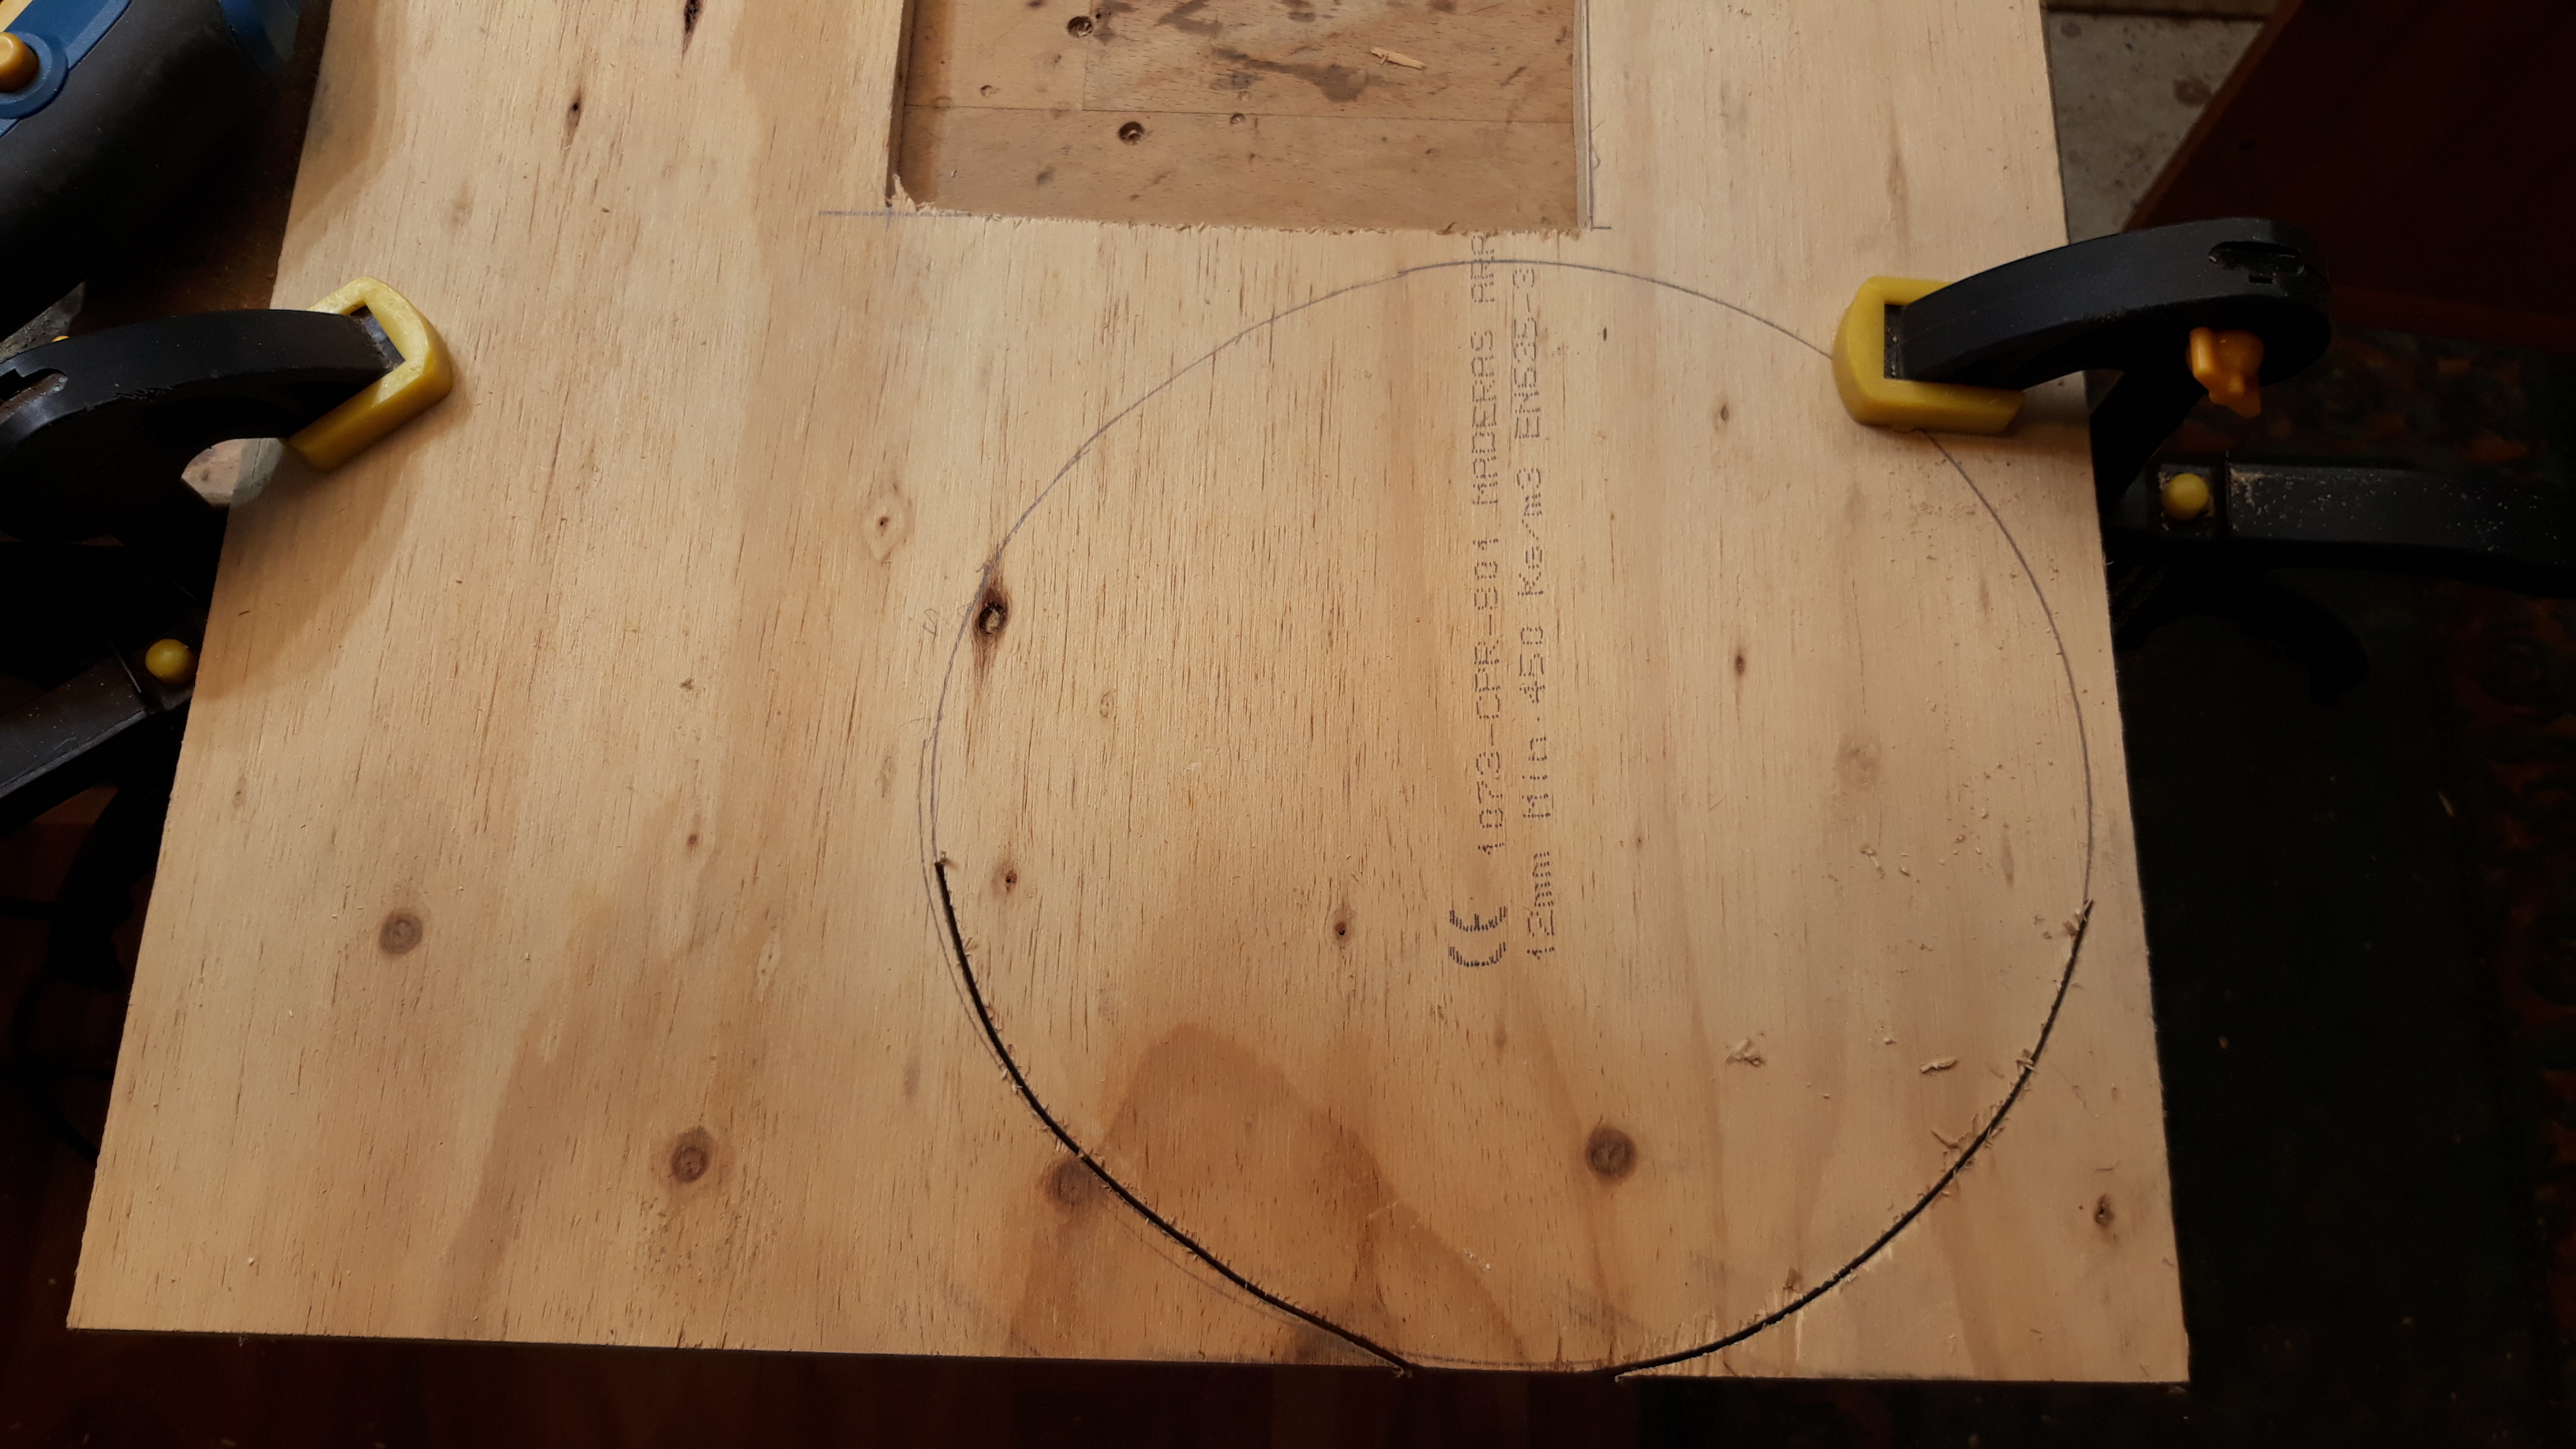
Same again, relocate and clamp.
Once more, relocate and clamp.
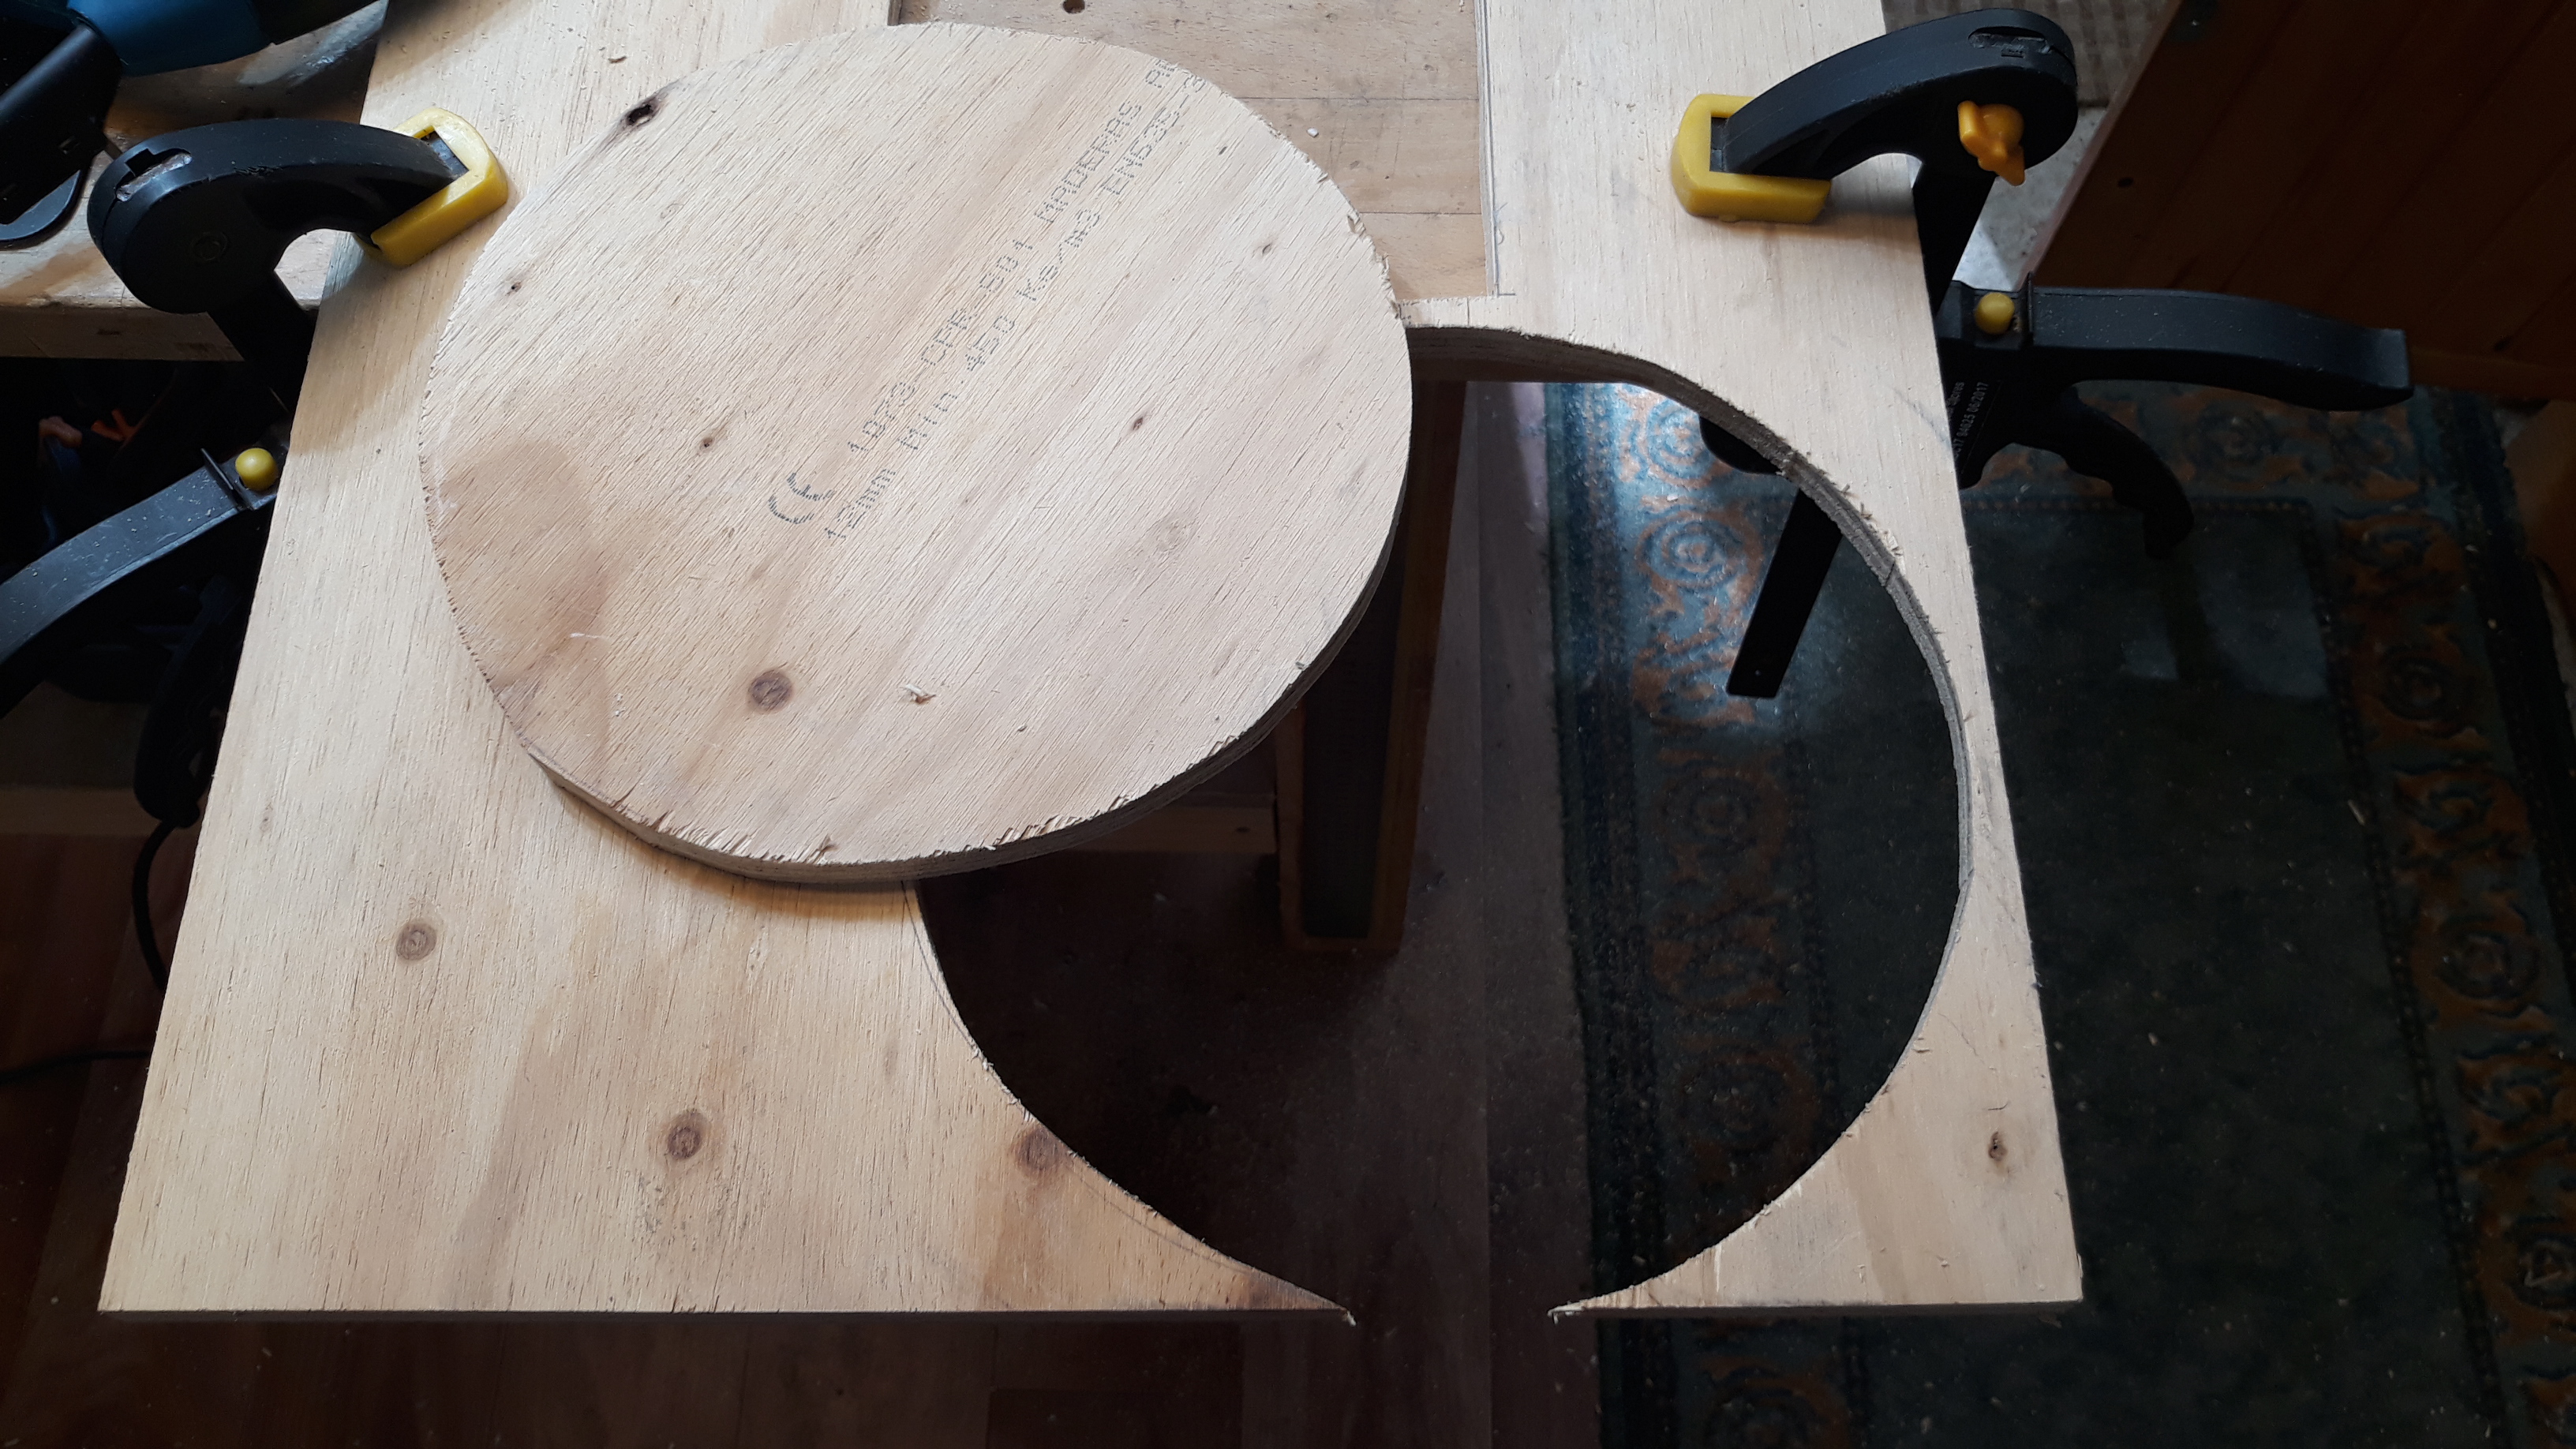
We are done.
That’s a good fit (y)
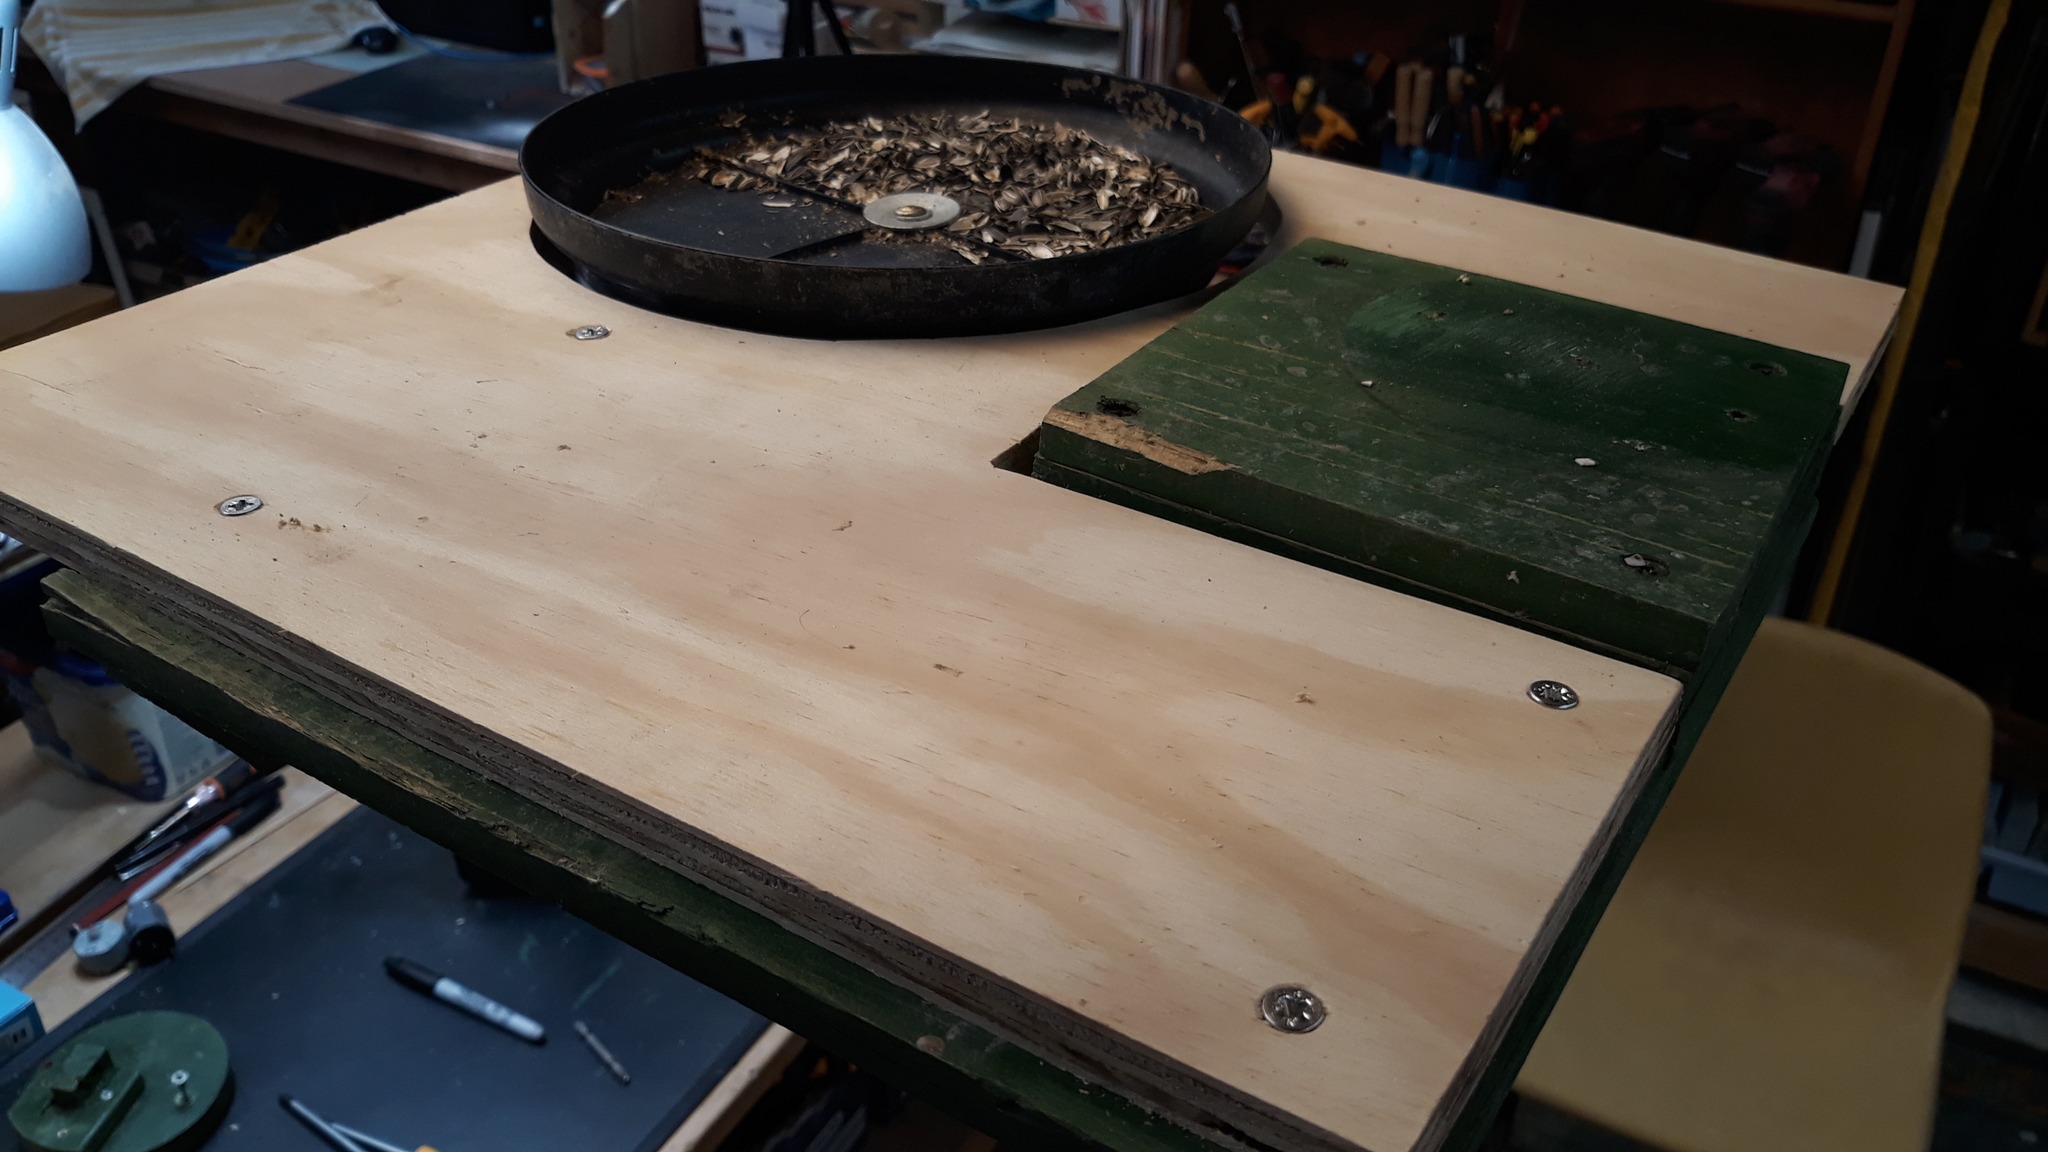
Screwed down the board along this side but the right corner needs a different approach…
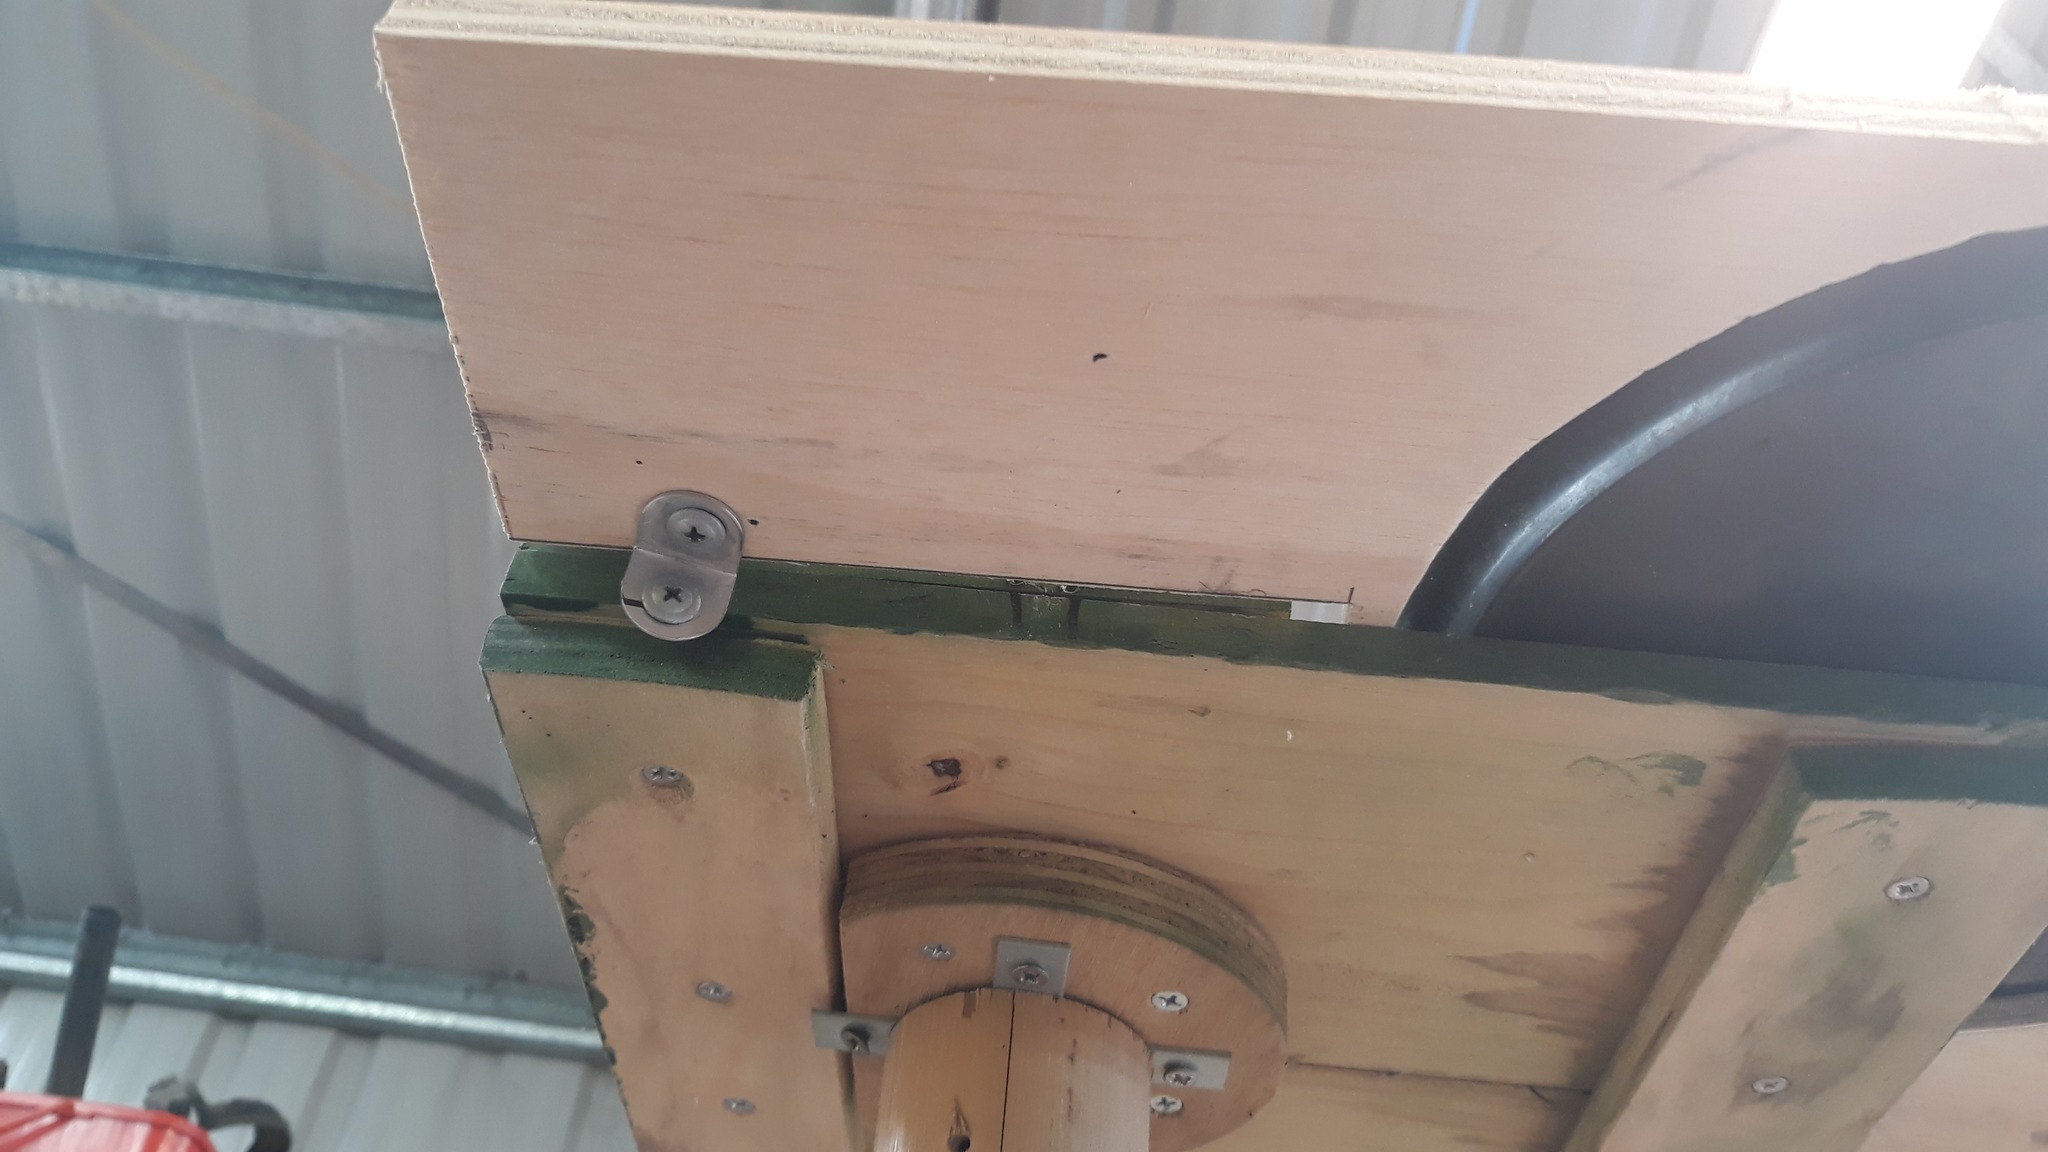
The only thing we can do here is use a small bracket – that’s fine.
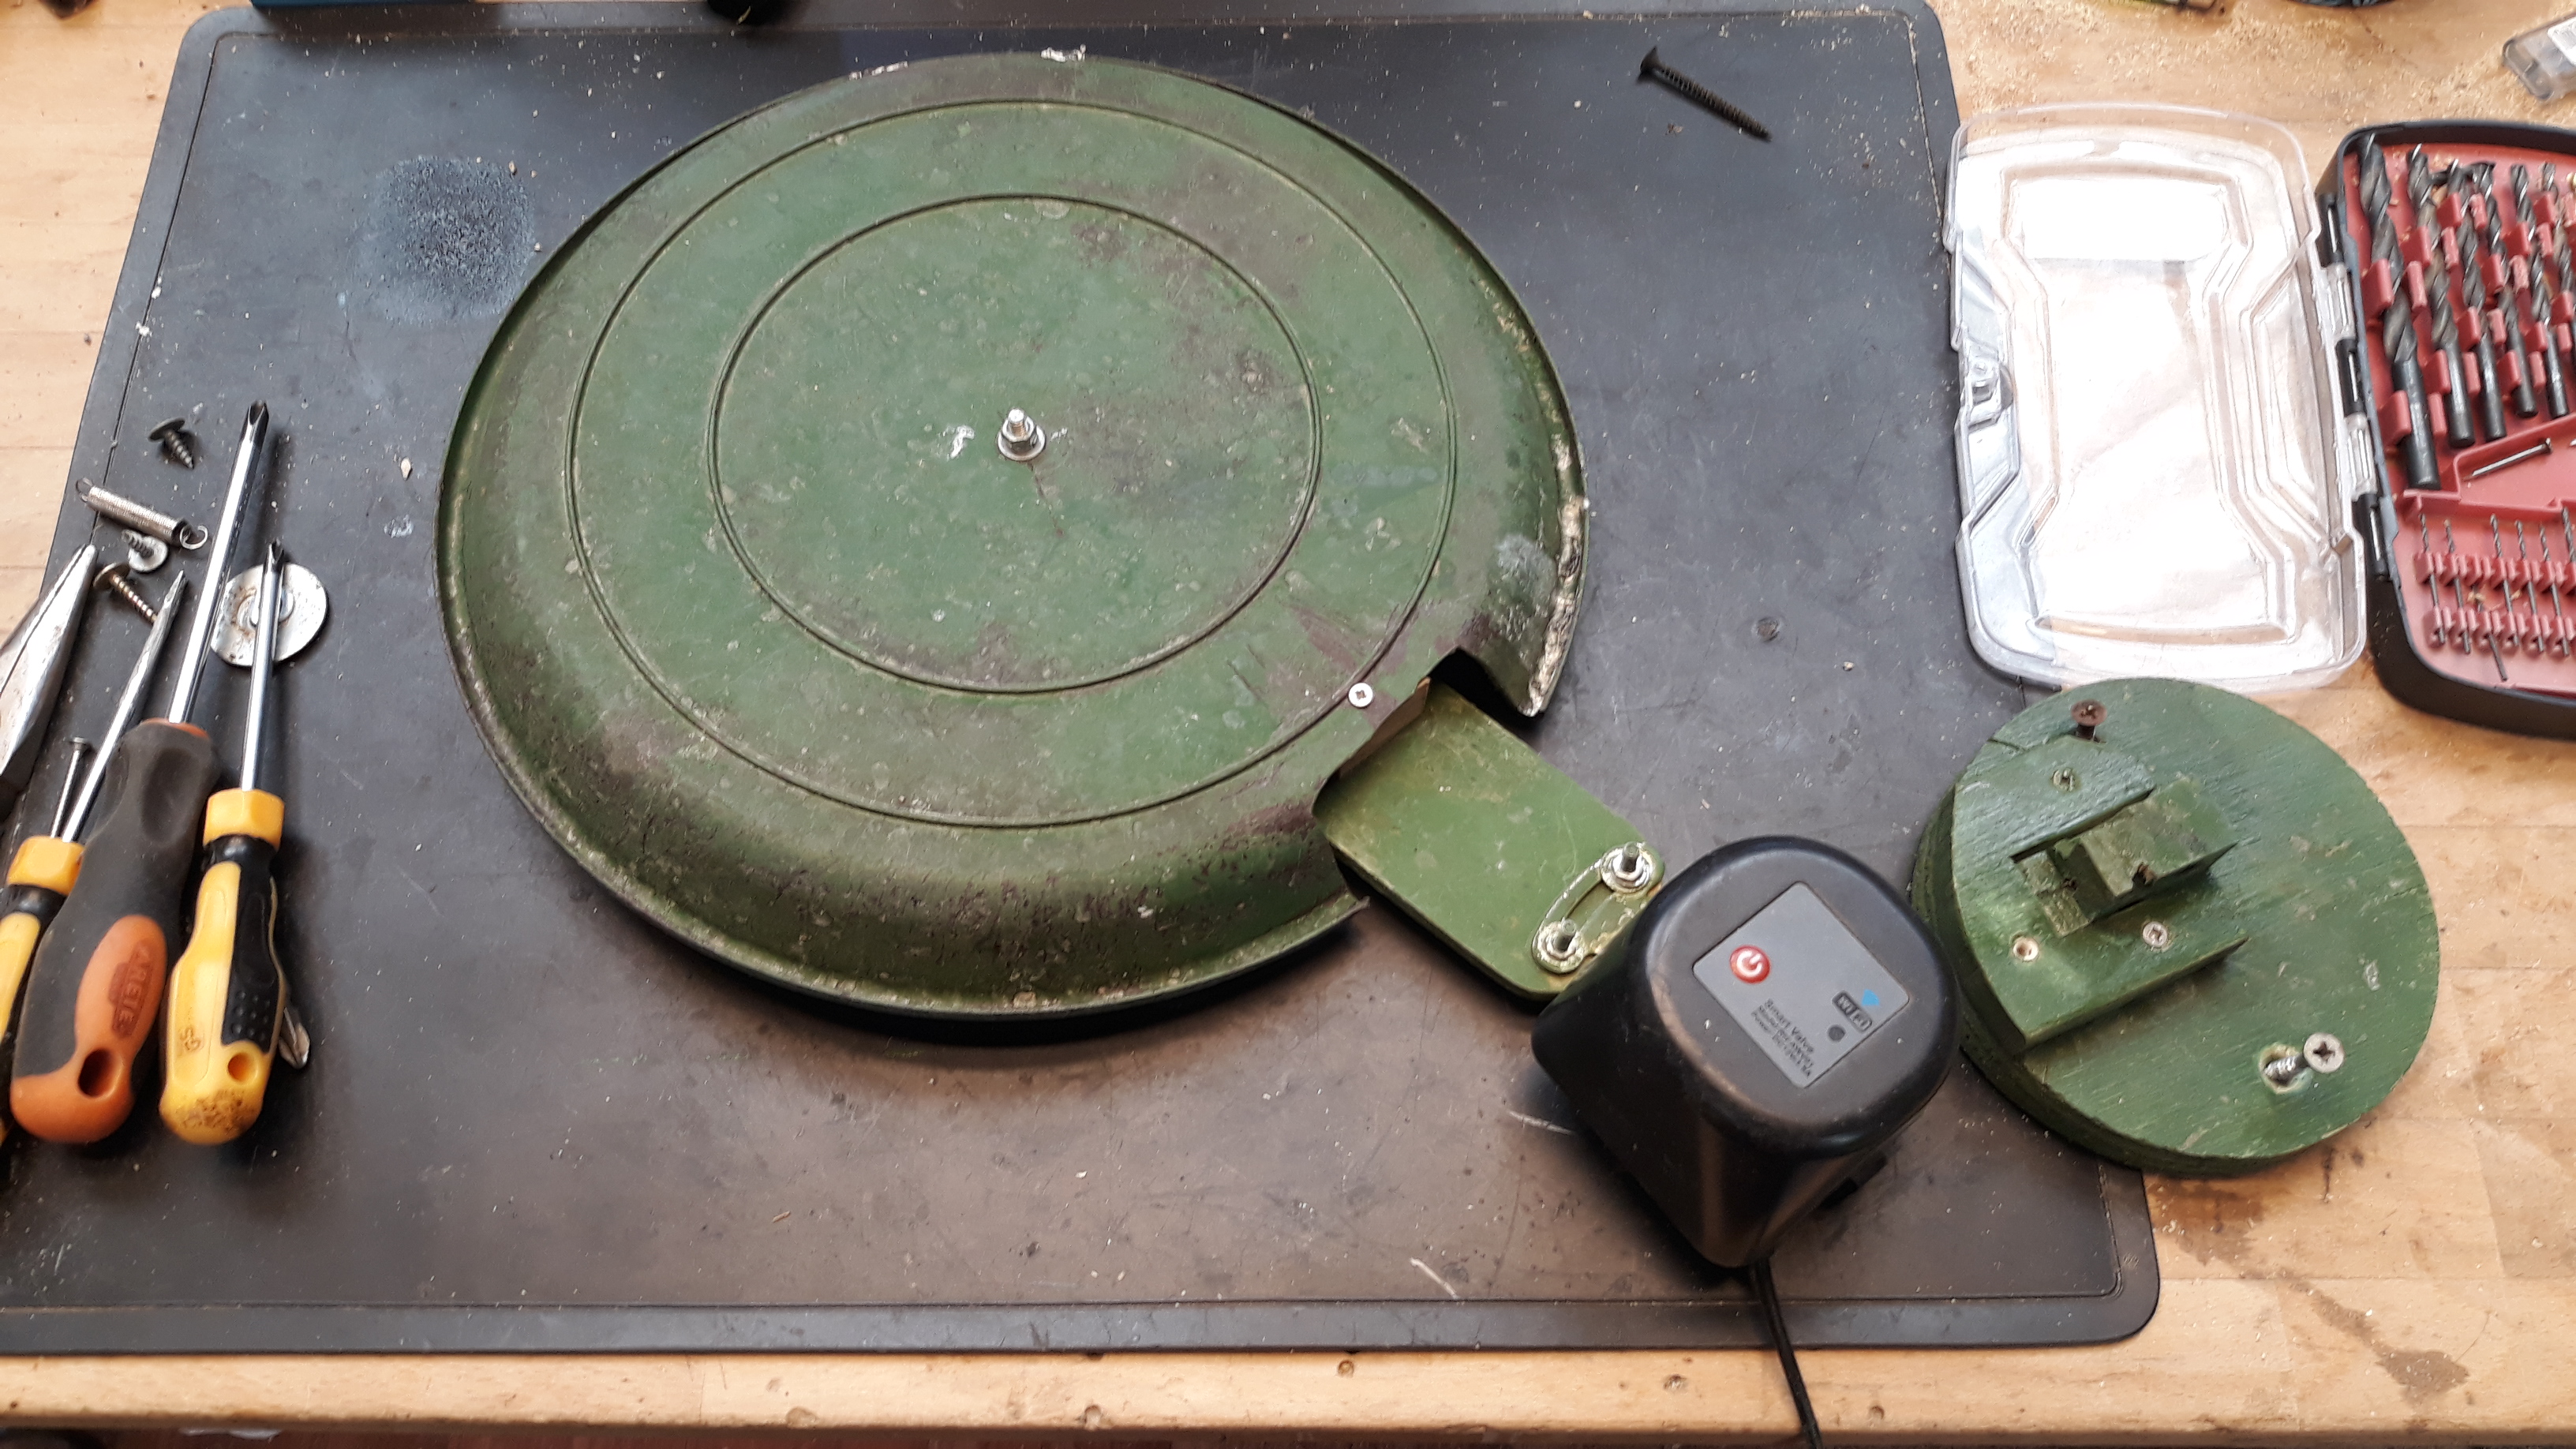
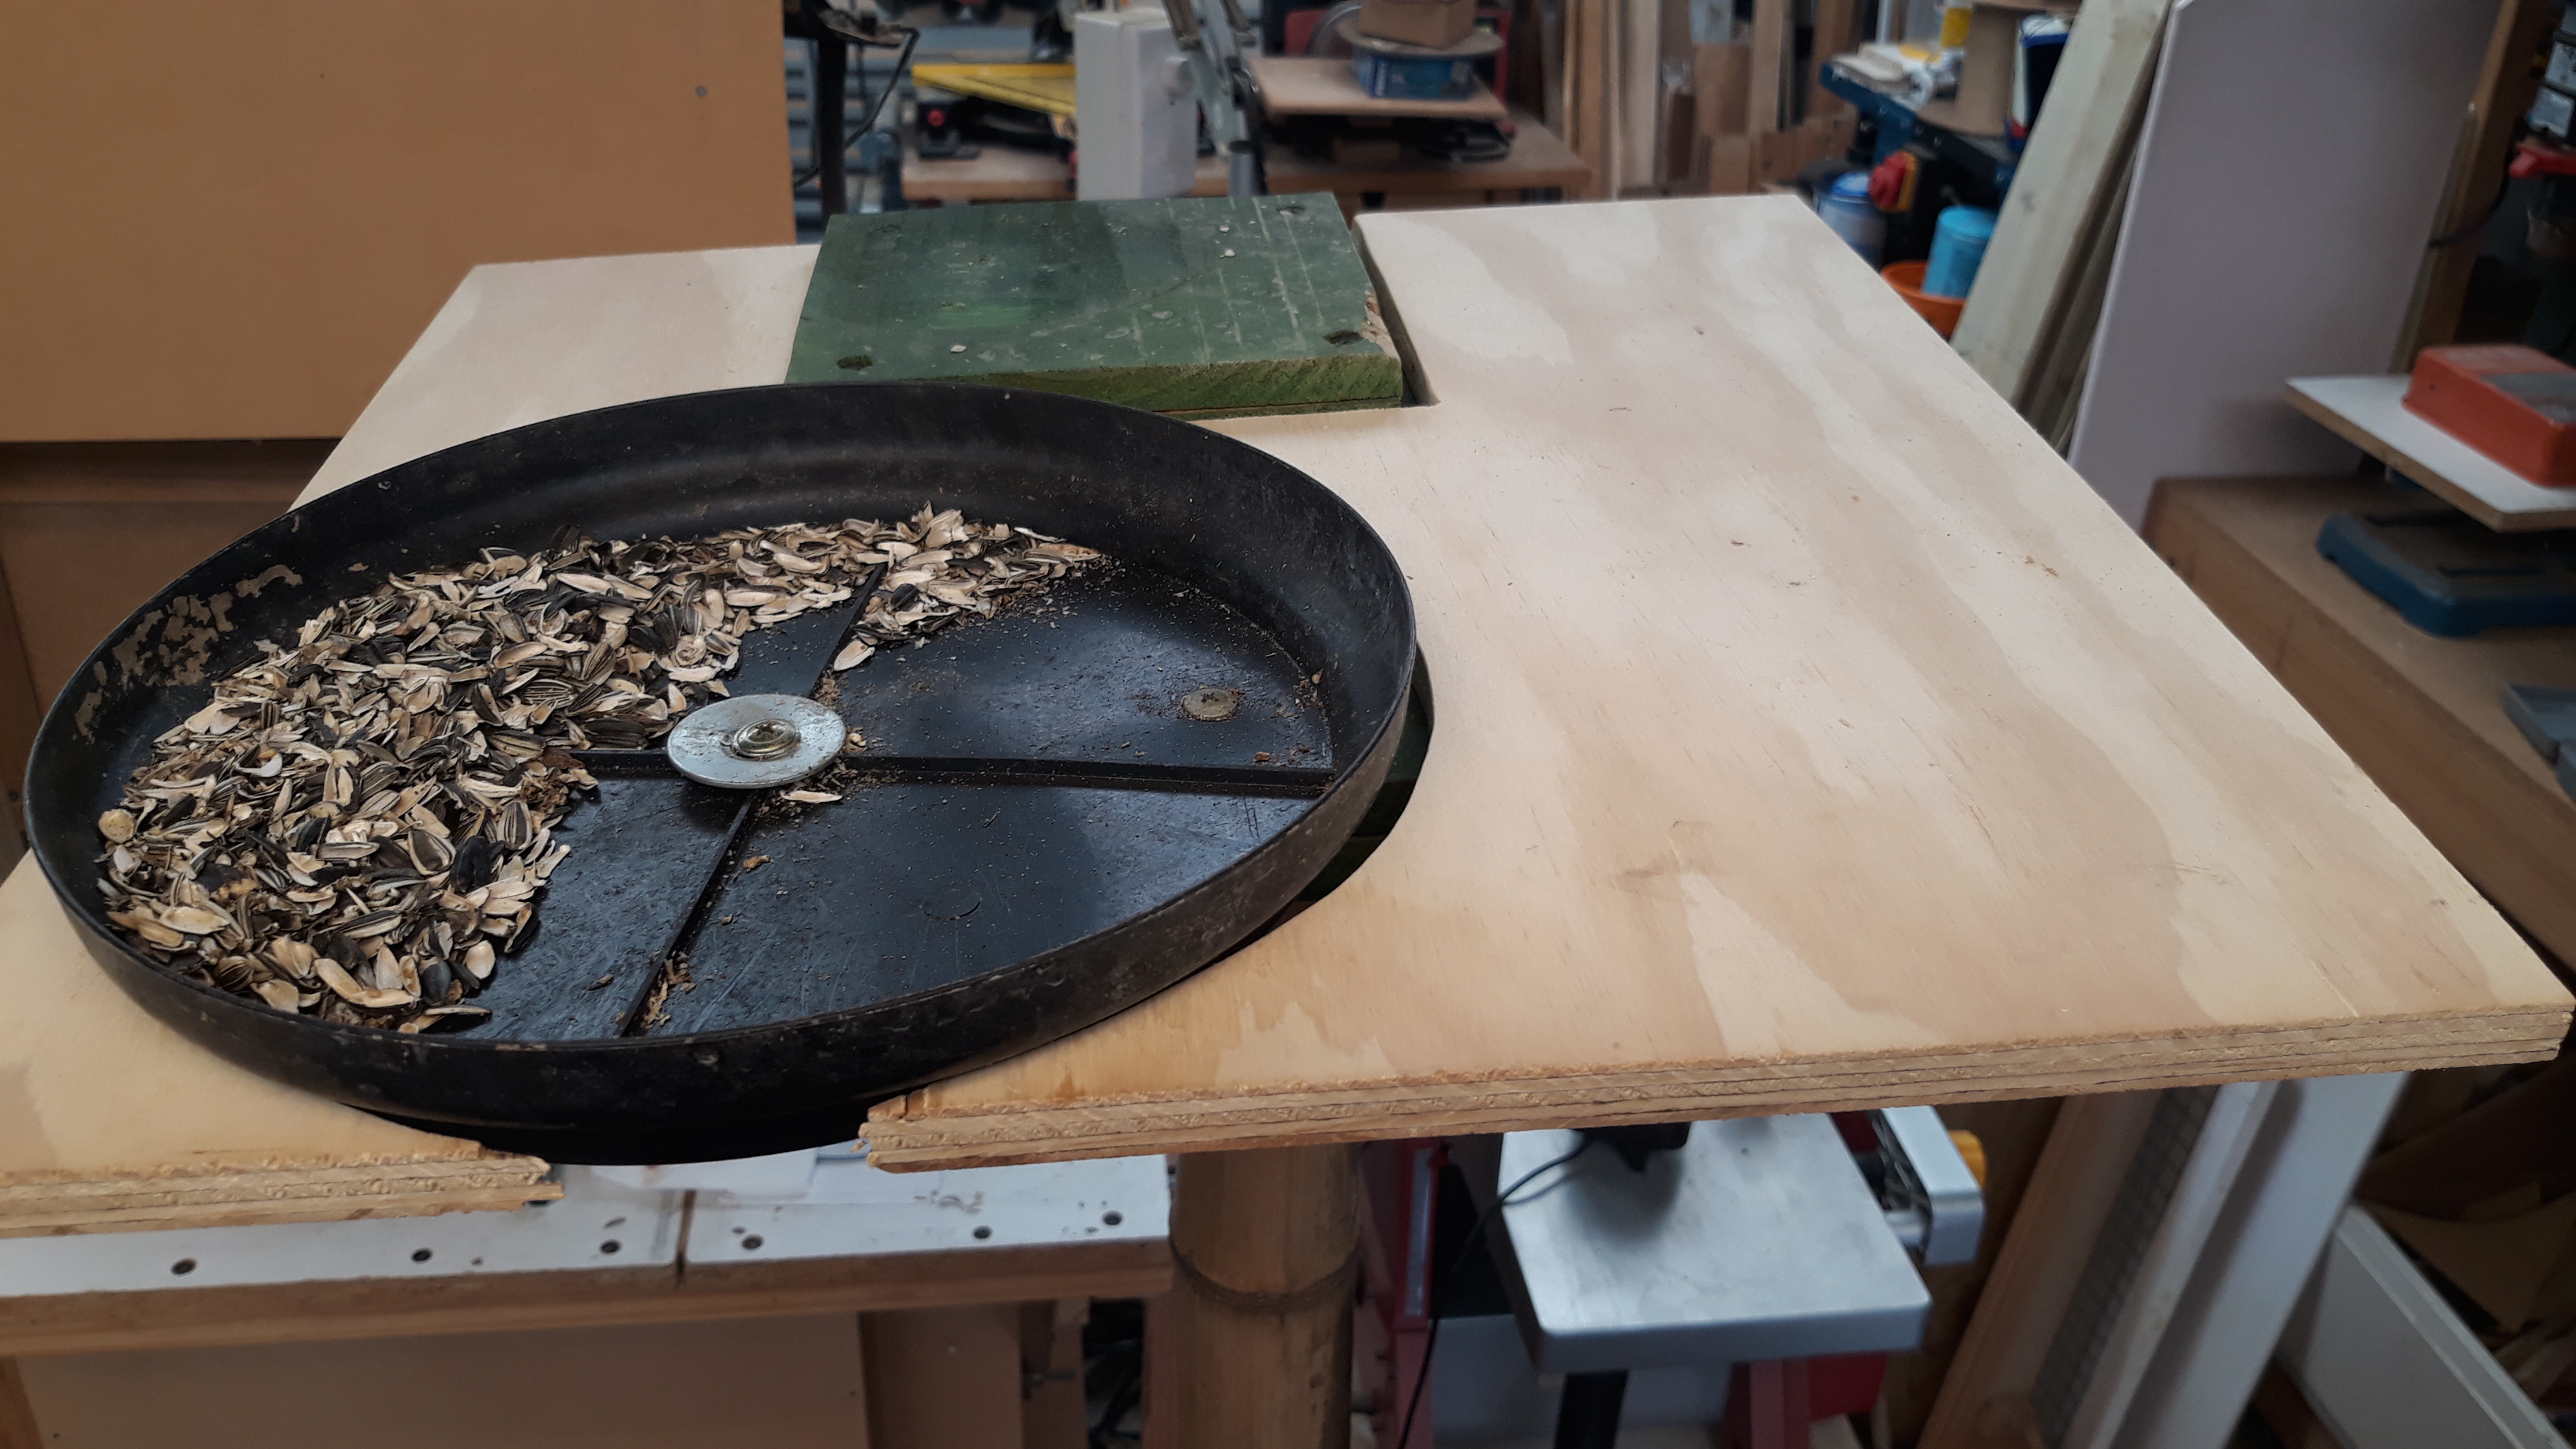
Now I want to change that inverted pot plant saucer for a neater plywood disc.
Found some 3mm plywood.
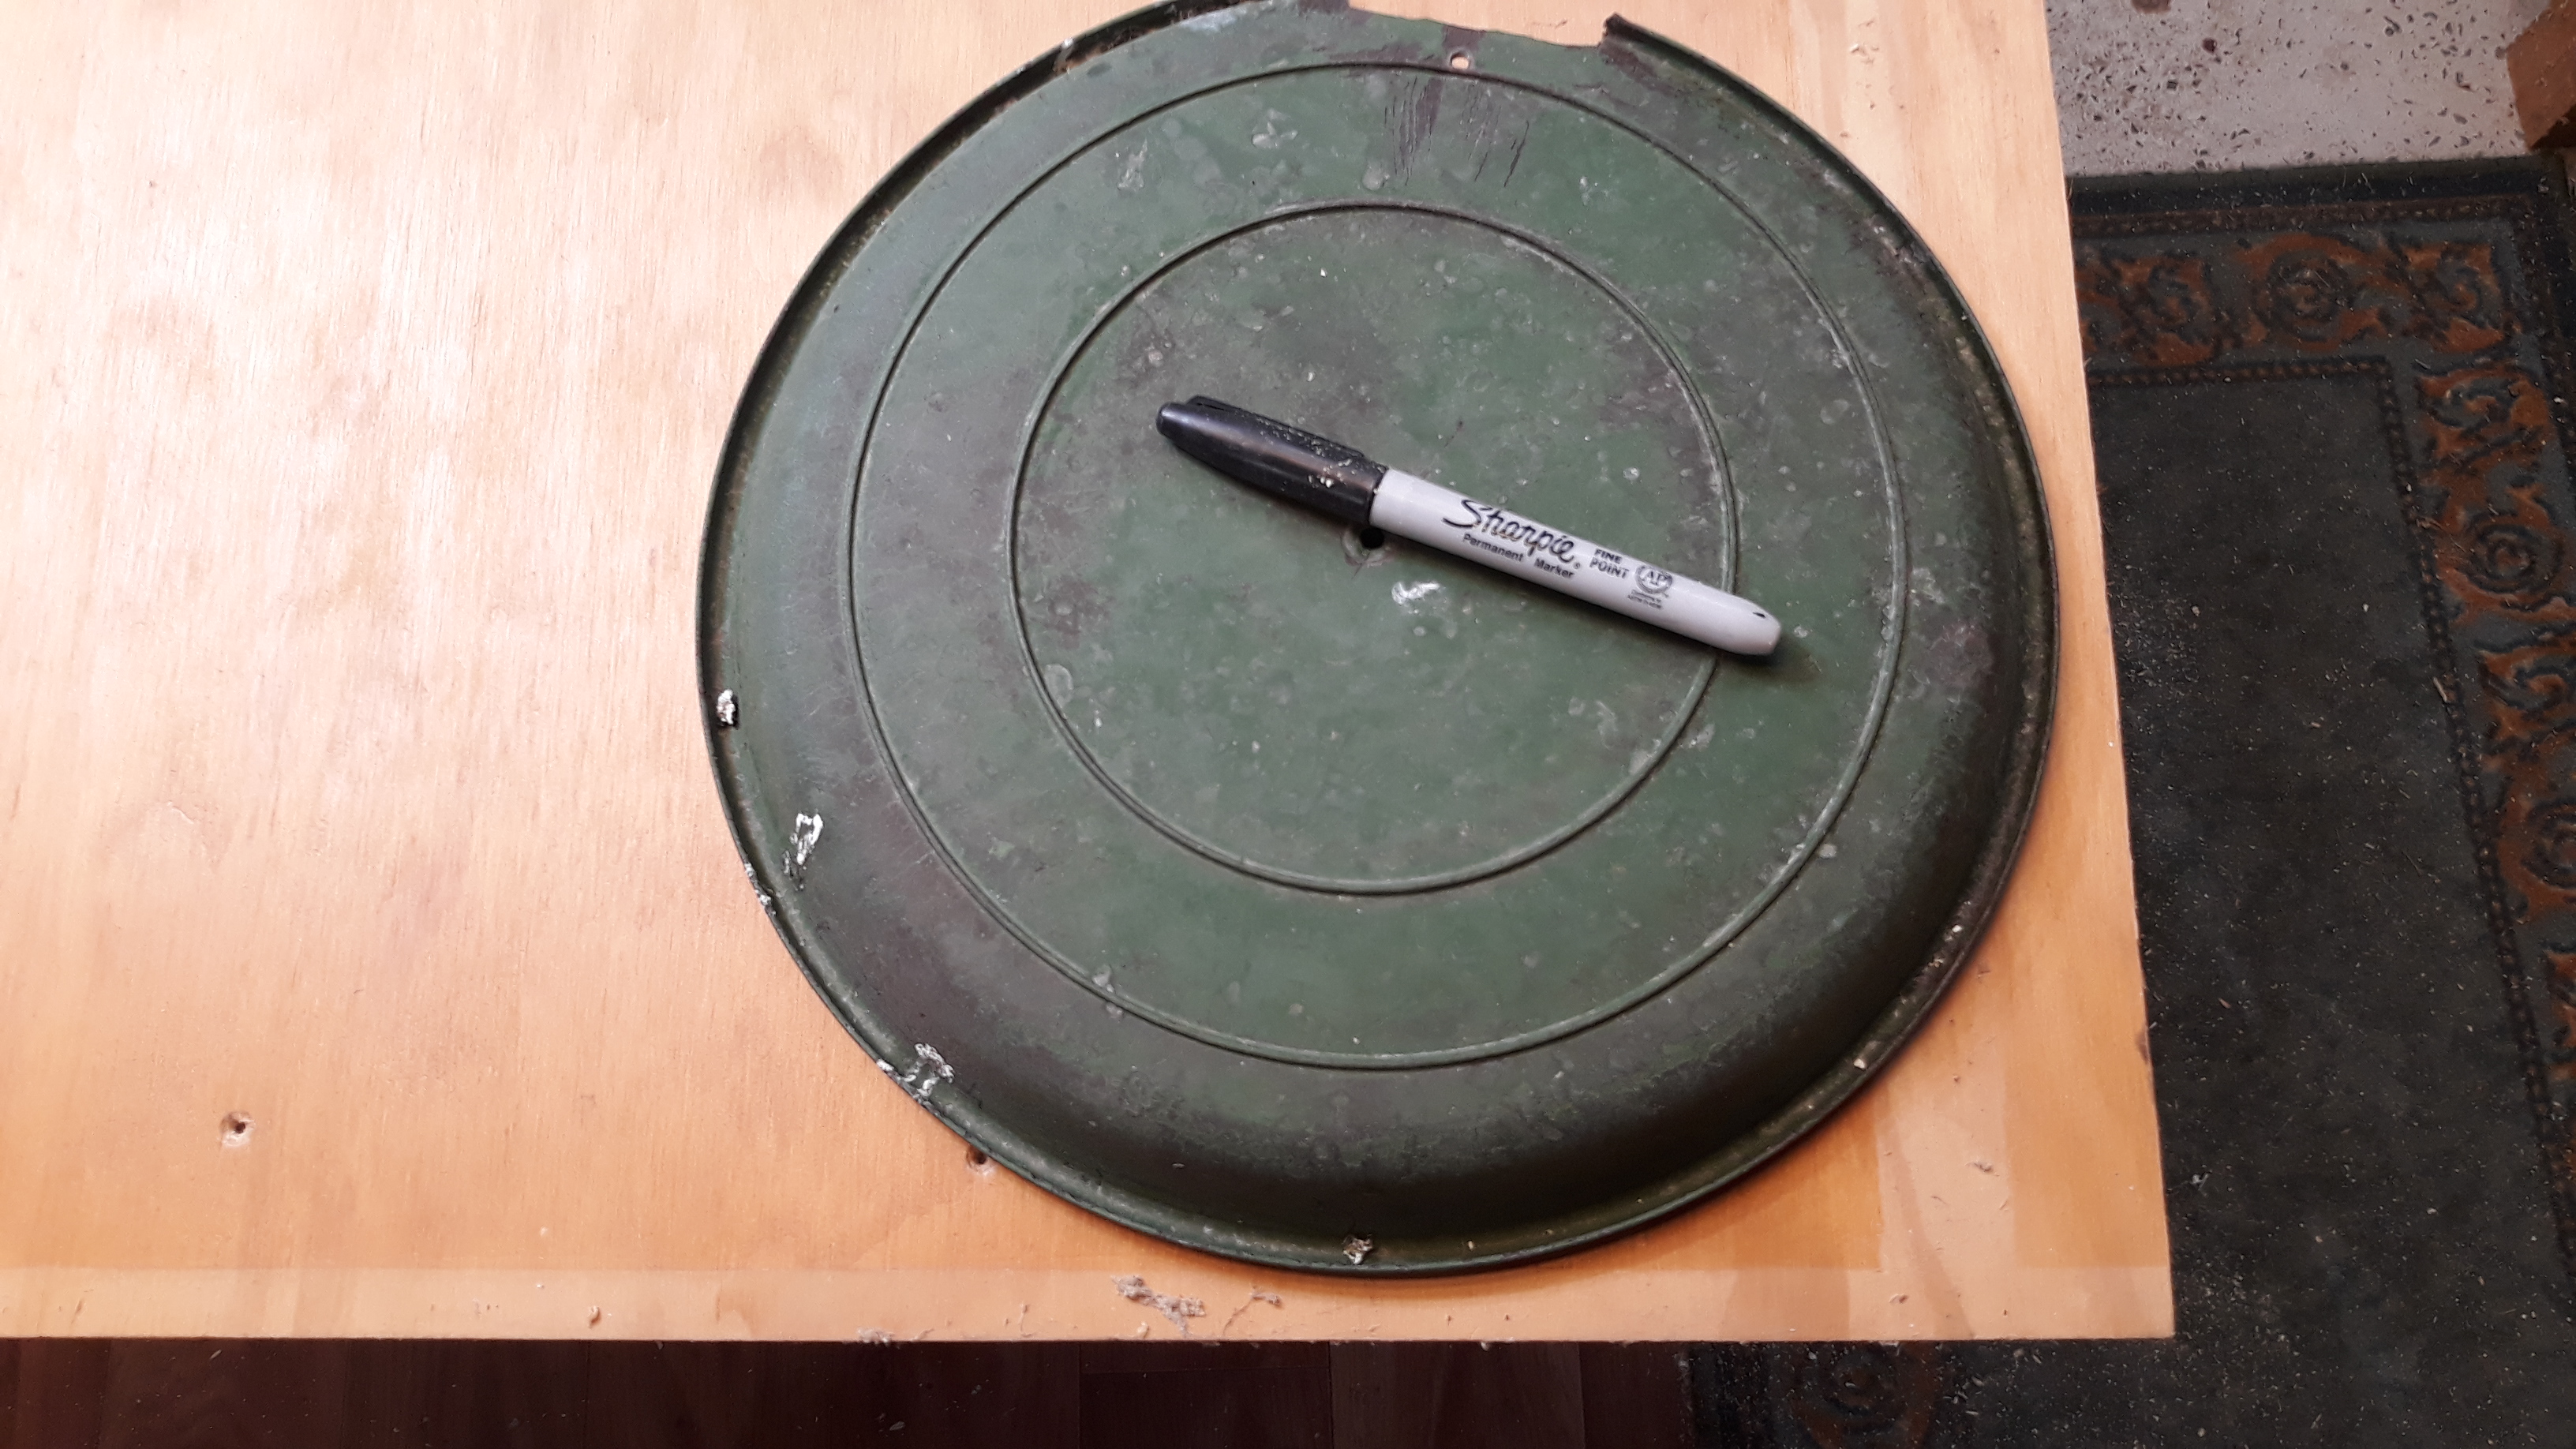
Use the pot plant saucer as a template.
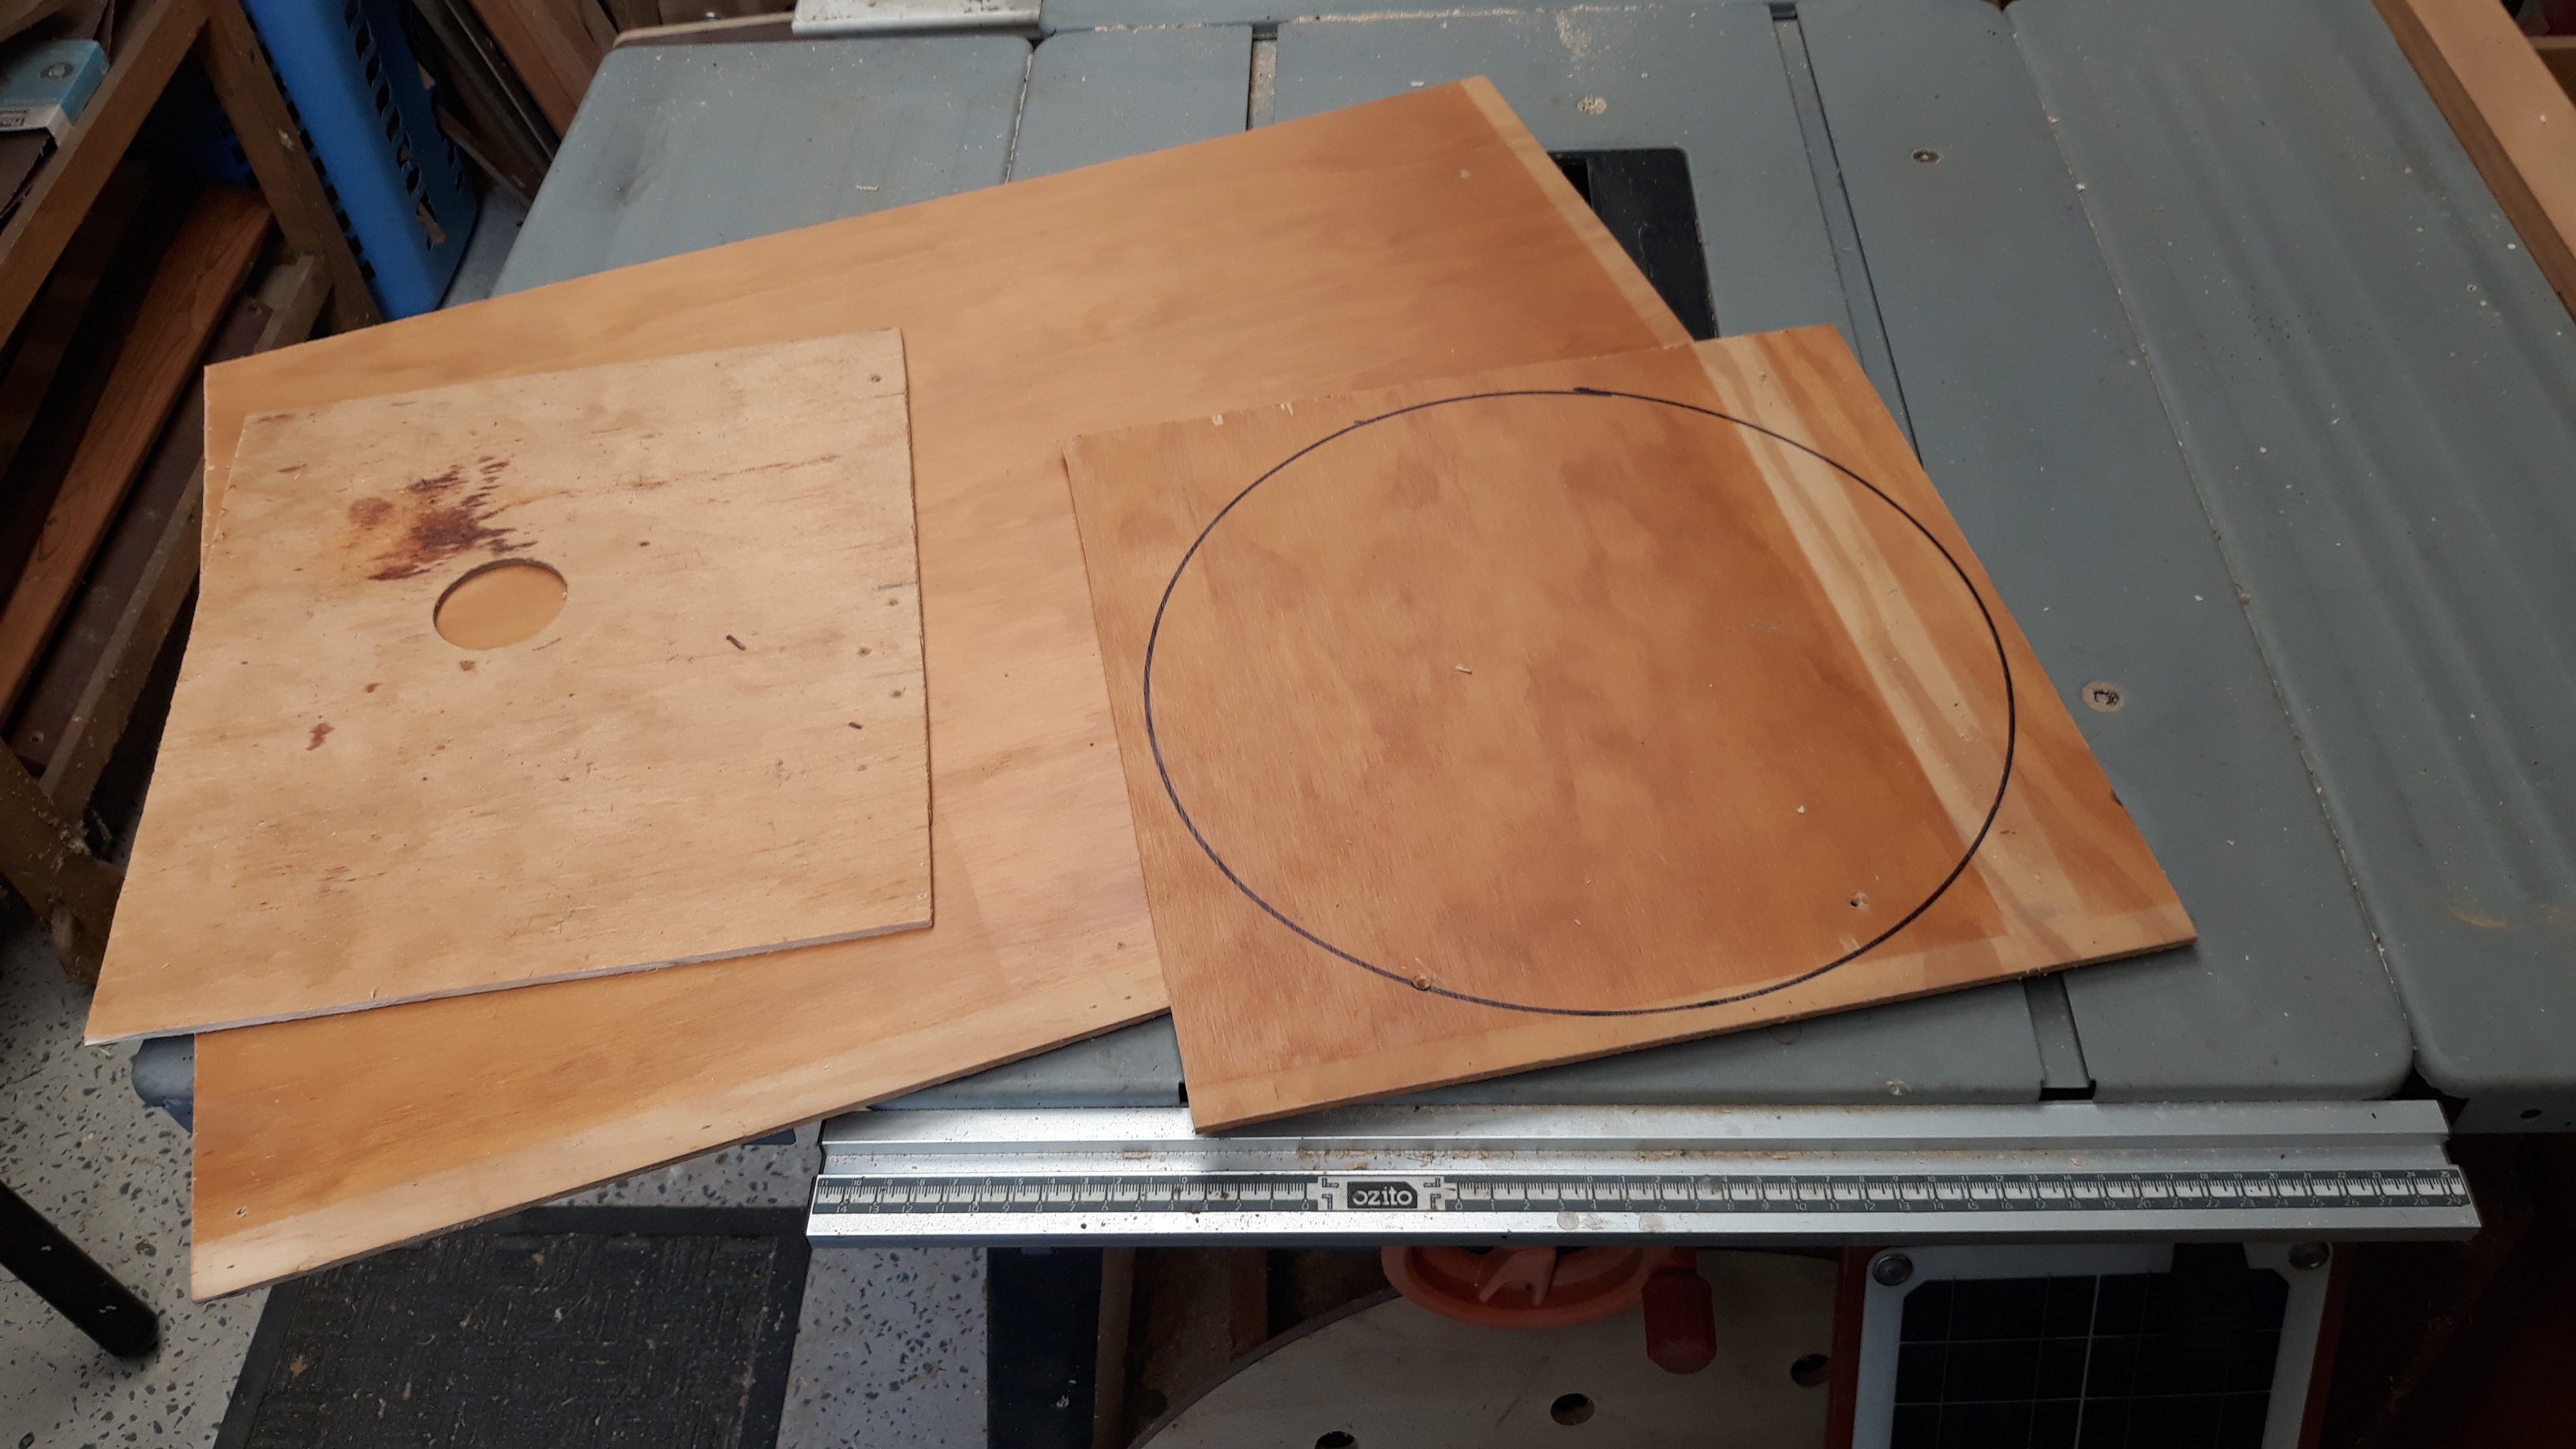
Rip on the table saw to a more convenient size.
With that done…
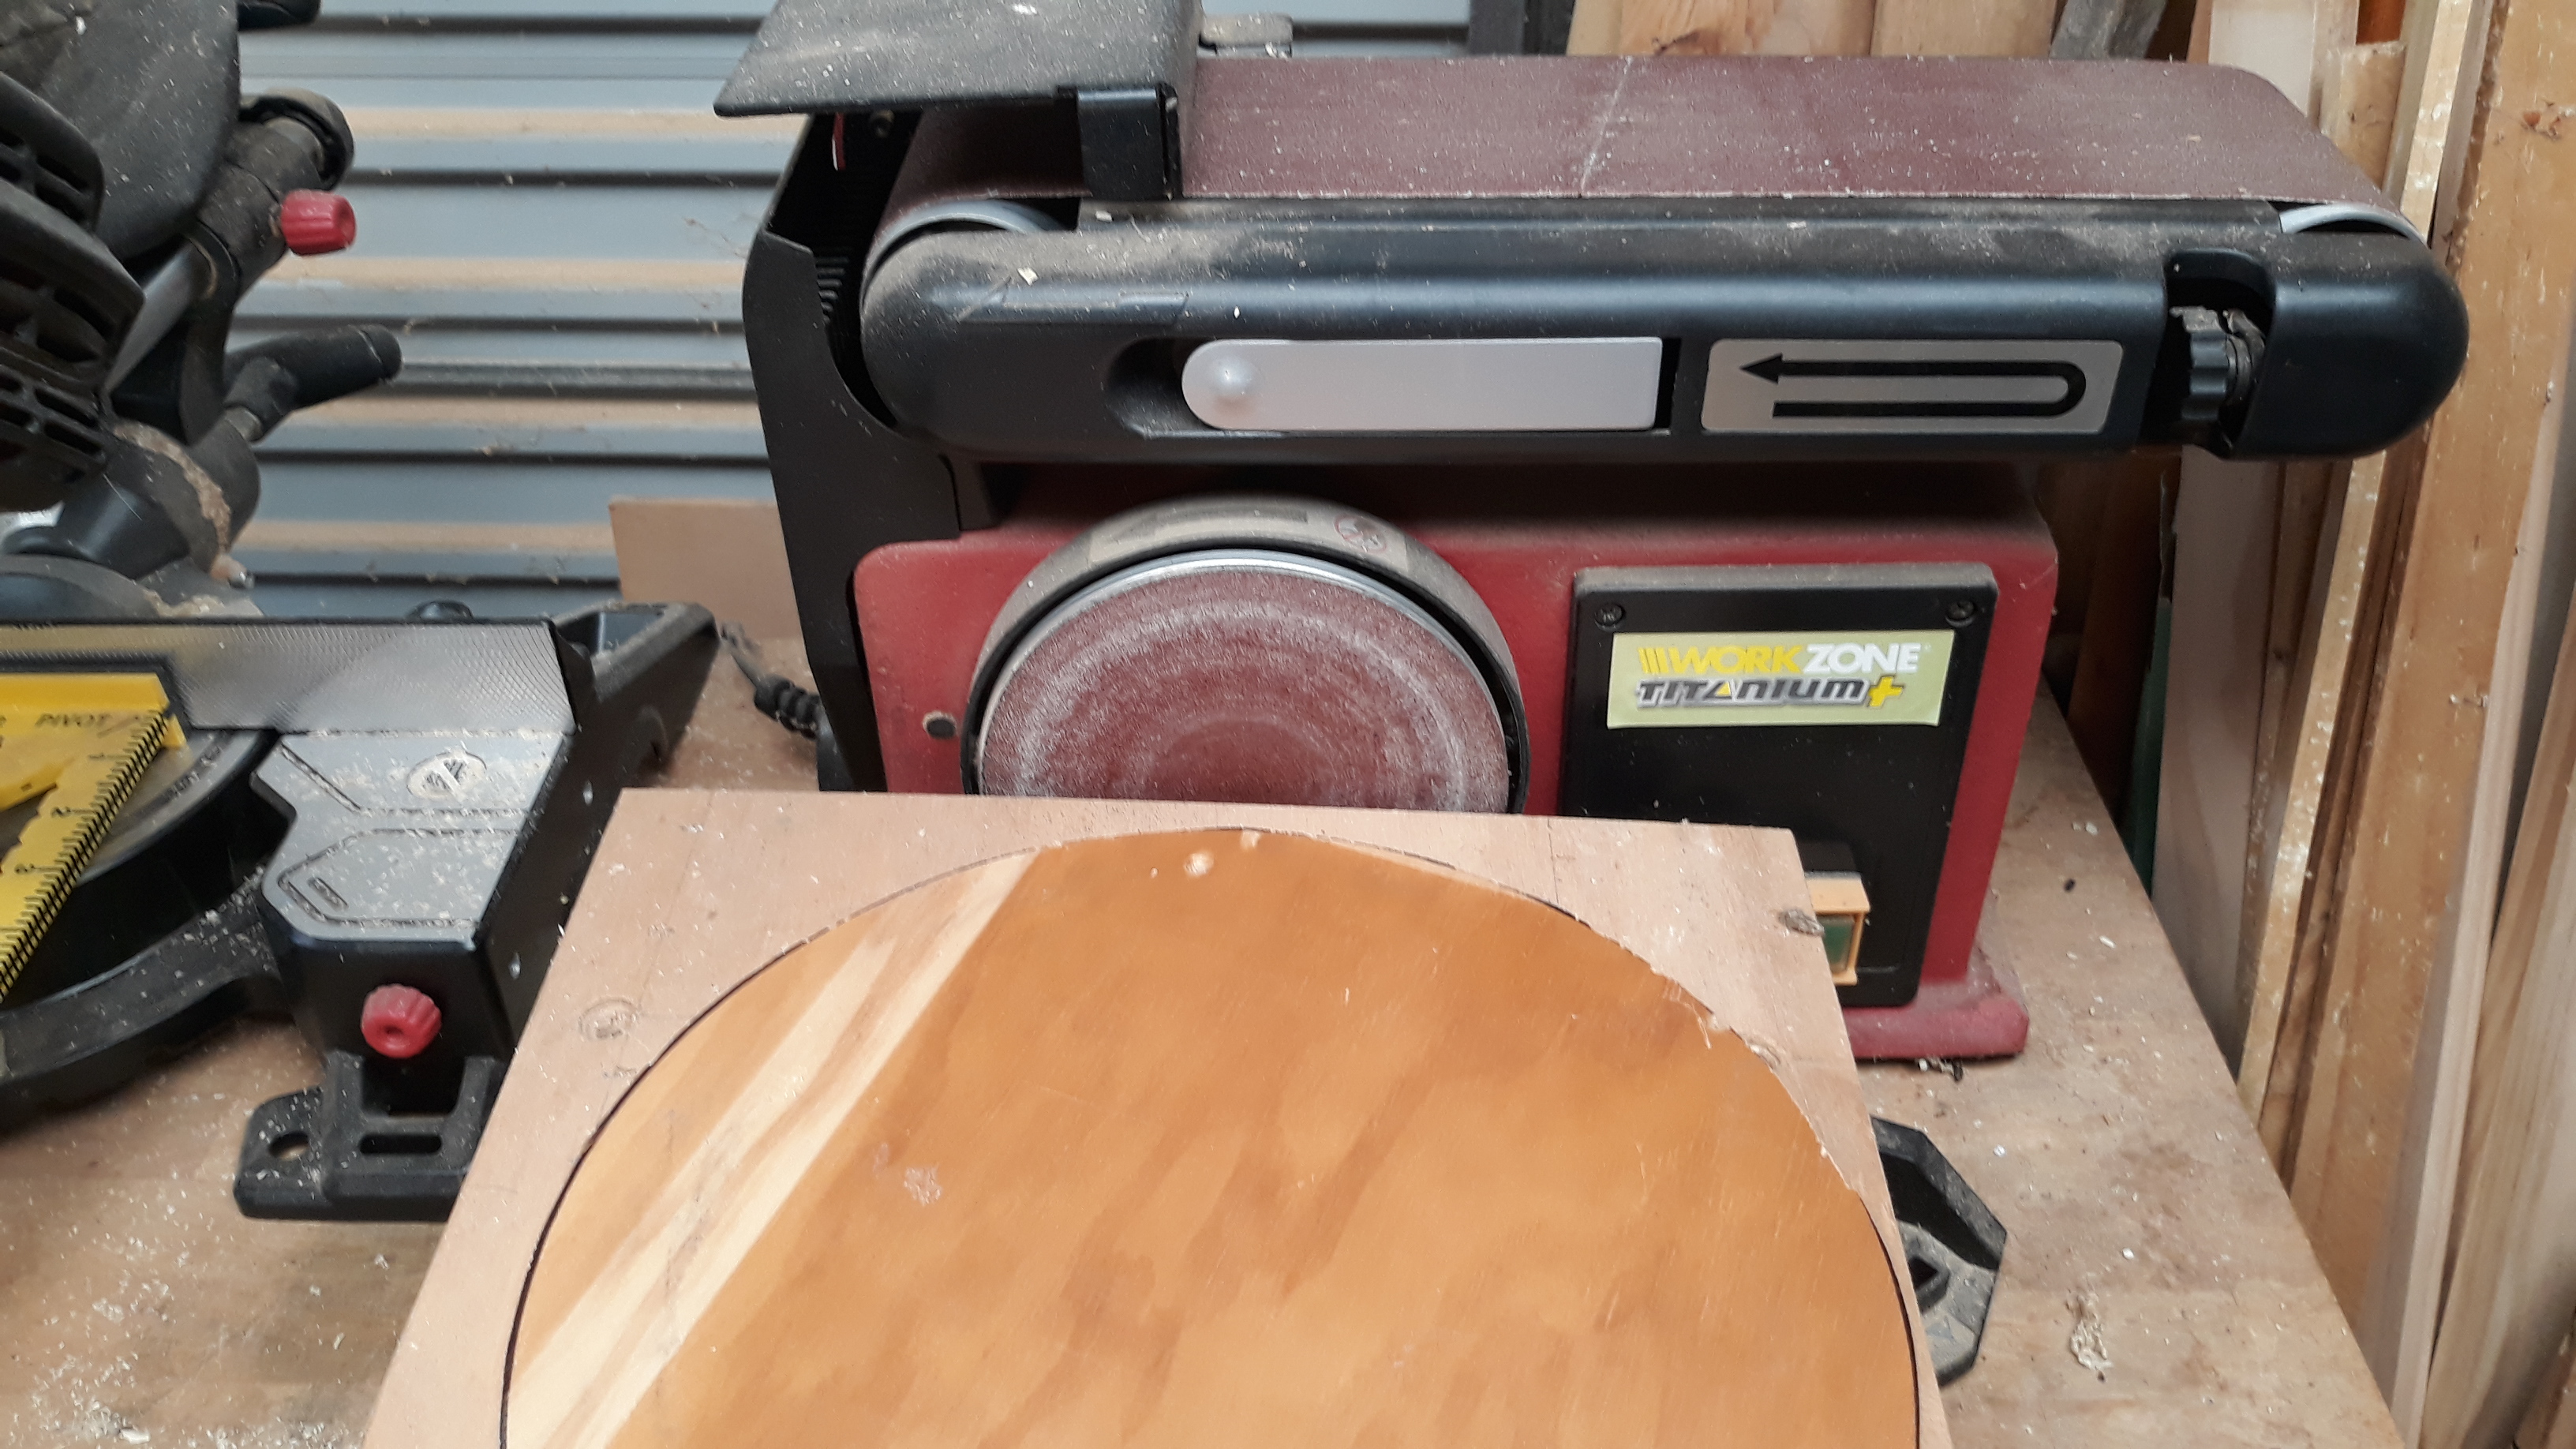
Clean up on the belt & disc sander.
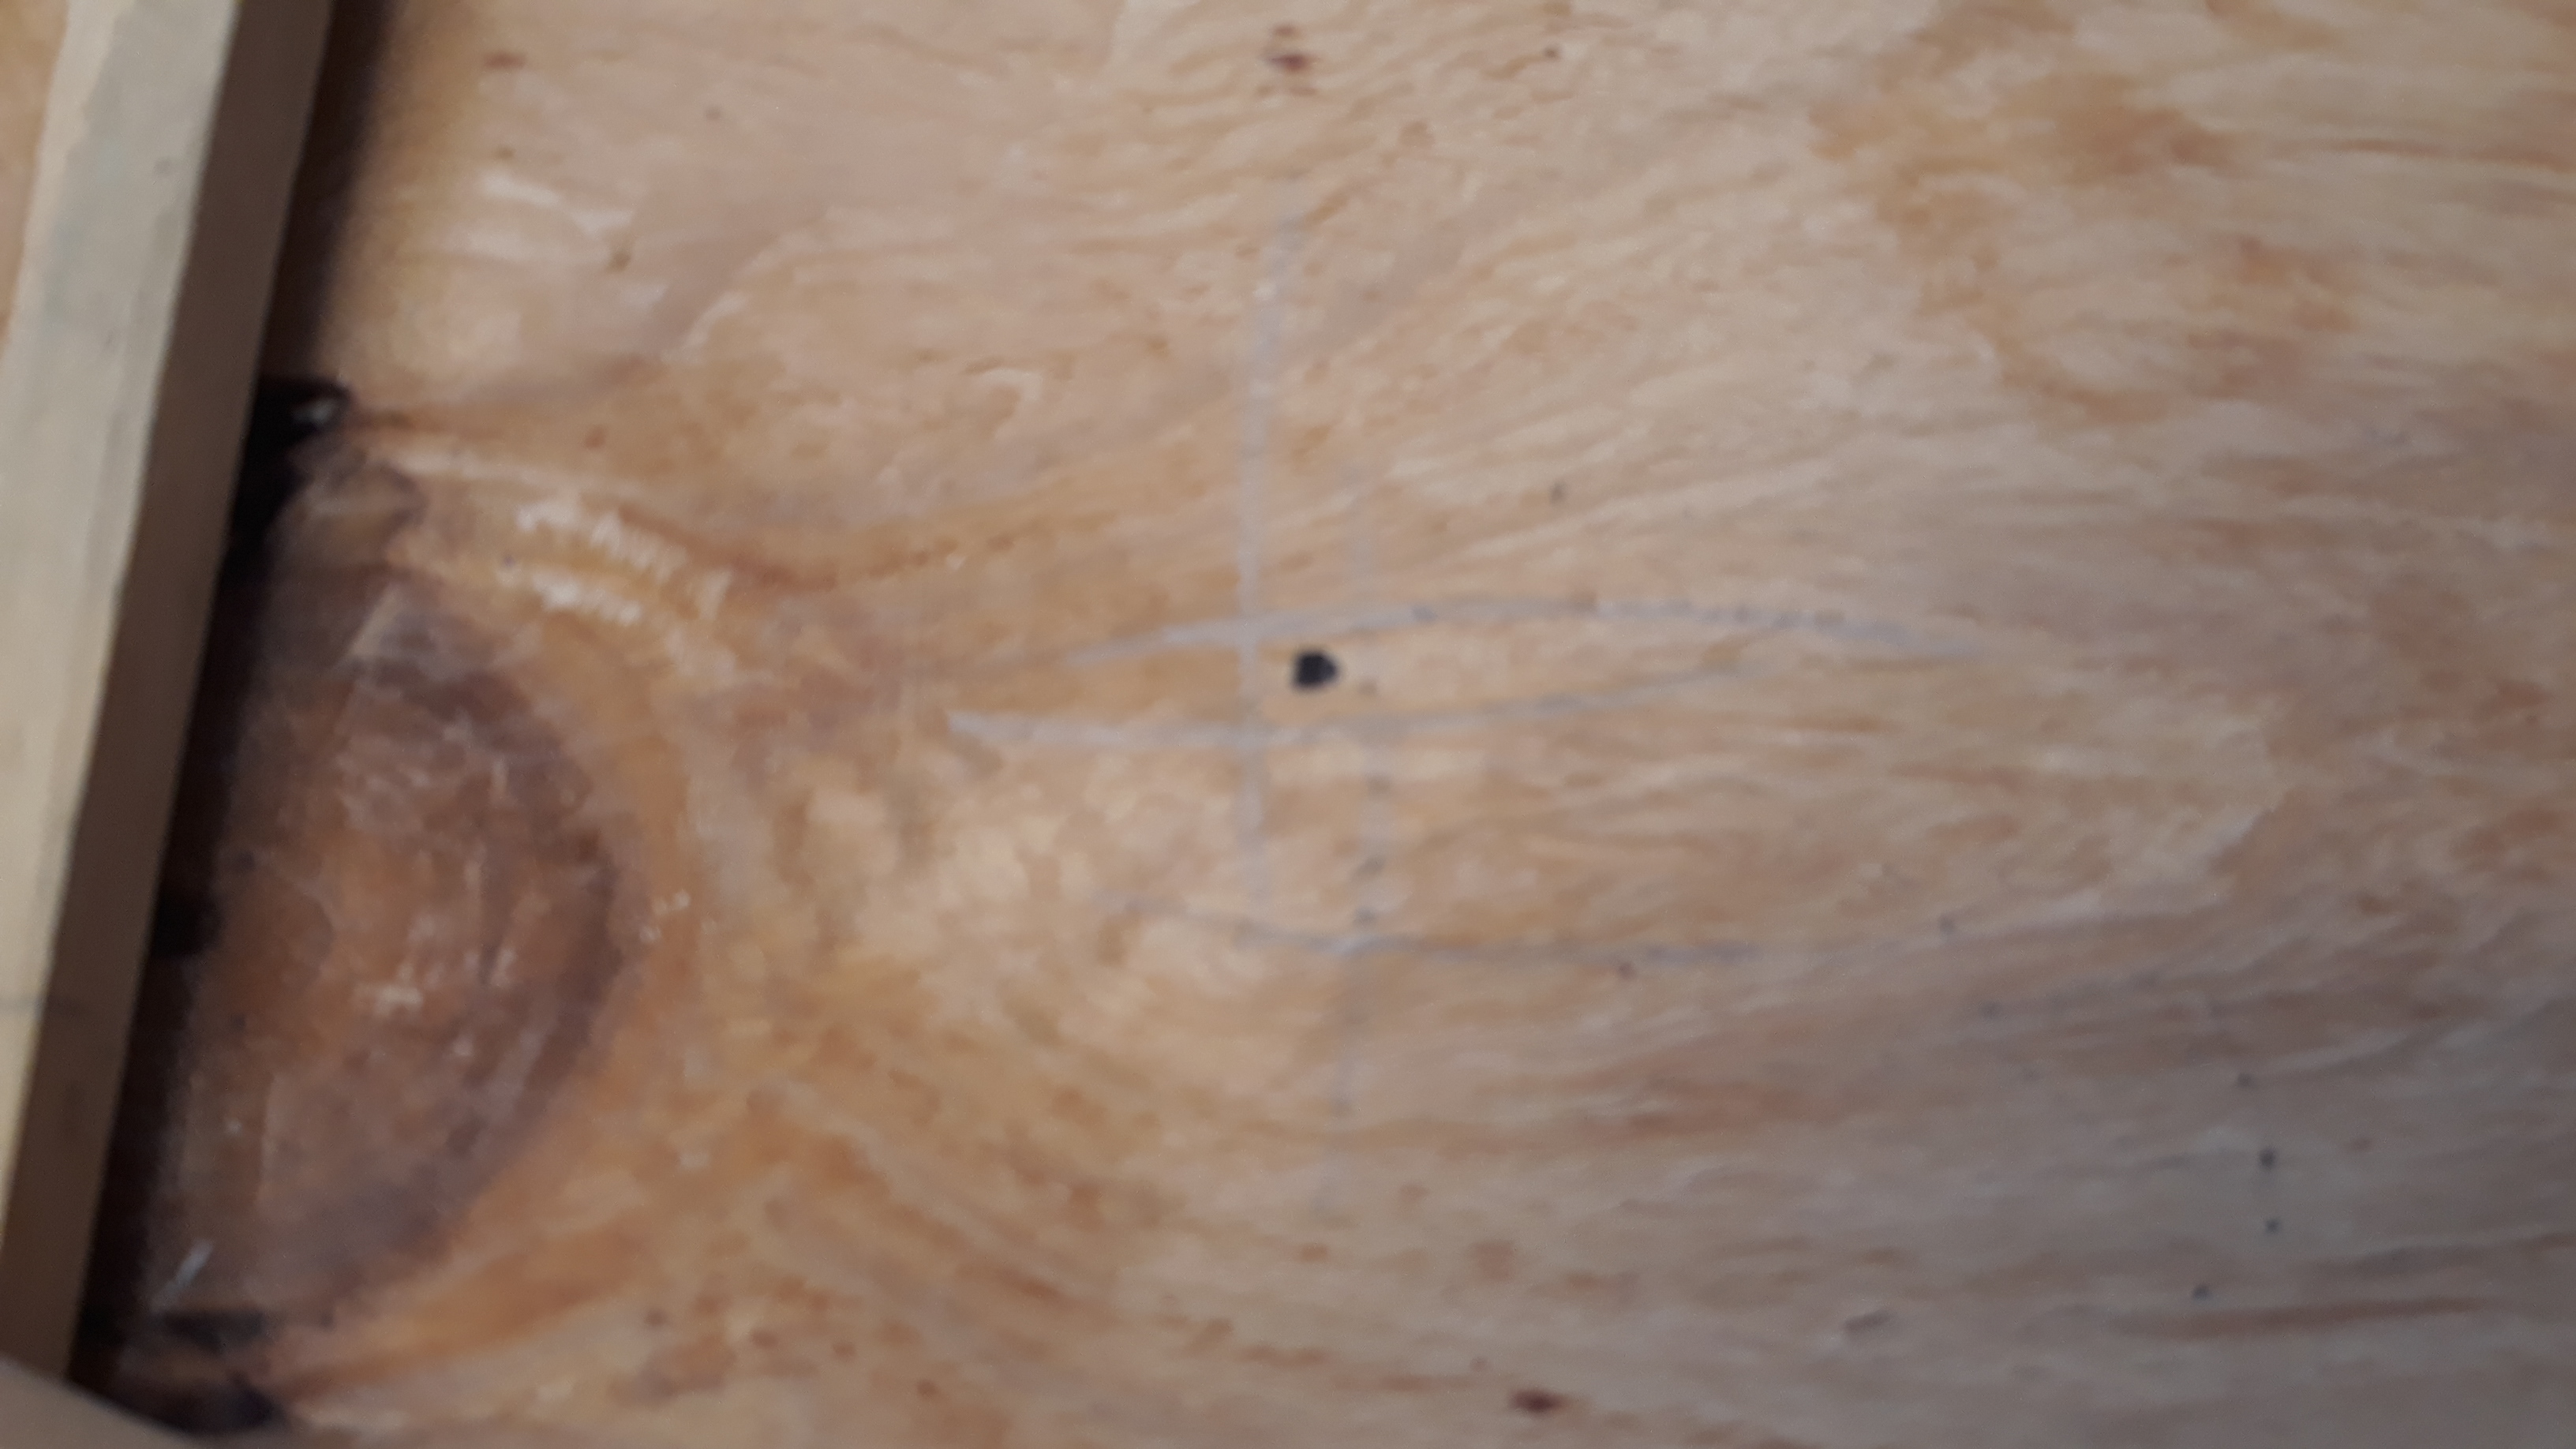
I just found the center point of the disc by scribing from the edge four short arcs at 90 degree intervals using my…
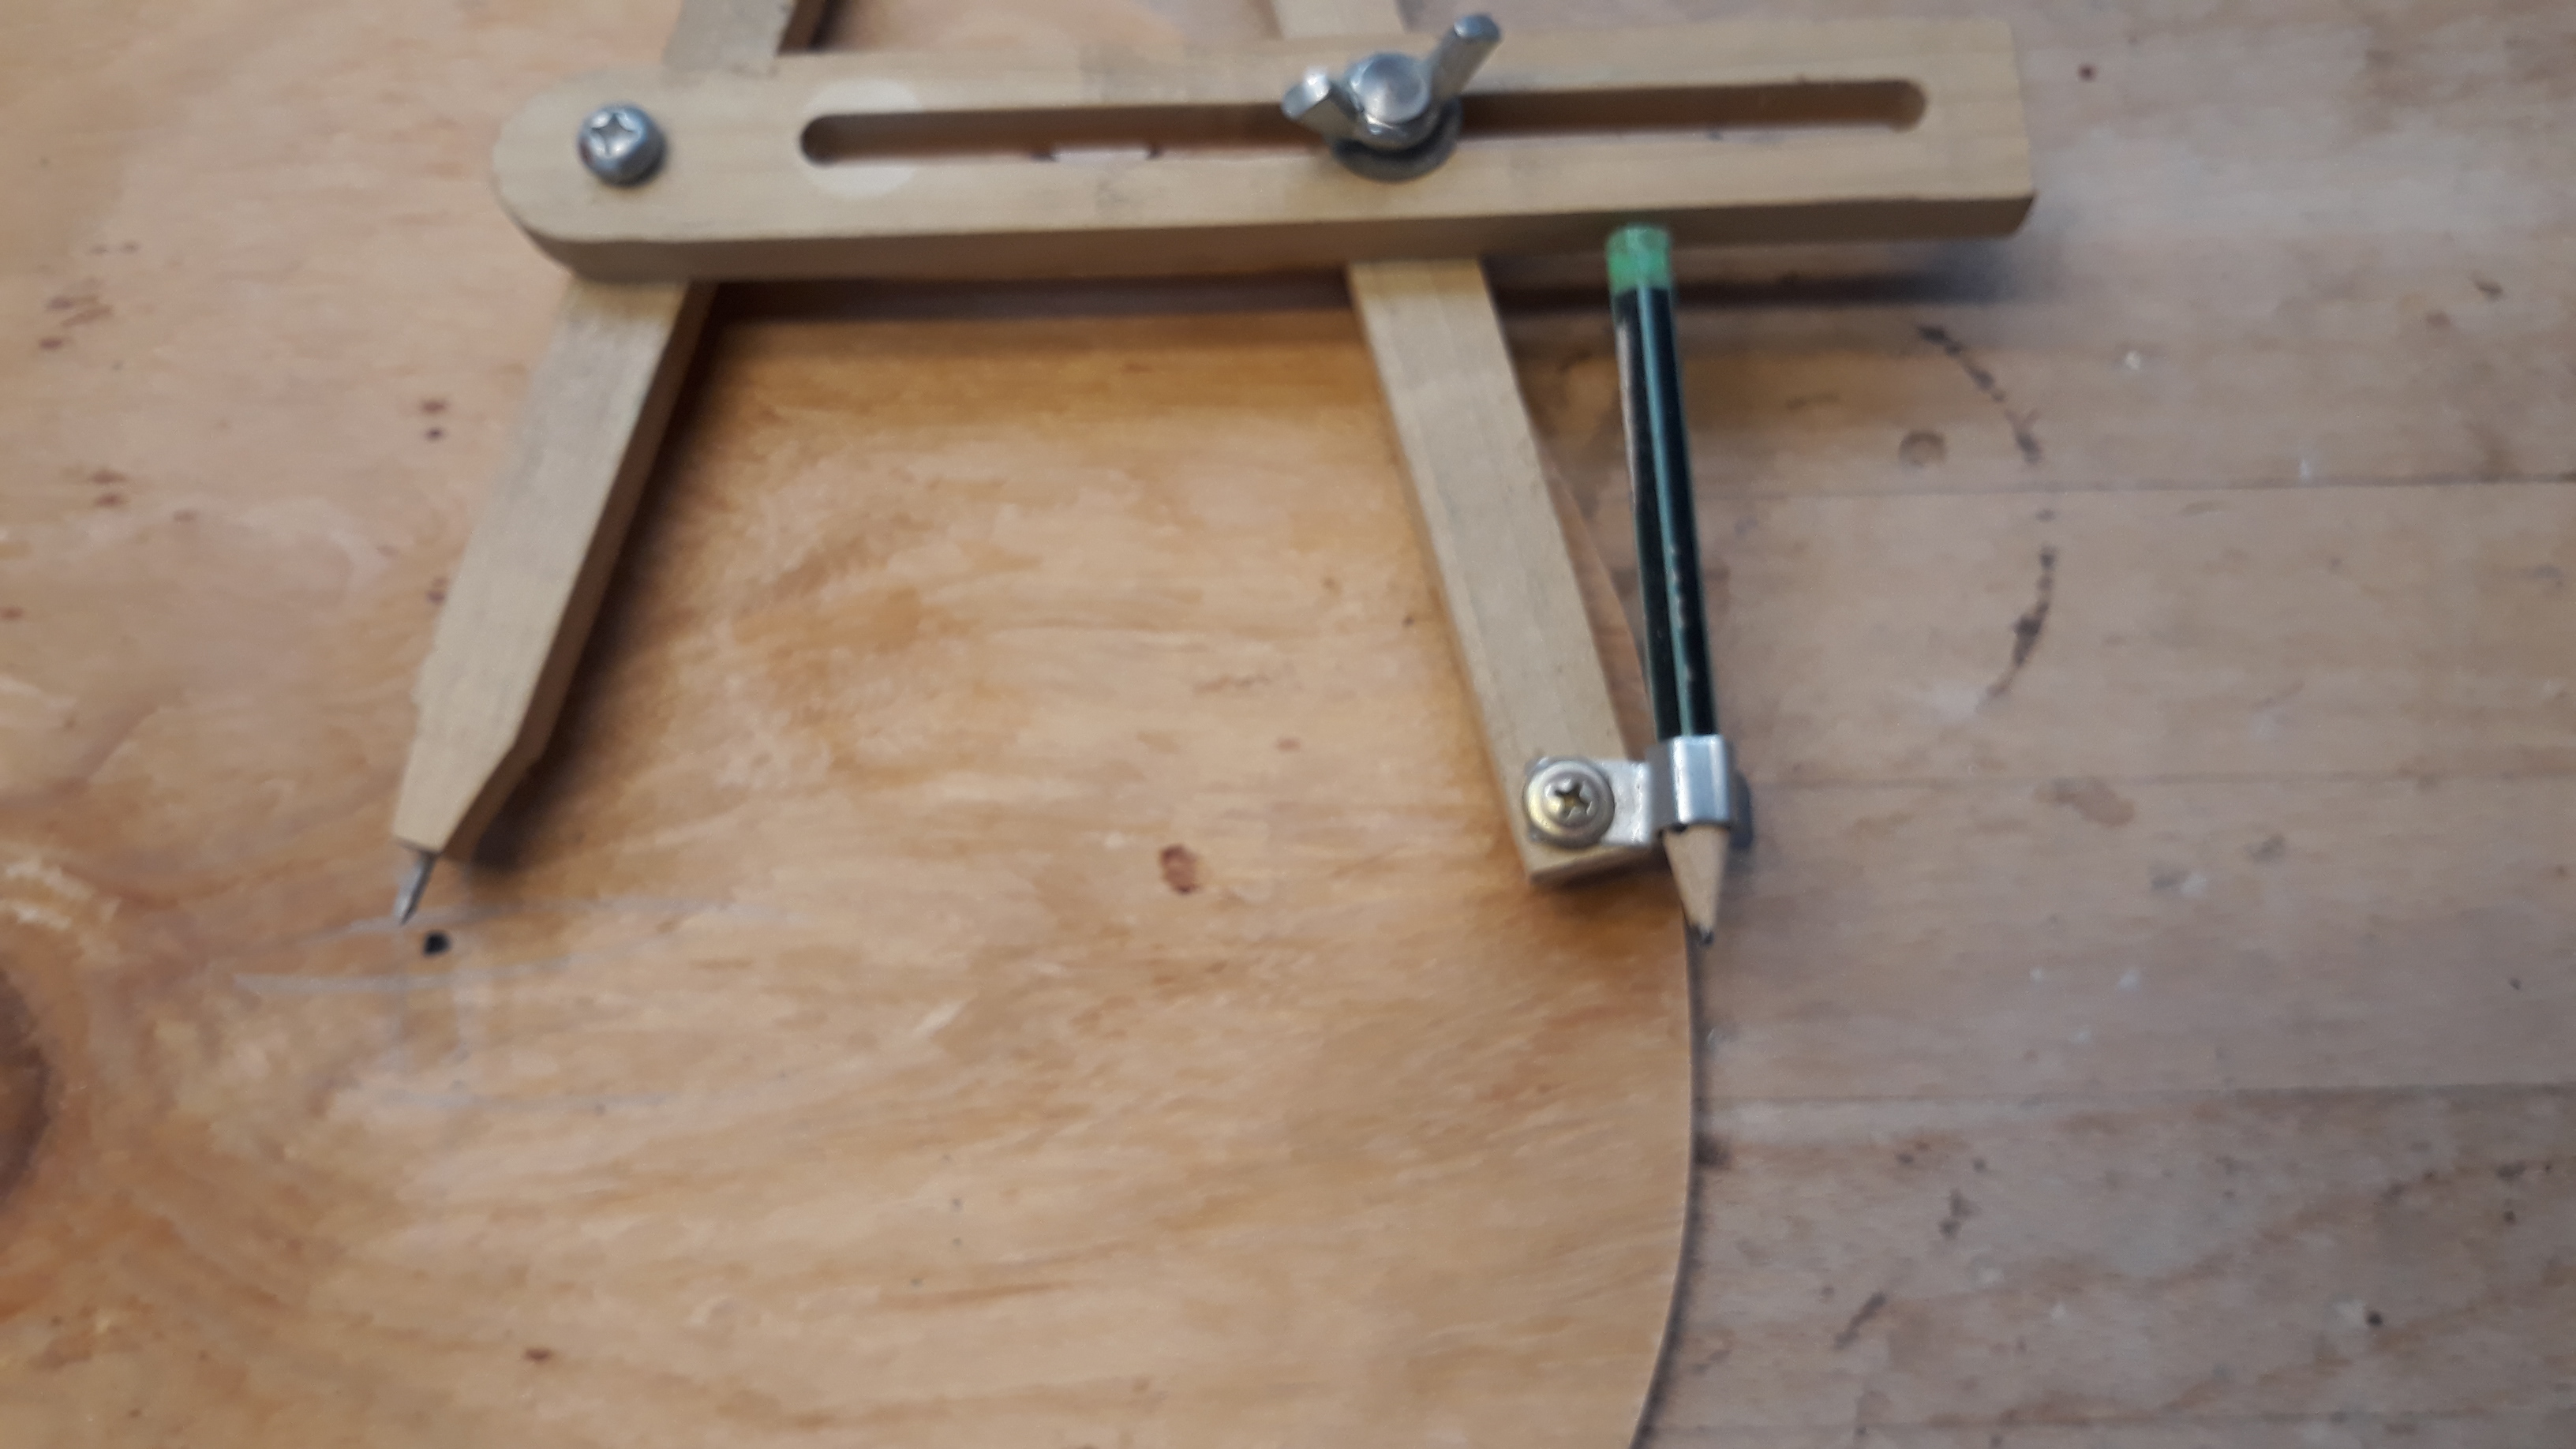
My DIY compass and here we are checking that the Texta dot is centered.
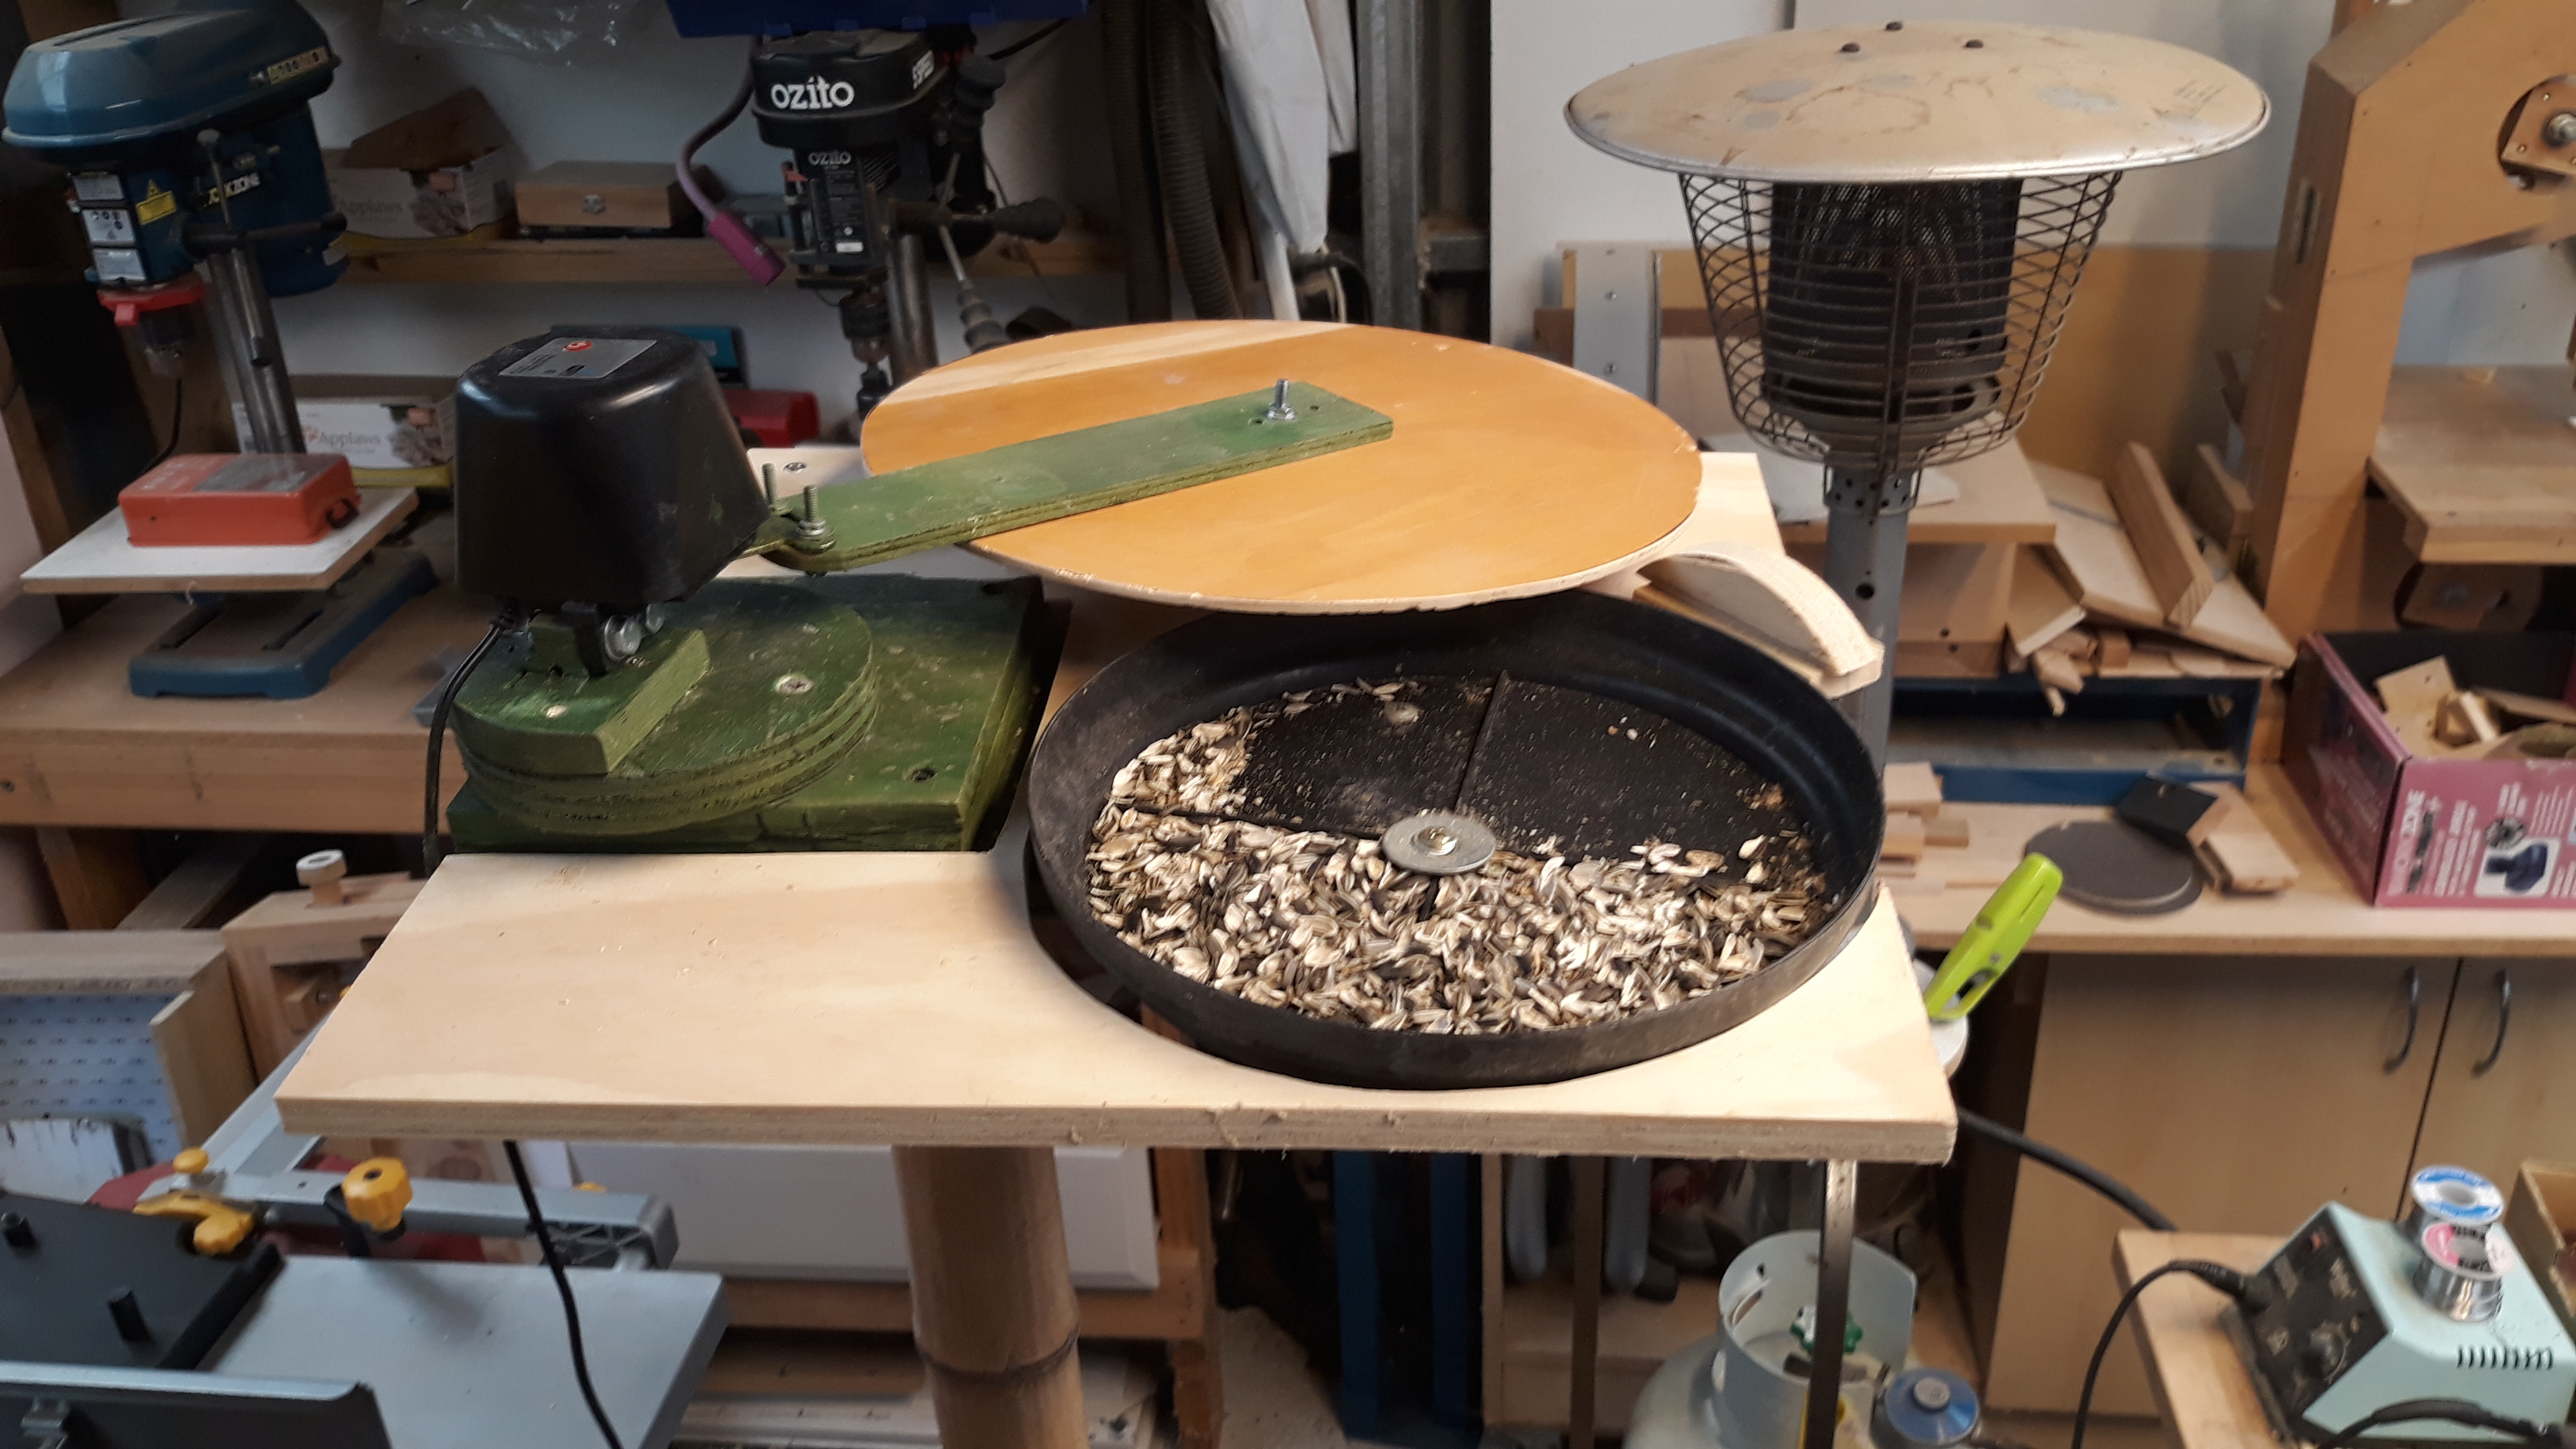
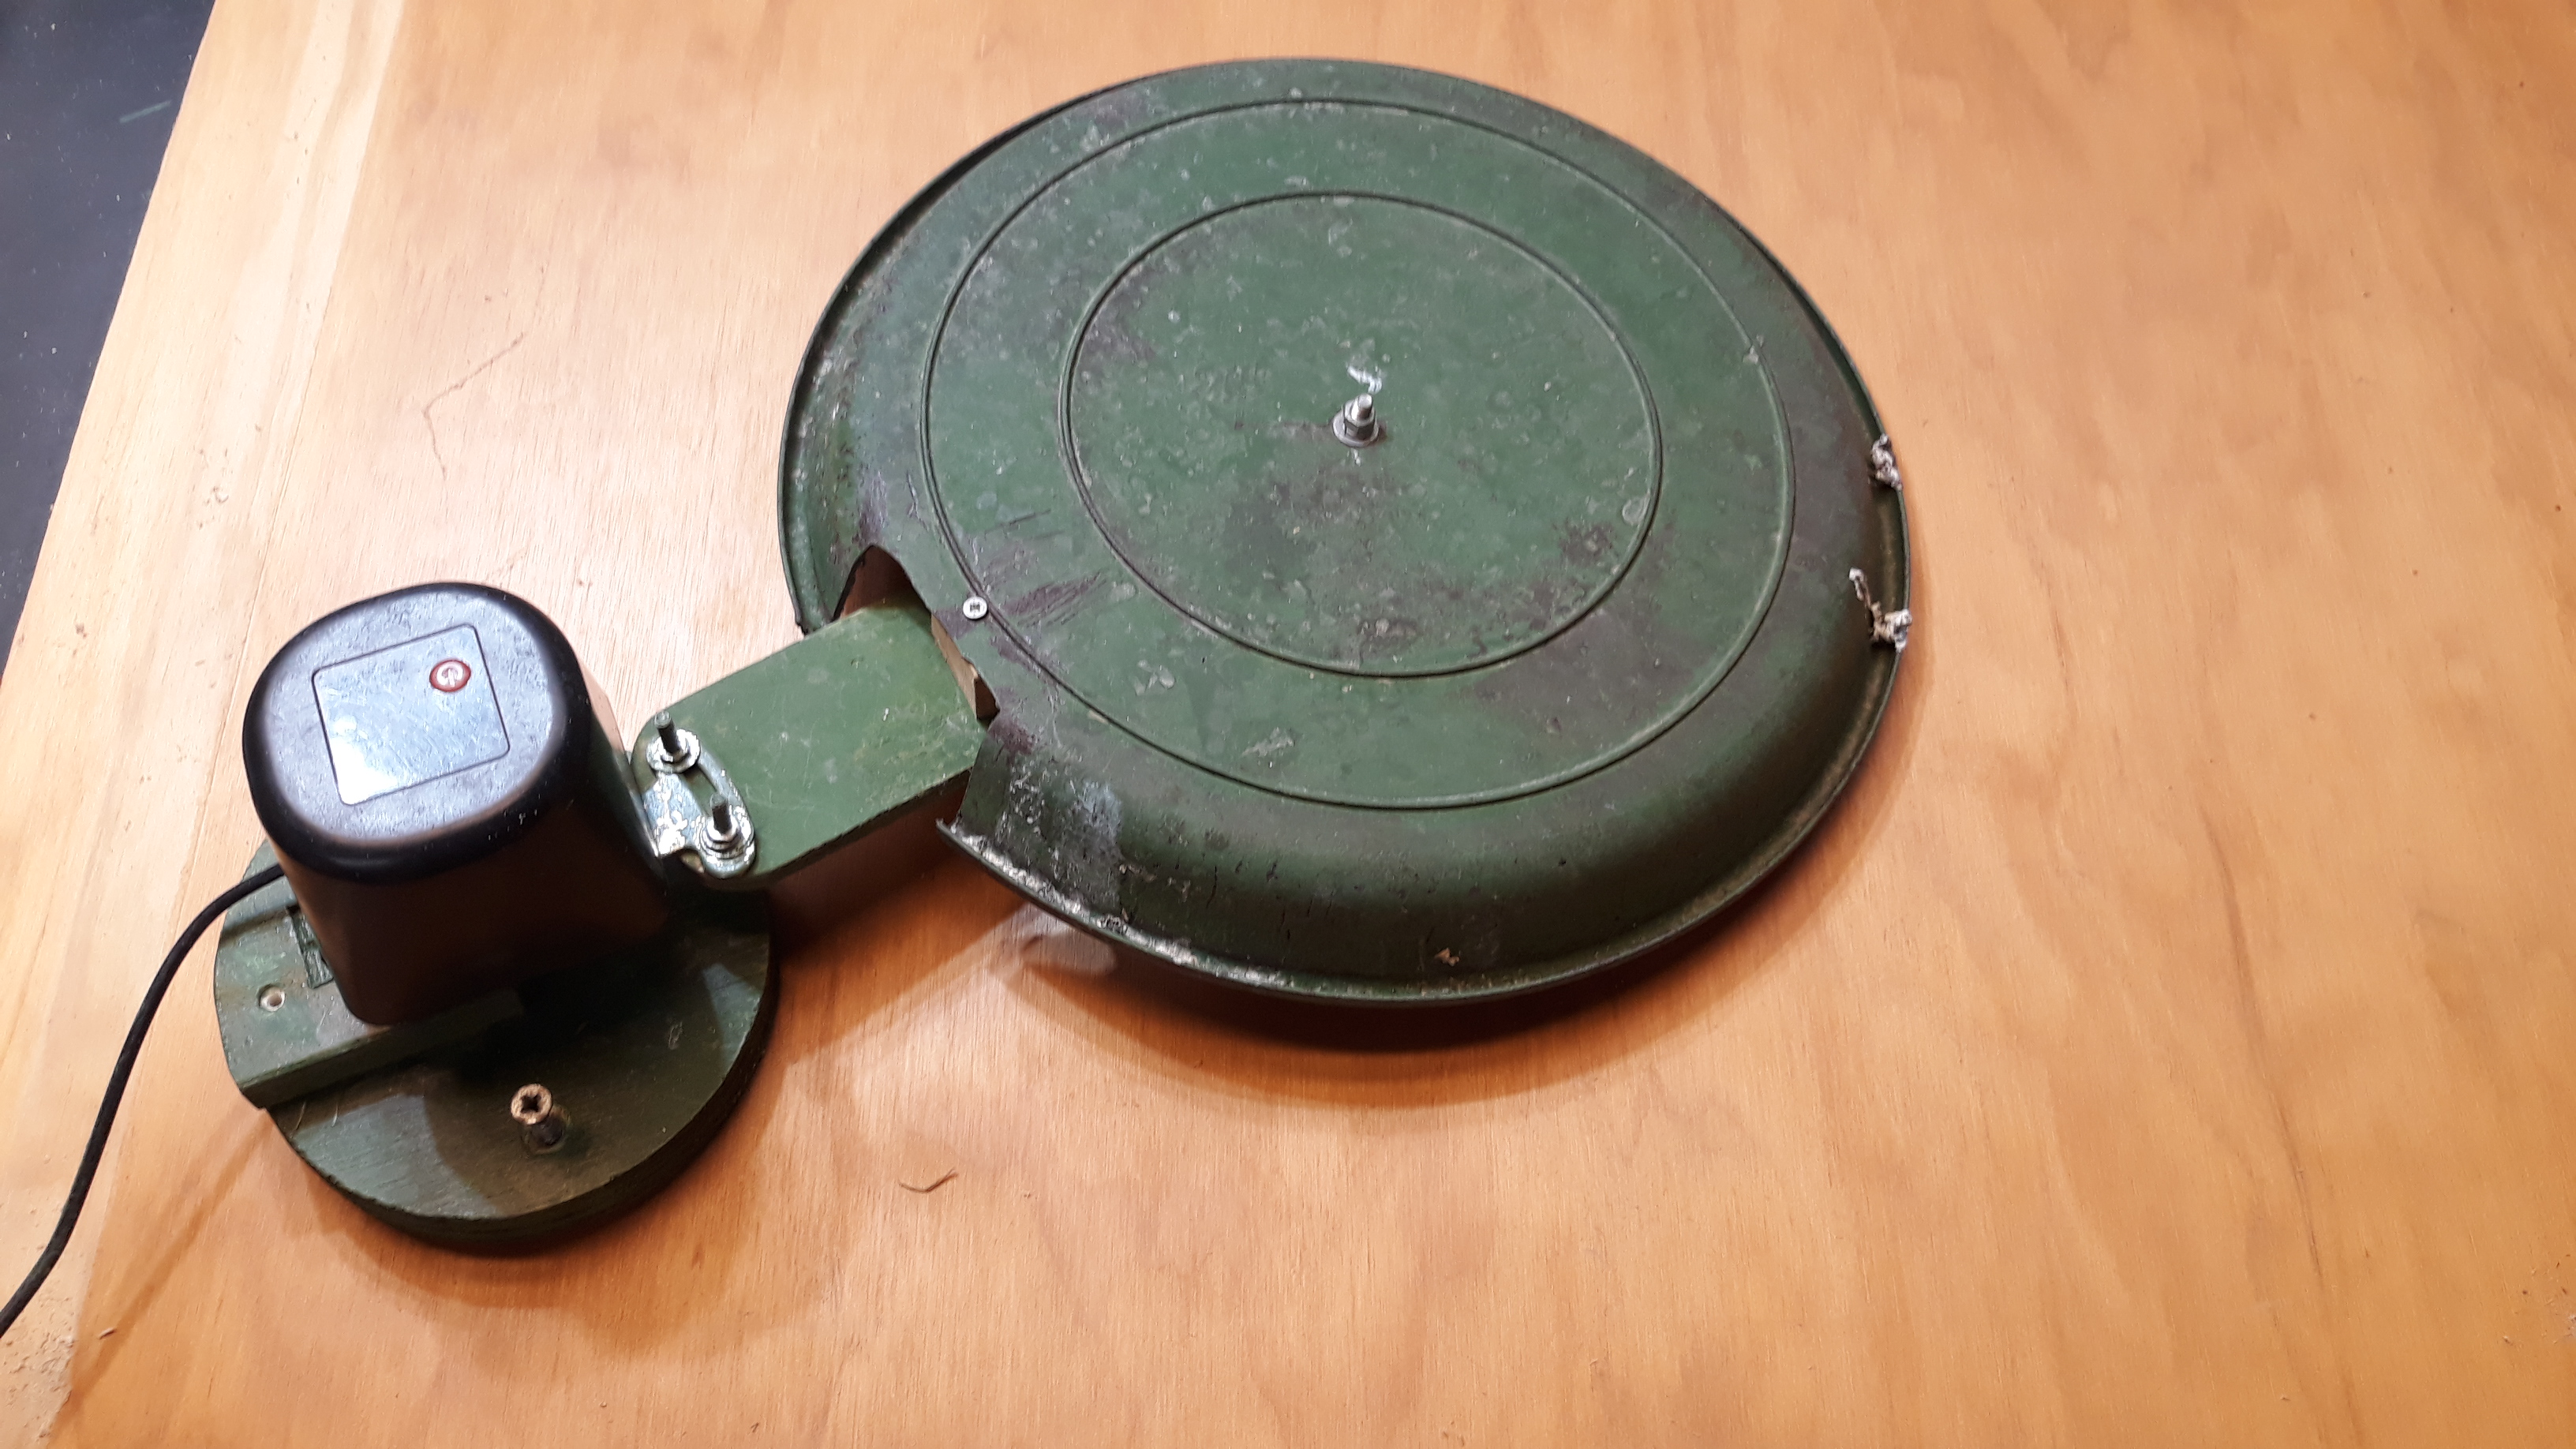
Mounted the disc onto the arm, pressed the button on top of the servo motor to start it swinging to the right and then pulled the plug to stop the unit at about the 45 degree point.
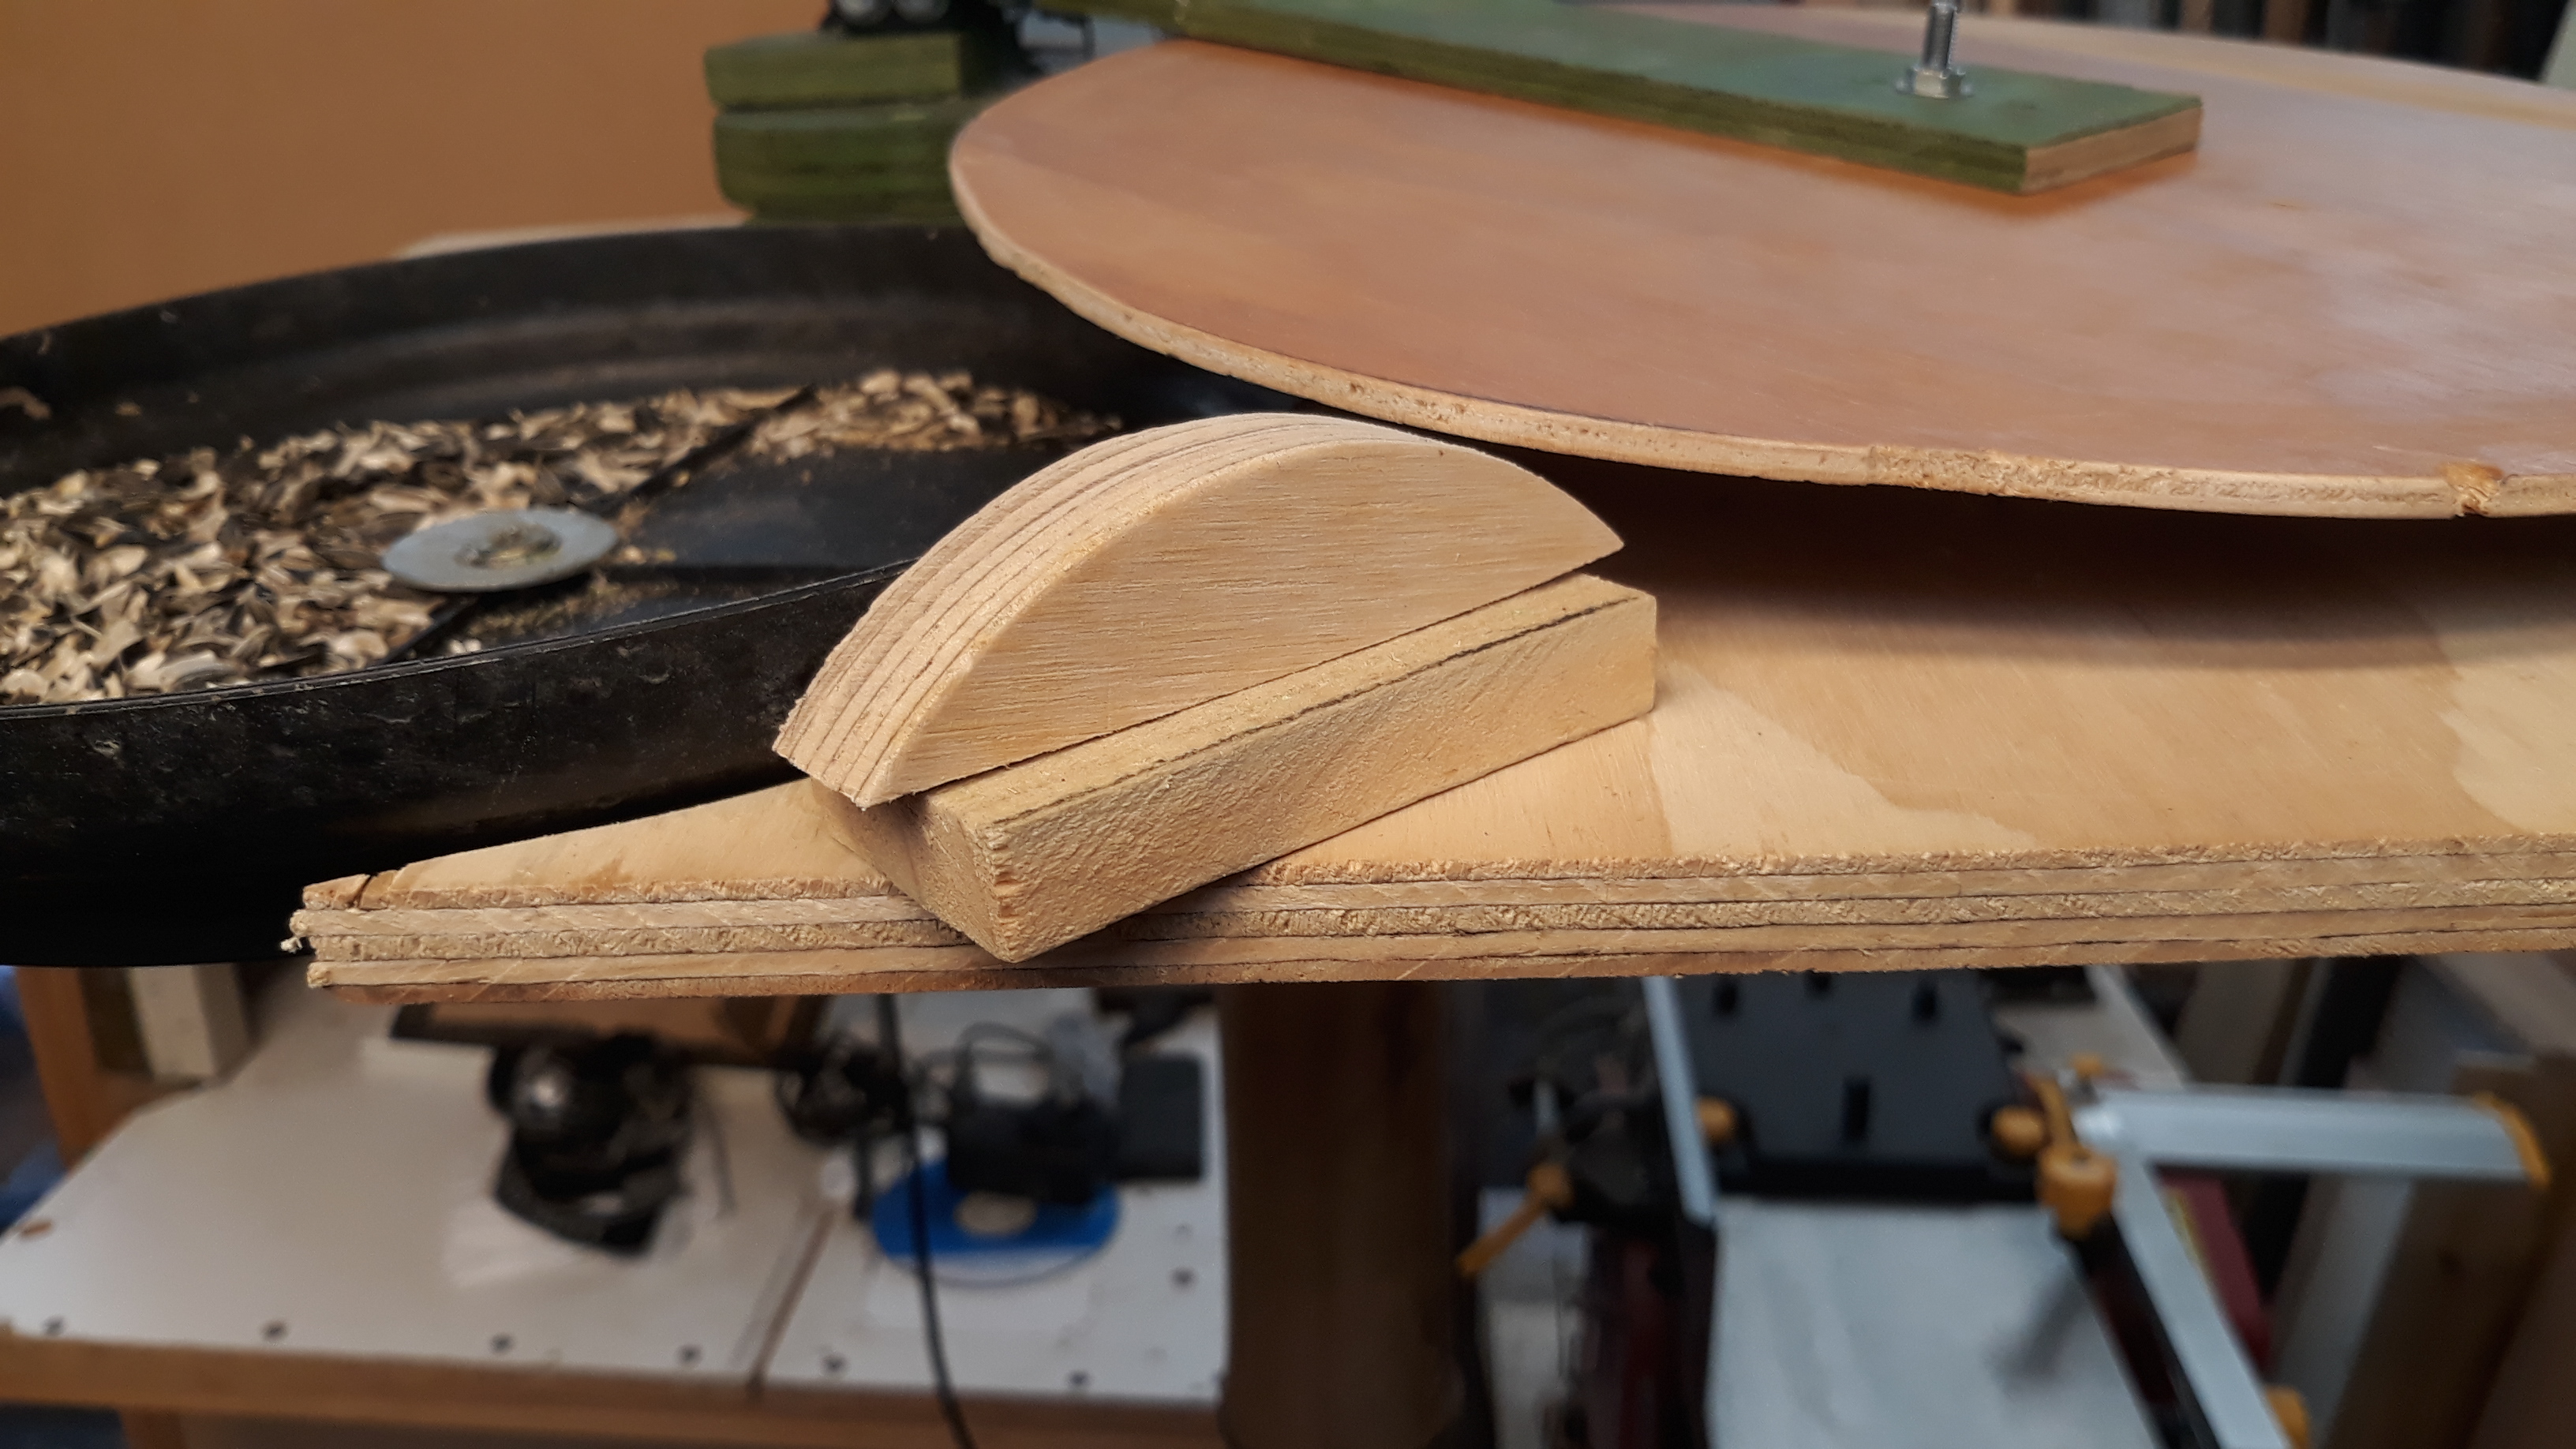
We need to ensure the leading edge of the disc does not foul the ‘pot plant saucer’ feeder so I came up with this curved ramp thing. Enough for today I’ll be back tomorrow.
