In the previous session we finished the electrical wiring which was simply connecting the motor via a NVR switch to mains input. It’s nice being able to power on & off at the front of the saw.

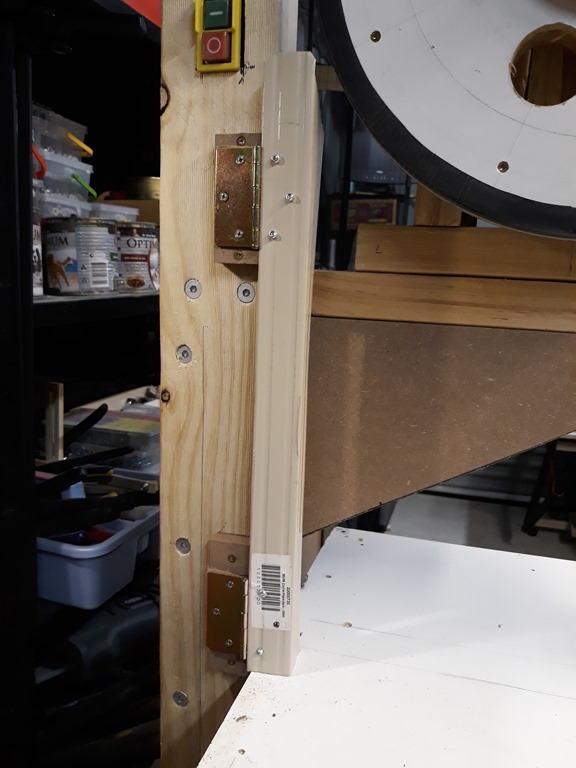
For this session we are going to make the left side blade guard. The power switch is close to the blade on that side so it’s a priority to get this done. I’m using a length of Colorbond corner trim left over from the actual garage construction. Screwed one side of a hinge to a bit of MDF and pop riveted on one end of the trim.

So far this is what it looks like.

Before doing the other end just check were on the right track.

Should be OK.

Second hinge block for the other end.

Using cardboard to shim the hinges to allow for the folded over edge of the trim.

OK…lets see how she fits.


That looks fine…and opens an closes nicely.
