Above: Just finished helping the delivery guy get the tank off the truck and down the driveway to the front of the carport.
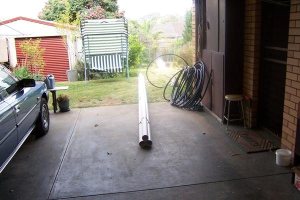

The Nylex 4500L tank ($1150), 90mm PVC and 50mt of 25mm Blueline poly pipe was purchased at Bunnings. The chooks are already attracted by the activity.
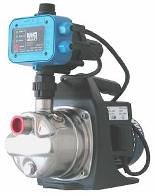
I purchased the BIANCO INOX 80PC 800W pump from One Stop Sprinklers along with a bag full of fittings including two bib taps.
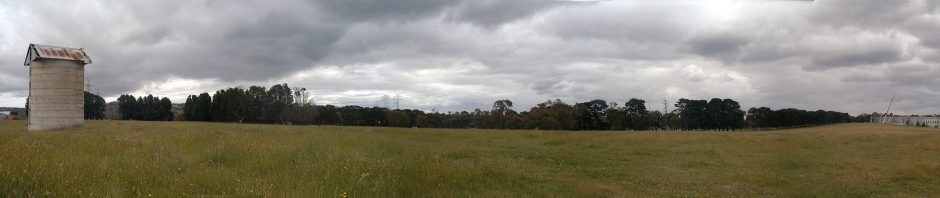
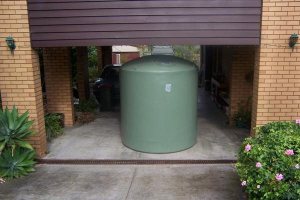
I spent some time wandering around the house thinking about where to locate the tank? Normally you locate it close to the house to hook directly into the downpipe(s); but I don’t want the thing too close to the house and to move further away requires a wet system, again not what I want because this type of system tends to build up too much back pressure in heavier downpours and the gutters end up overflowing etc. What about collecting water off the 3.5m x 7m garage (workshop) roof?…a nice clean Colourbond roof! I worked out from rainfall charts that the amount water collected from the garage roof should be adequate to fill the tank – which would be hidden behind the garage!
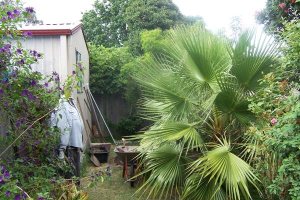
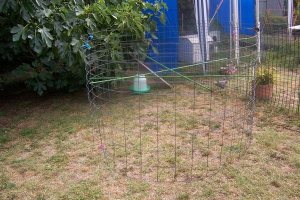
Above shows the location and right is a picture of the animal fencing I used to make up a "template" for marking out the area to be levelled.
Plastic garden stakes and cable ties held the wire in a resonably round shape so it could be moved around without collapsing.
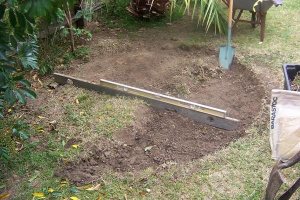
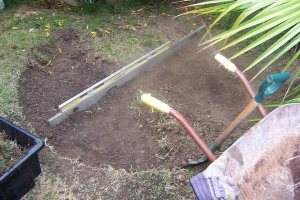
Here we are levelling the sloping site, I used packing sand for the base. Concrete is a overkill.
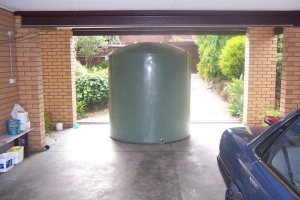
Next job is to get the tank in place without disturbing the sand base too much, the thing is quiet heavy so I put down on the sand some chipboard shelving and pushed, shoved, dragged until the tank was in place. Then I went around and pushing with my shoulder pulled out the boards, then around again rocking the tank to bed it into the sand – checking with spirit level. After this rest for a while.
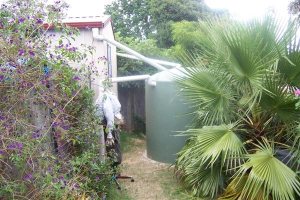

Above shows the tank with it’s PVC connections to the gutters. Turning the overflow up gained hundreds of litres of extra water.
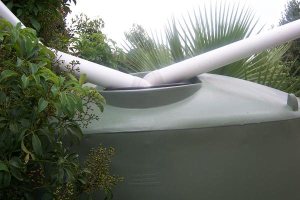
Tighter shot from the other side showing tank inlet with pipes coming in with 45’s on each end. I came back later and screwed two downpipe brackets onto the edge of the inlet to secure the pipes.
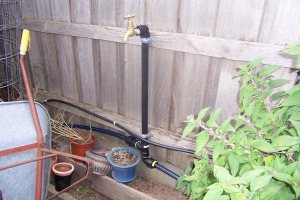
We are only halfway there, still have to connect the pump and run the poly along the back fence and up the side to the front yard with a couple of taps.
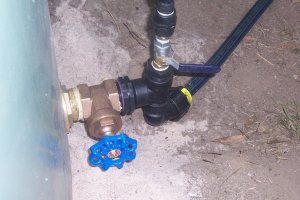
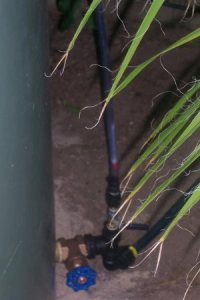
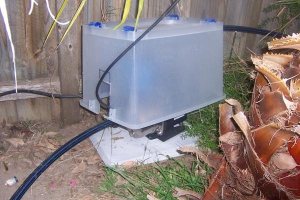
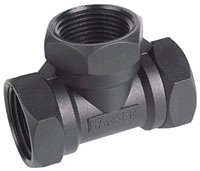
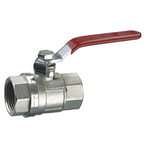
The tank comes fitted with a BSP outlet and gate valve supplied in a plastic bag. I wanted to have some sort of simple water level gauge so we have a T piece, the bottom connects to the pump and the top has a ball valve with adaptor connecting to a length of plastic tubing (water level gauge) that runs up the side of the tank and just onto the top of the tank where it it held with a stainless steel self tapper. I use a cloths peg (yellow one) to mark the level.
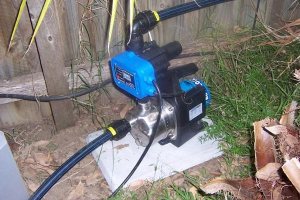
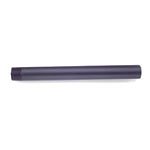
You are supposed to use a flexible hose fitting between the tank and the pump to soak up virbation and movement but I did’t bother, just use a short lenght of Blueline. Later I bolted the pump to the concrete slab.