
With the smart valve setup and operating we can start making the actual door that will slide up and down inside a frame.
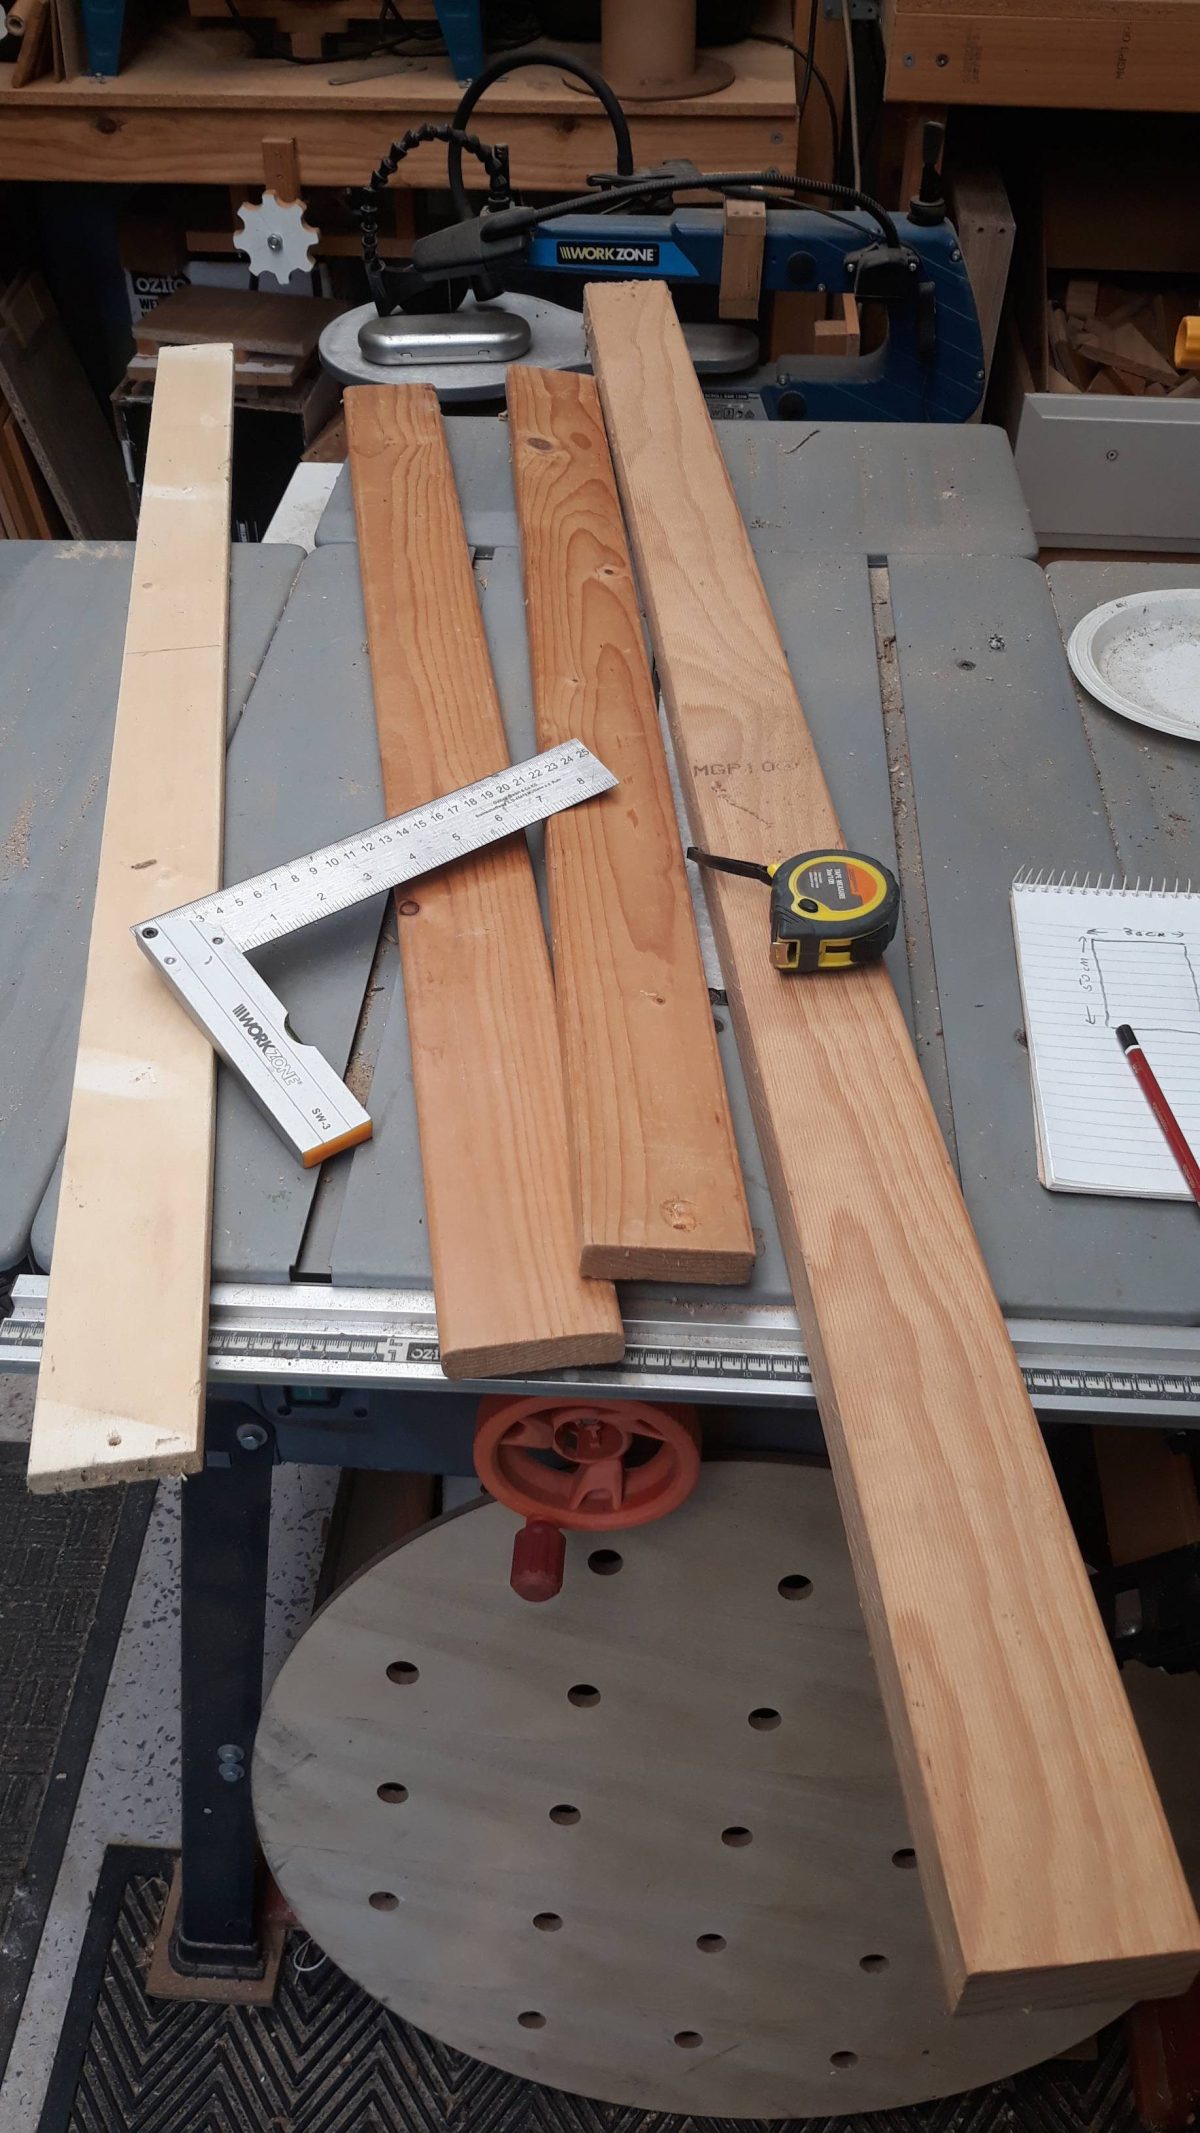
After rummaging through my limited timber supplies (so damn expensive these days) this should get us started.
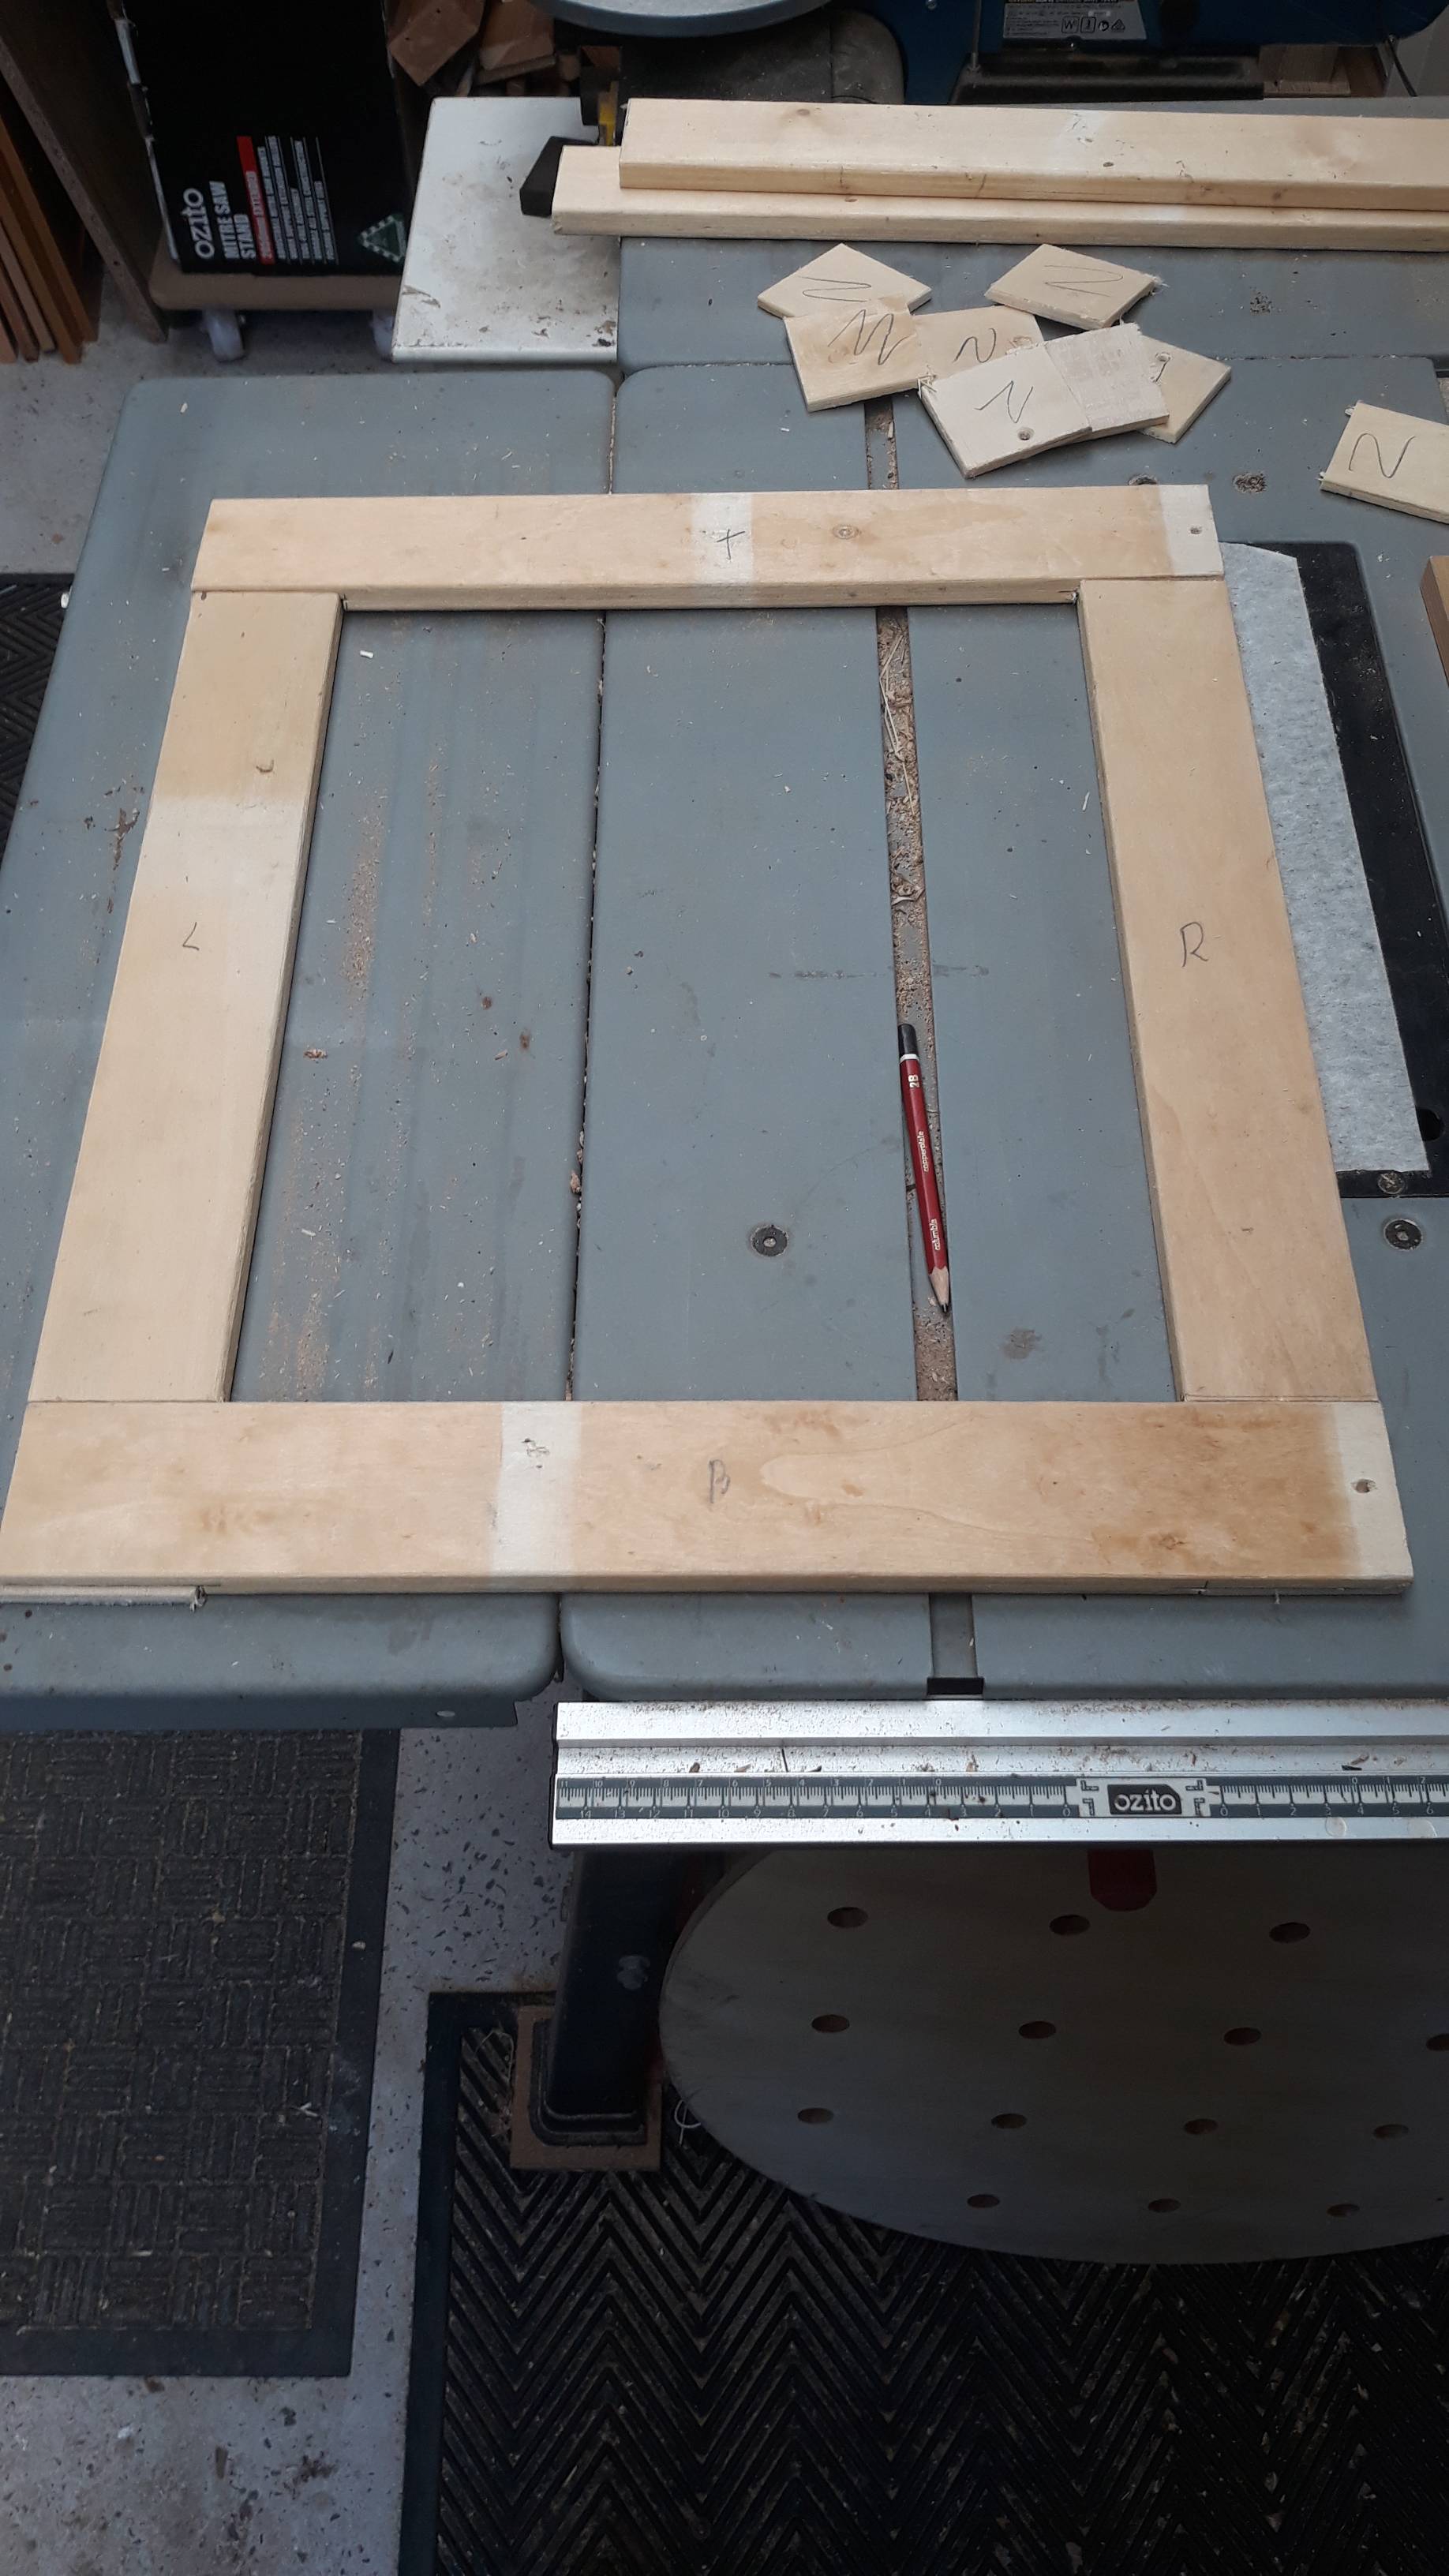
Inside measurements are 50cm high and 30cm wide.
 Doing a mock-up.
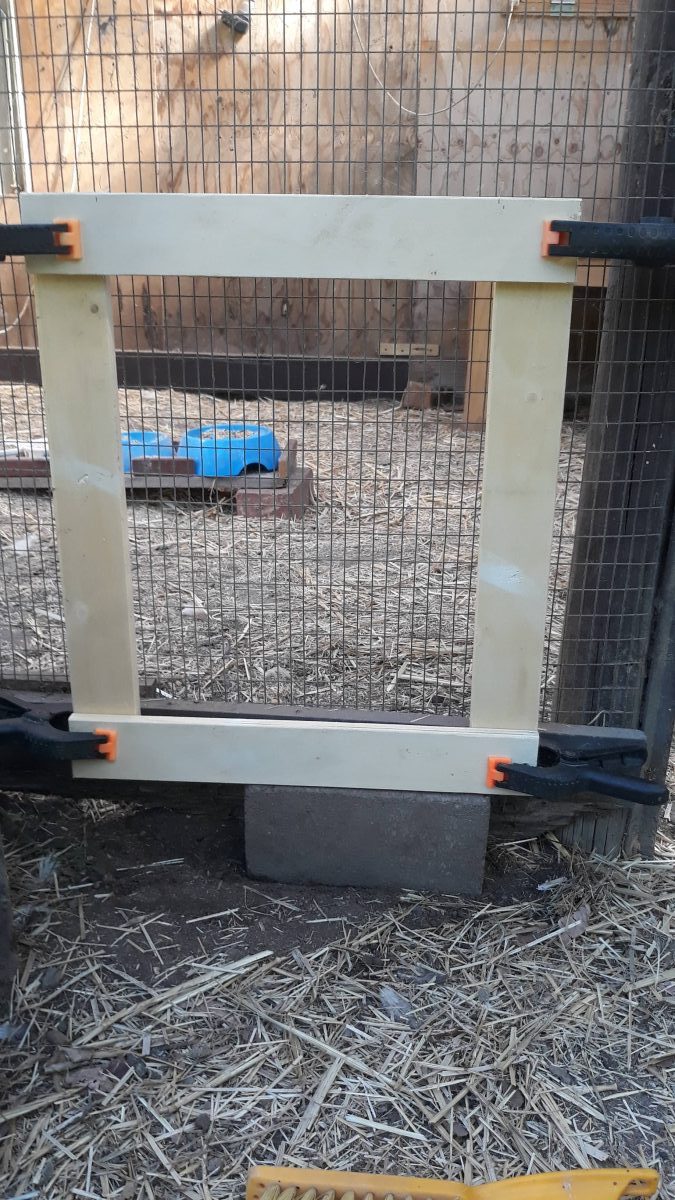
We’ll go with that.
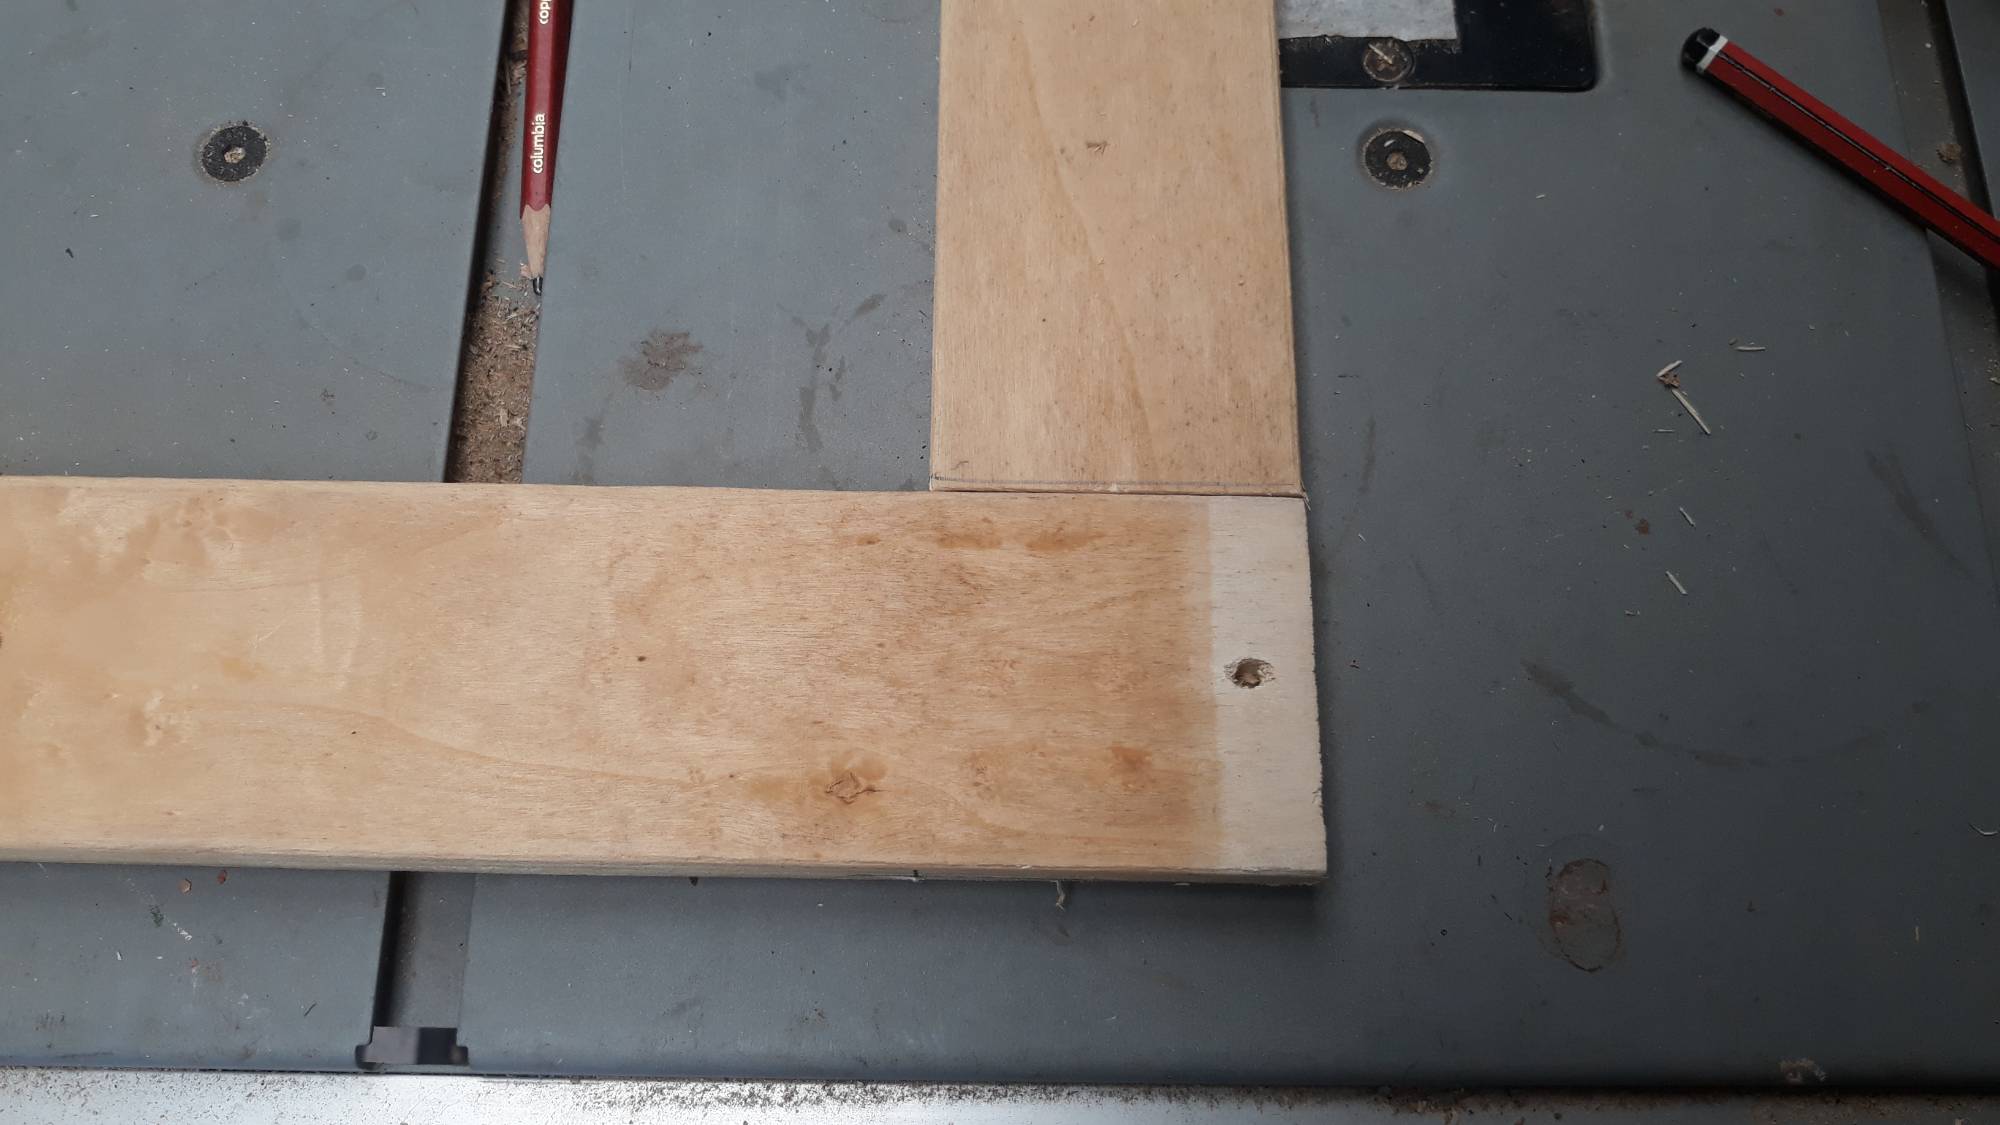
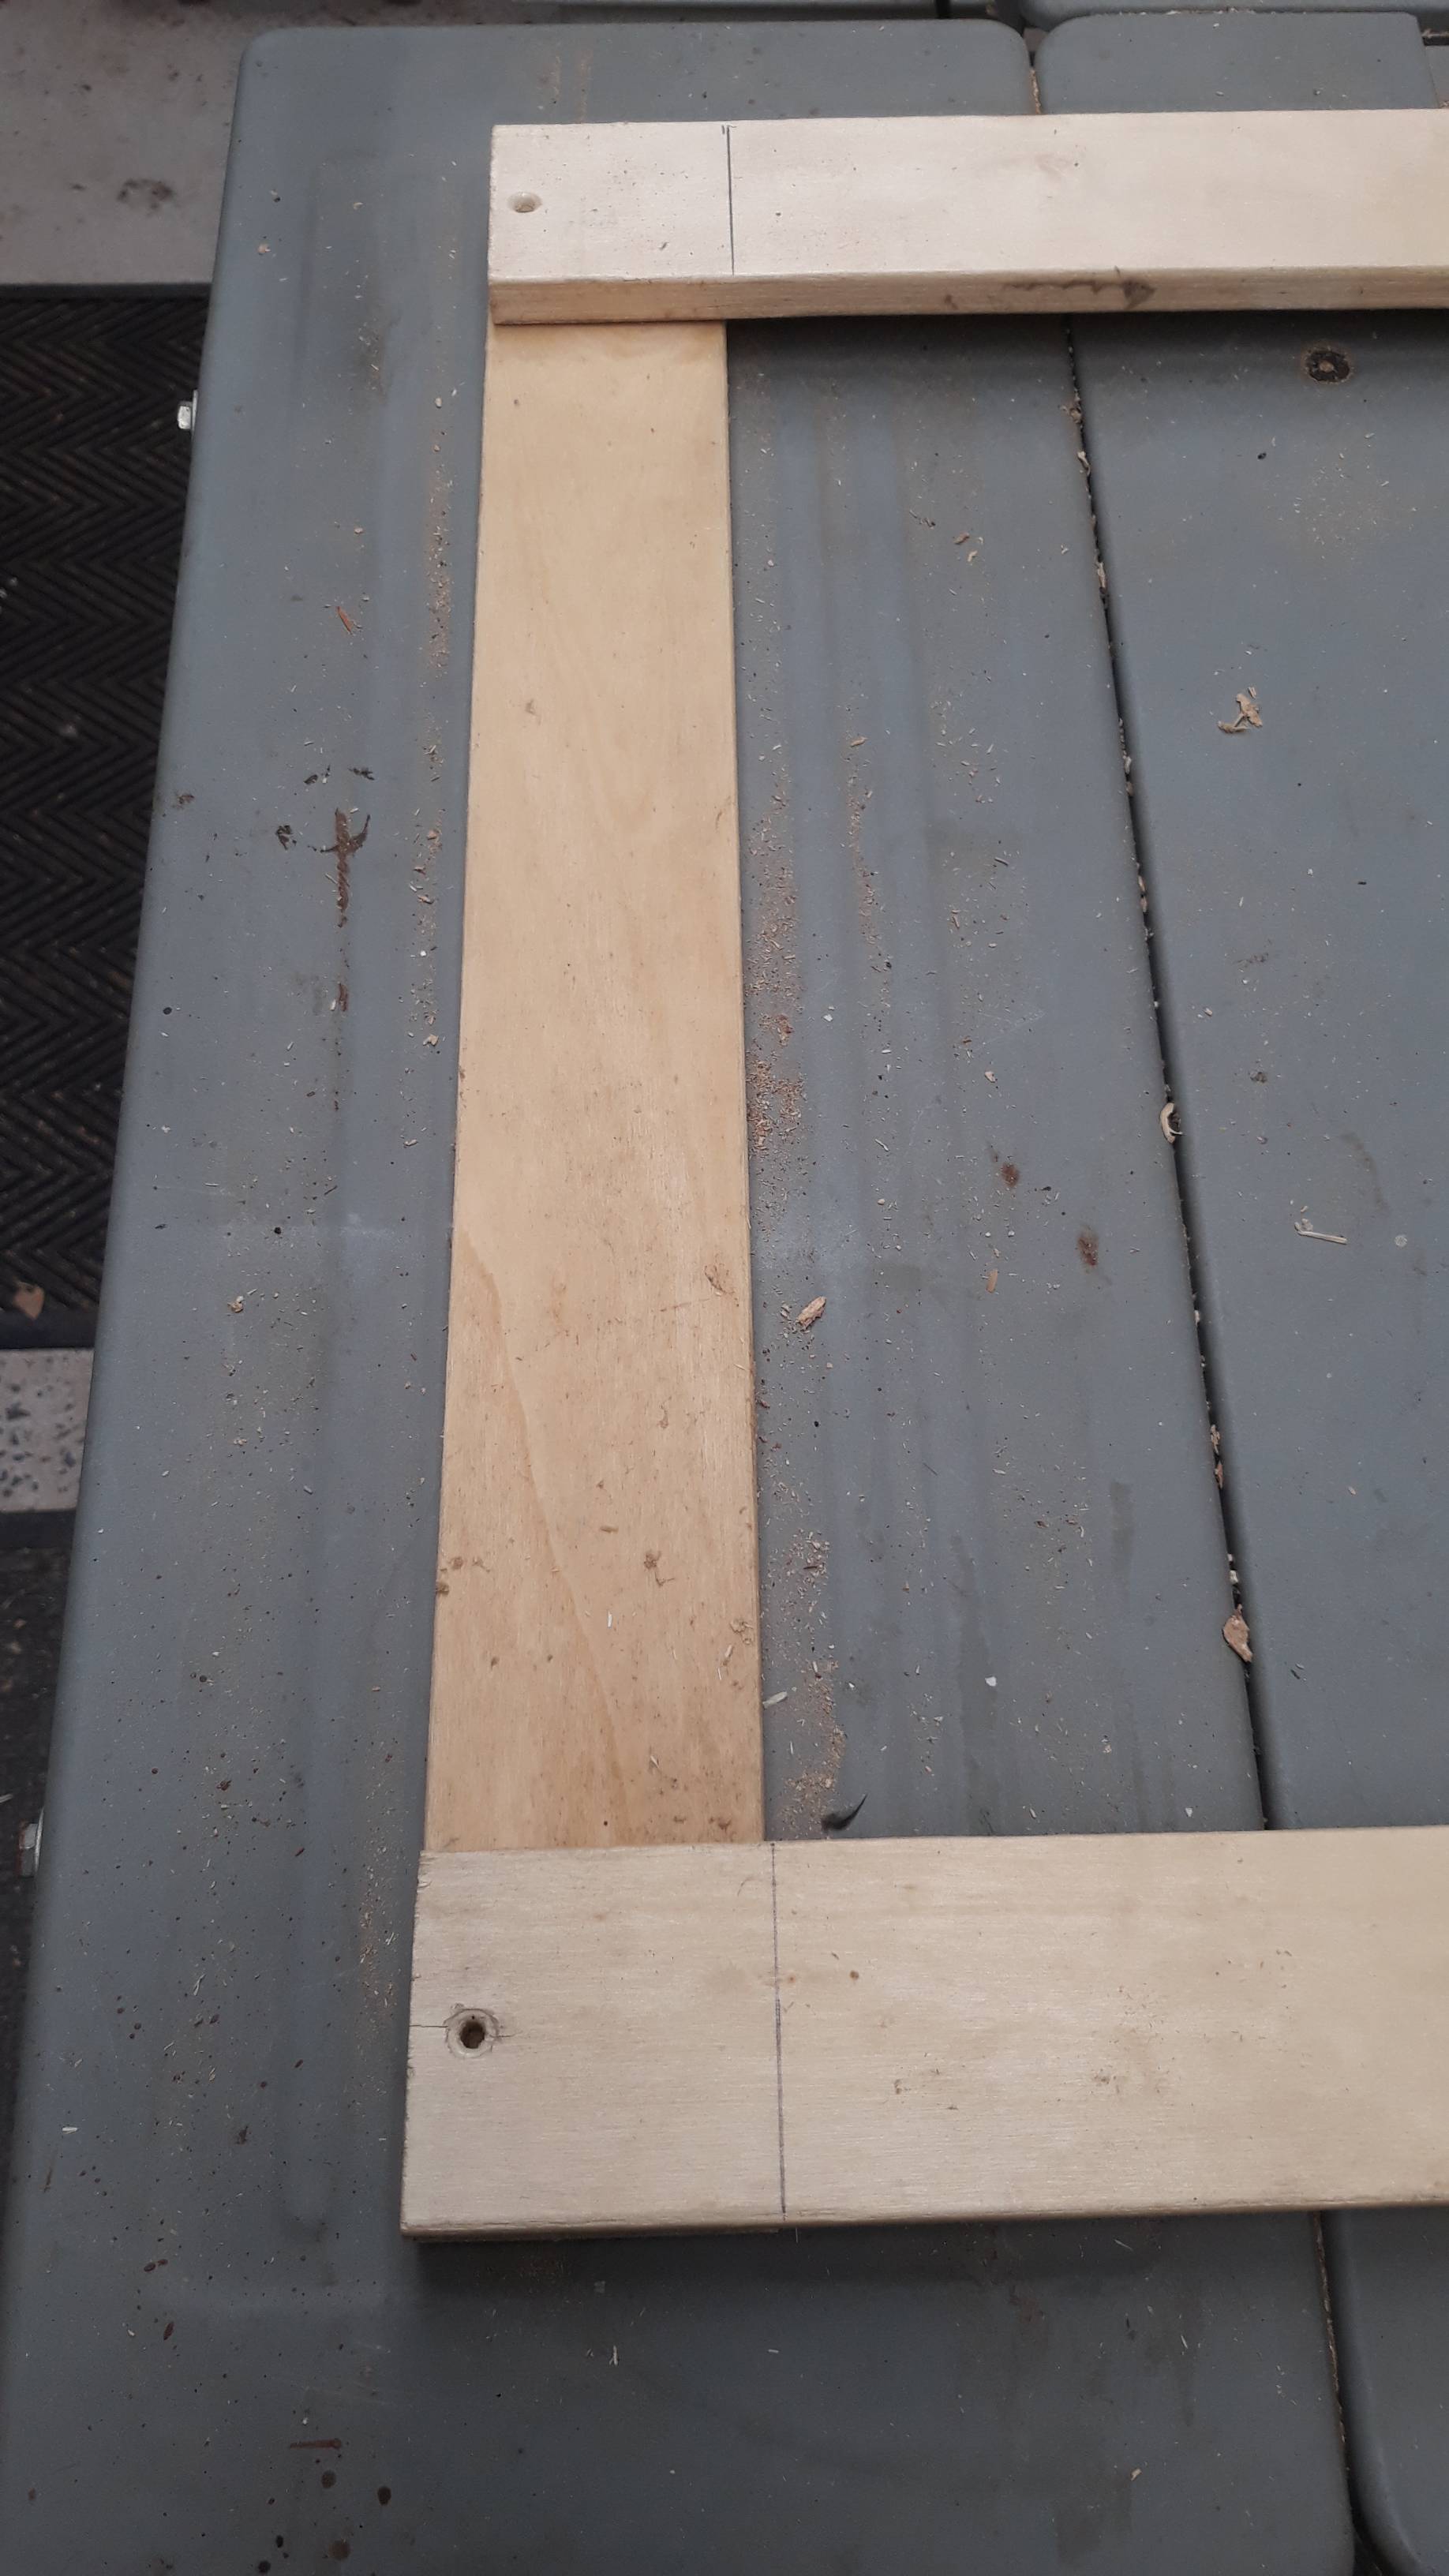 Measuring and marking the lap joints.
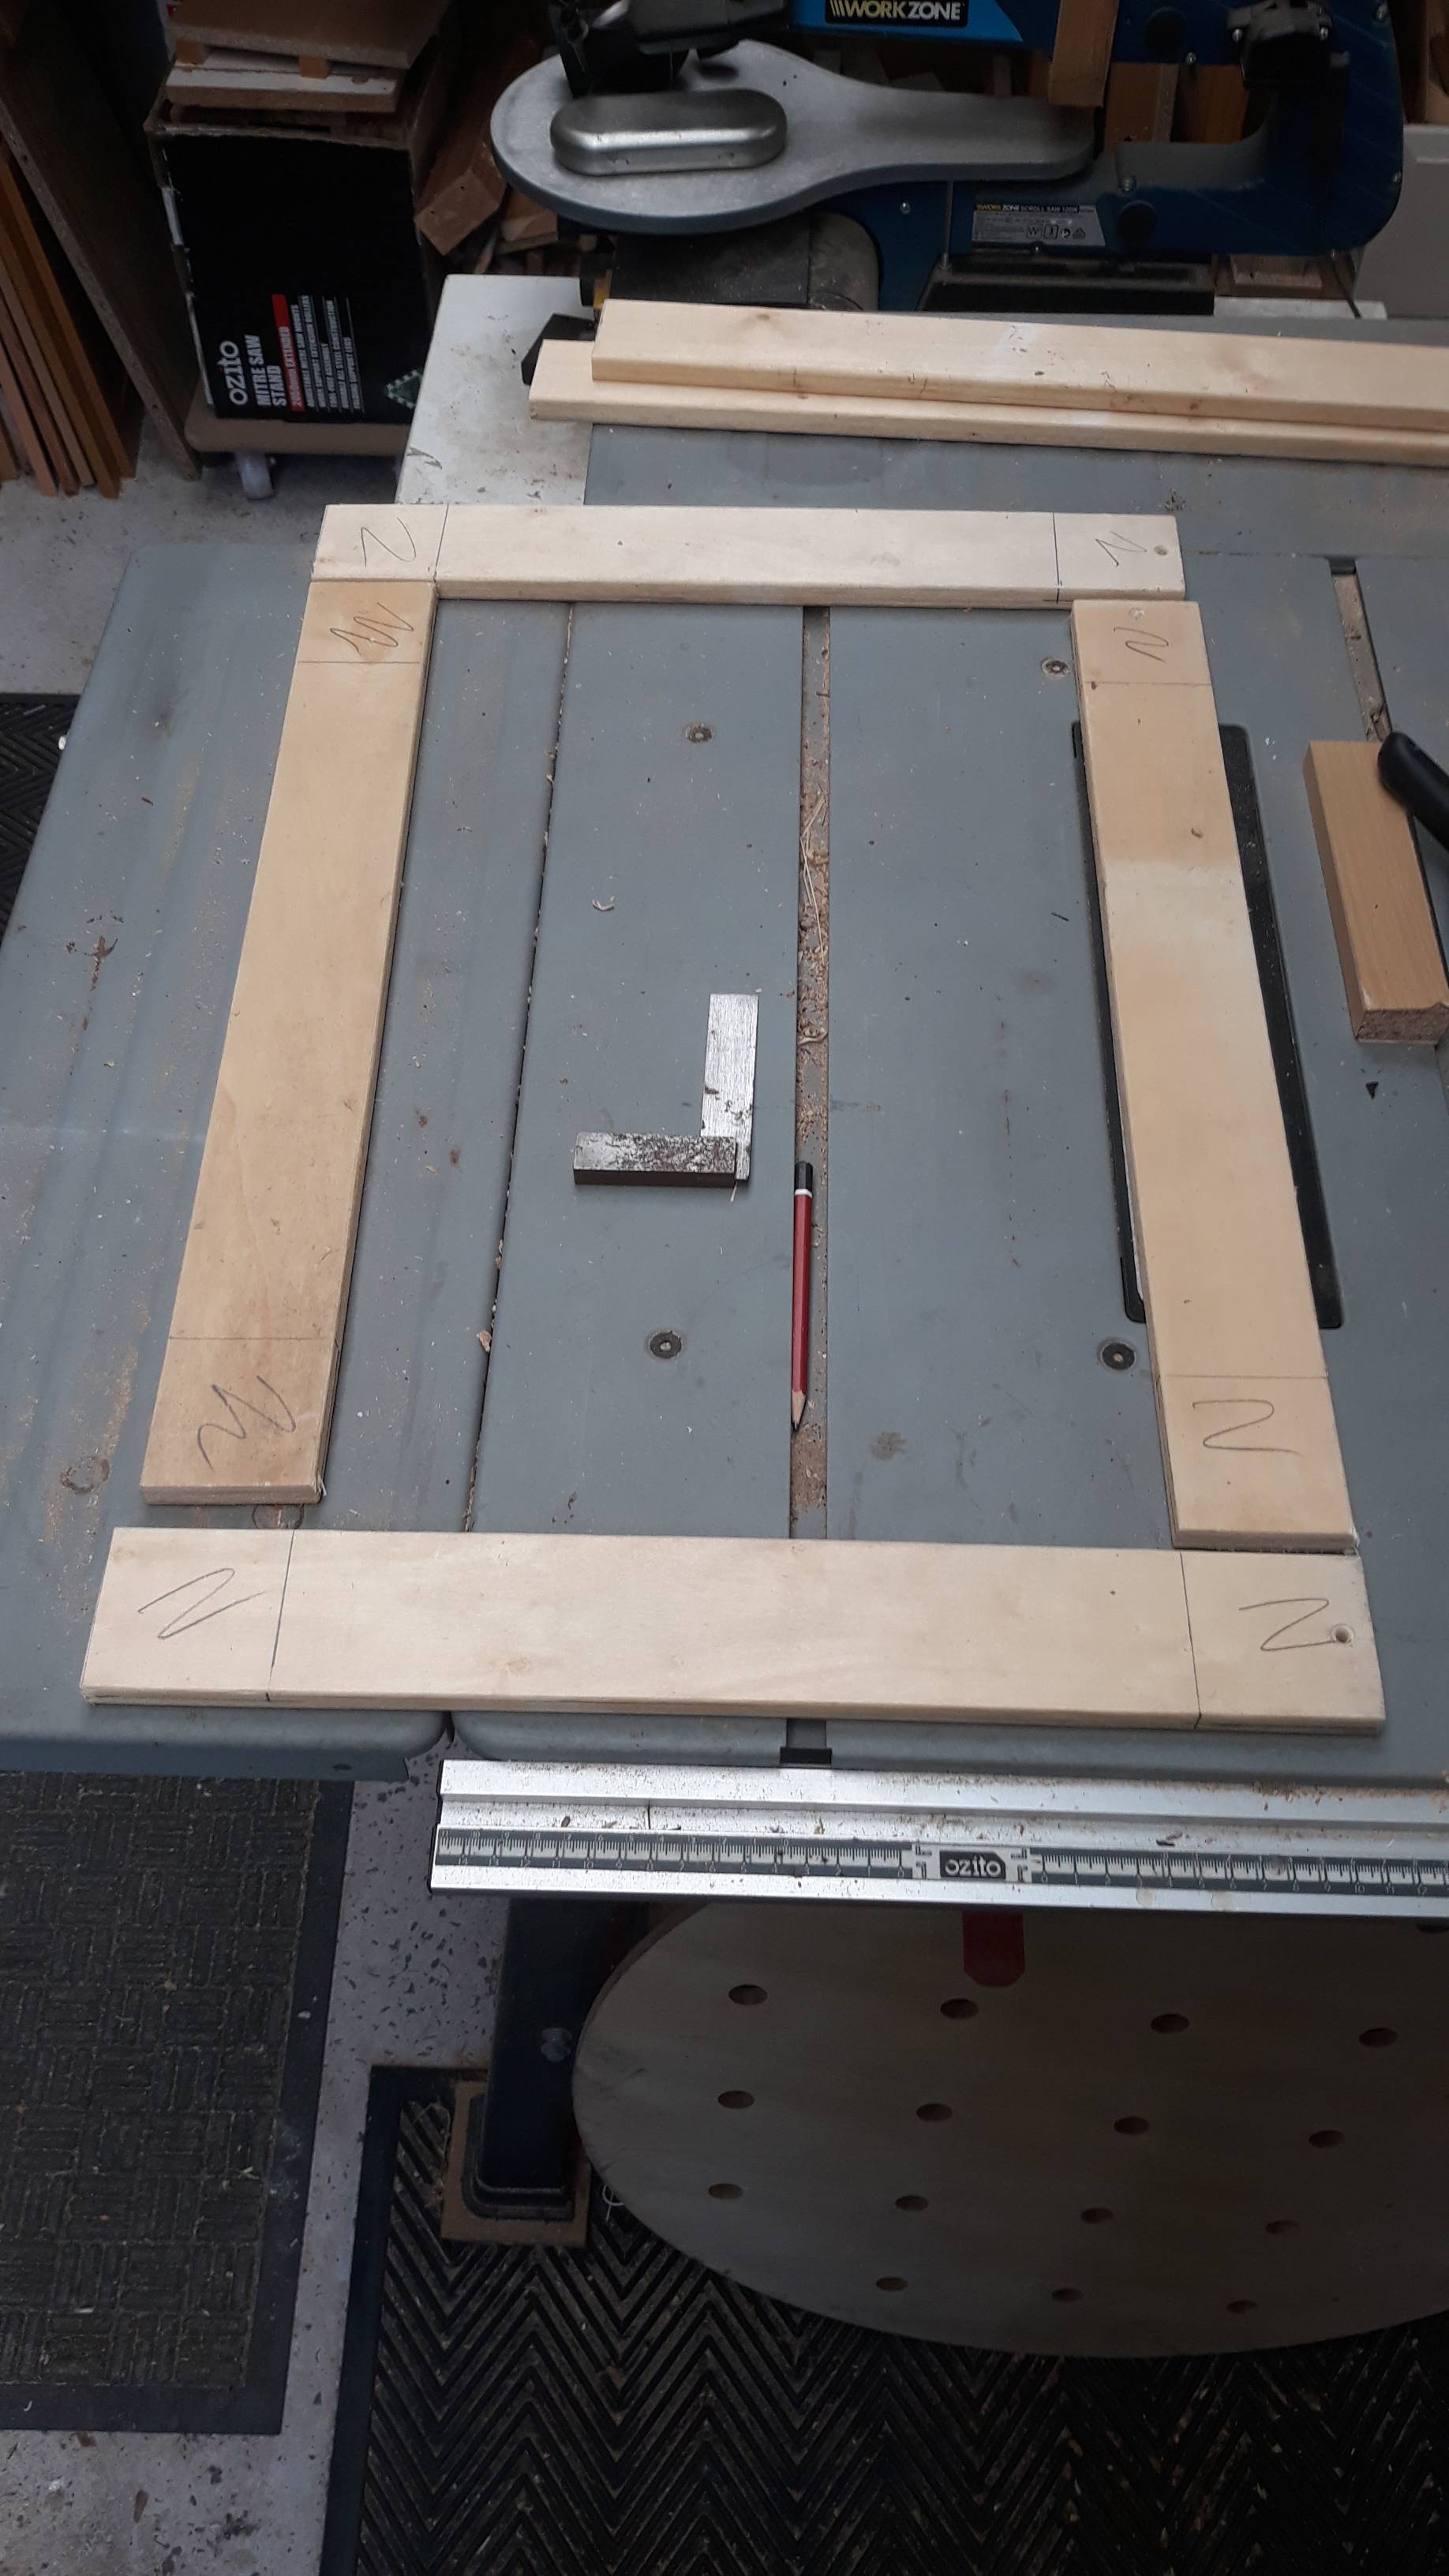 I always mark the waste side with a squiggle.
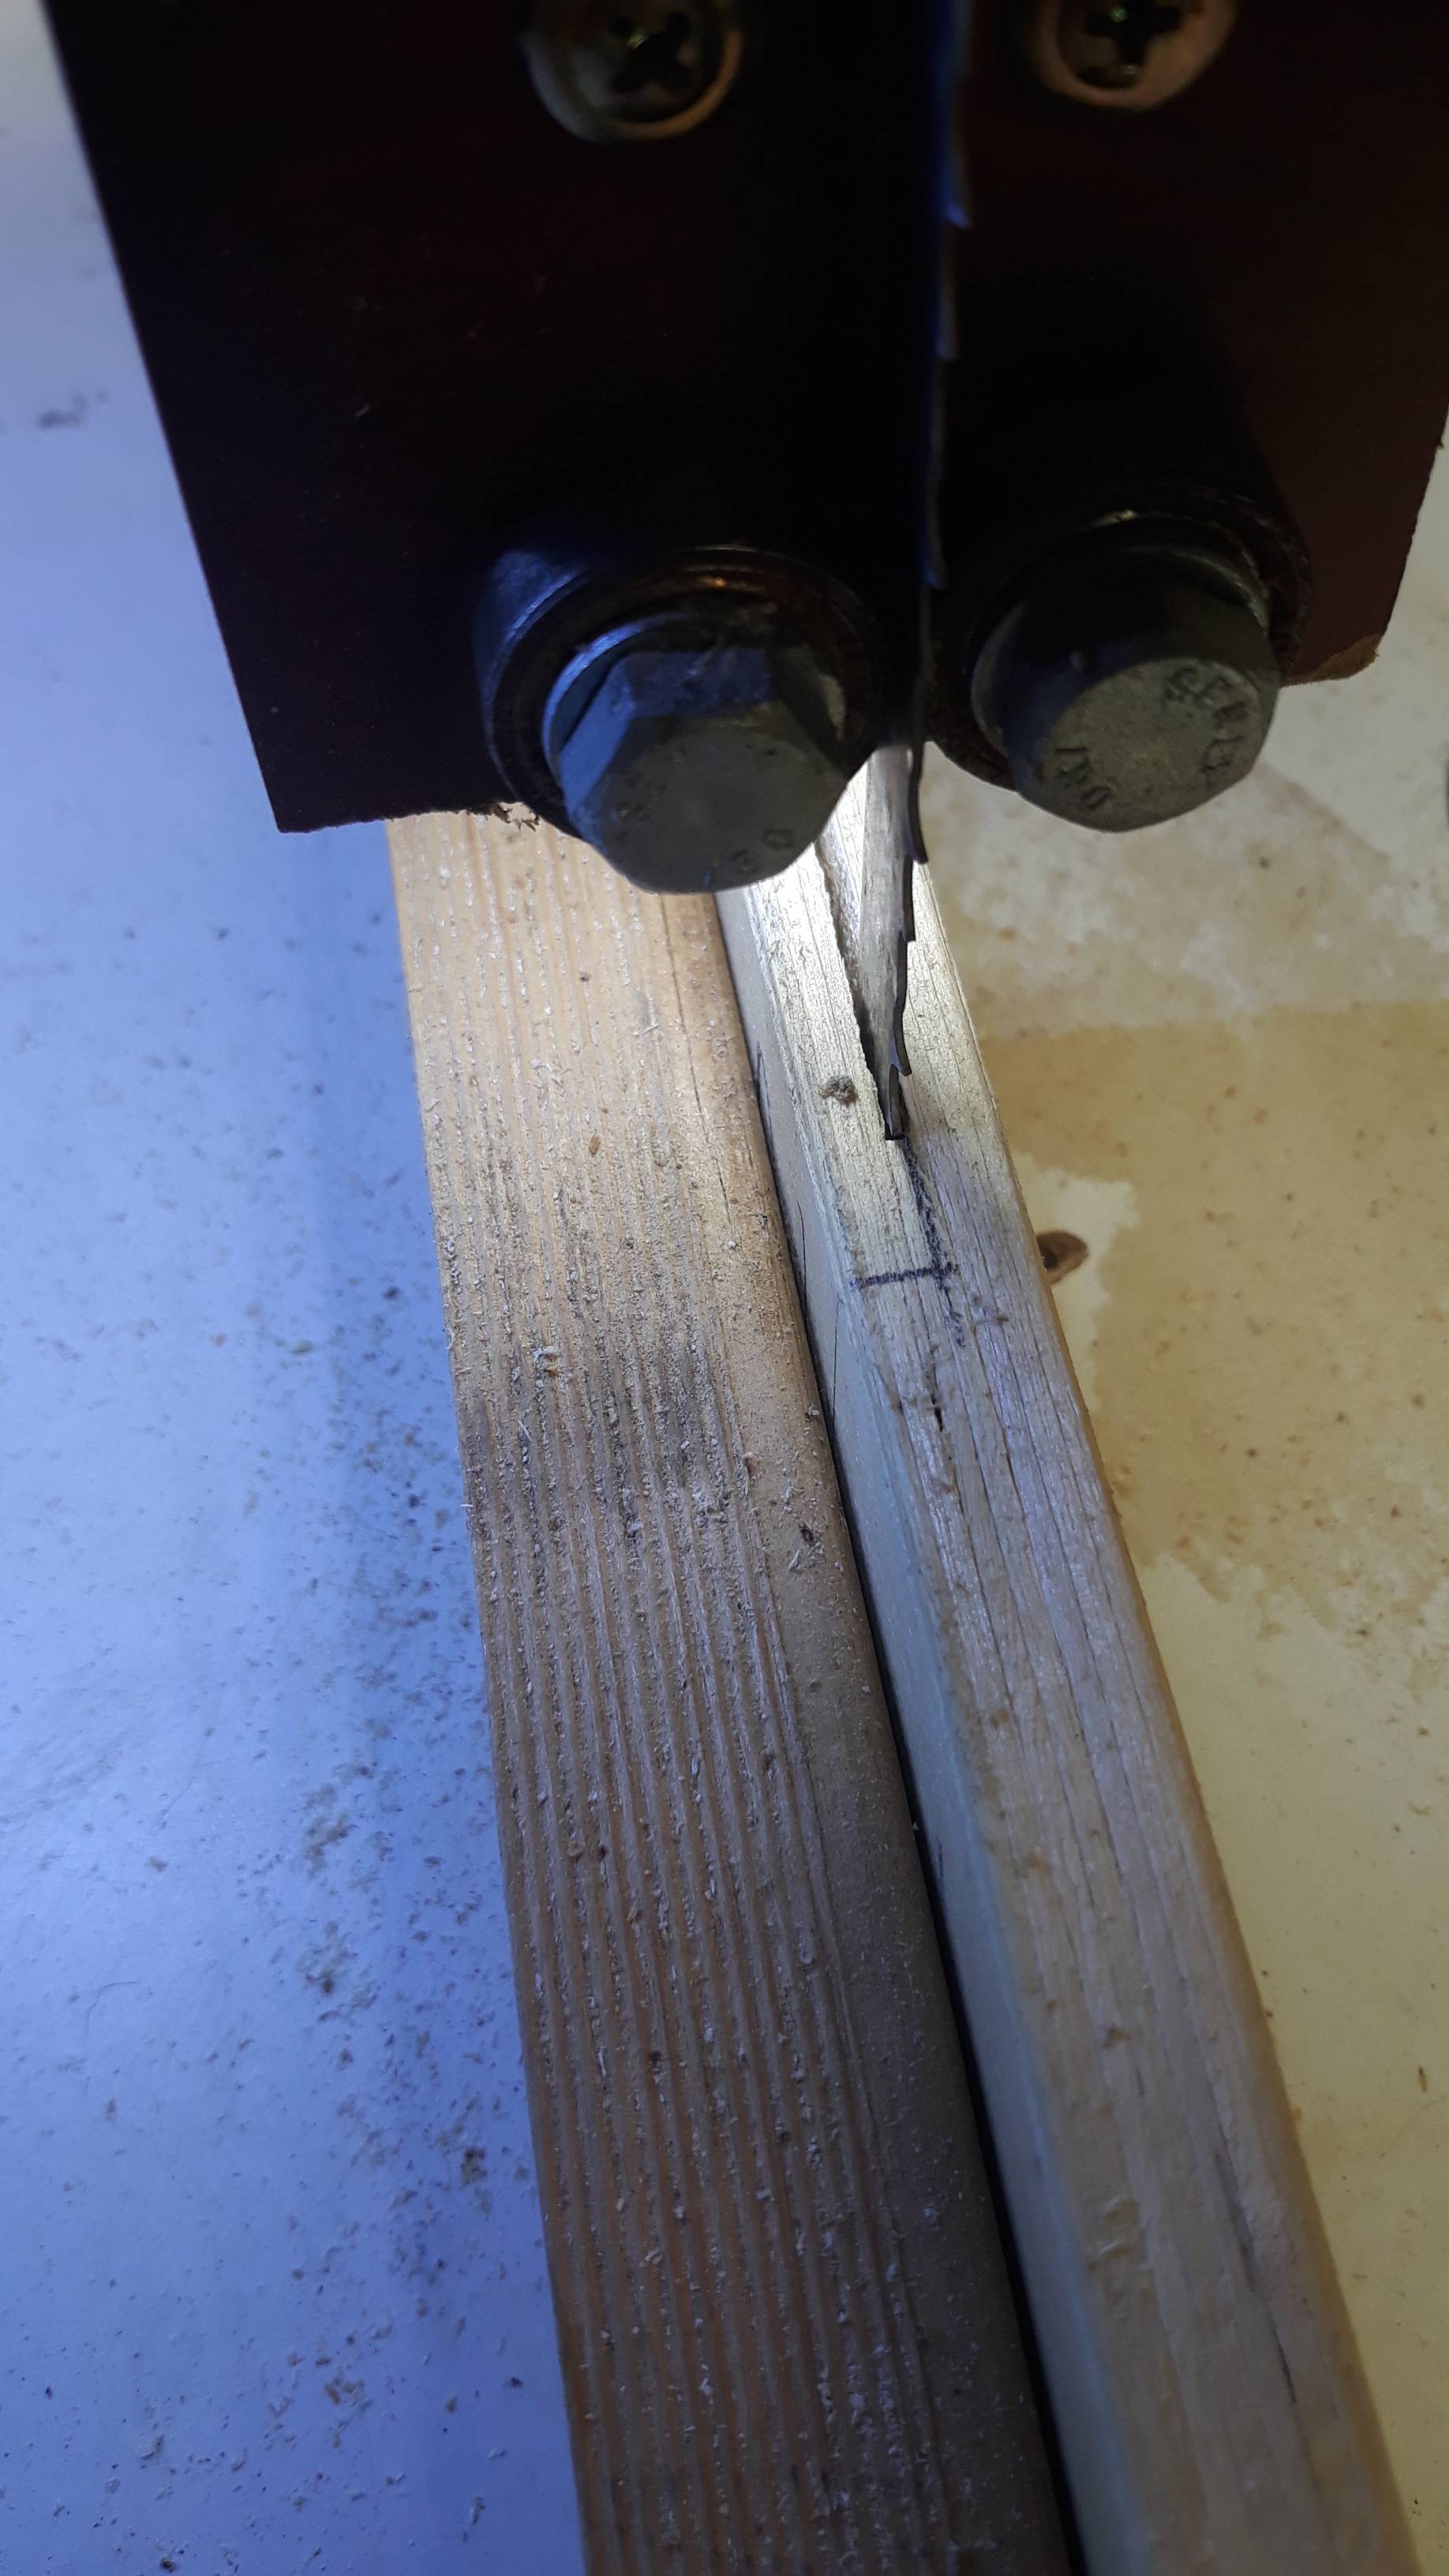
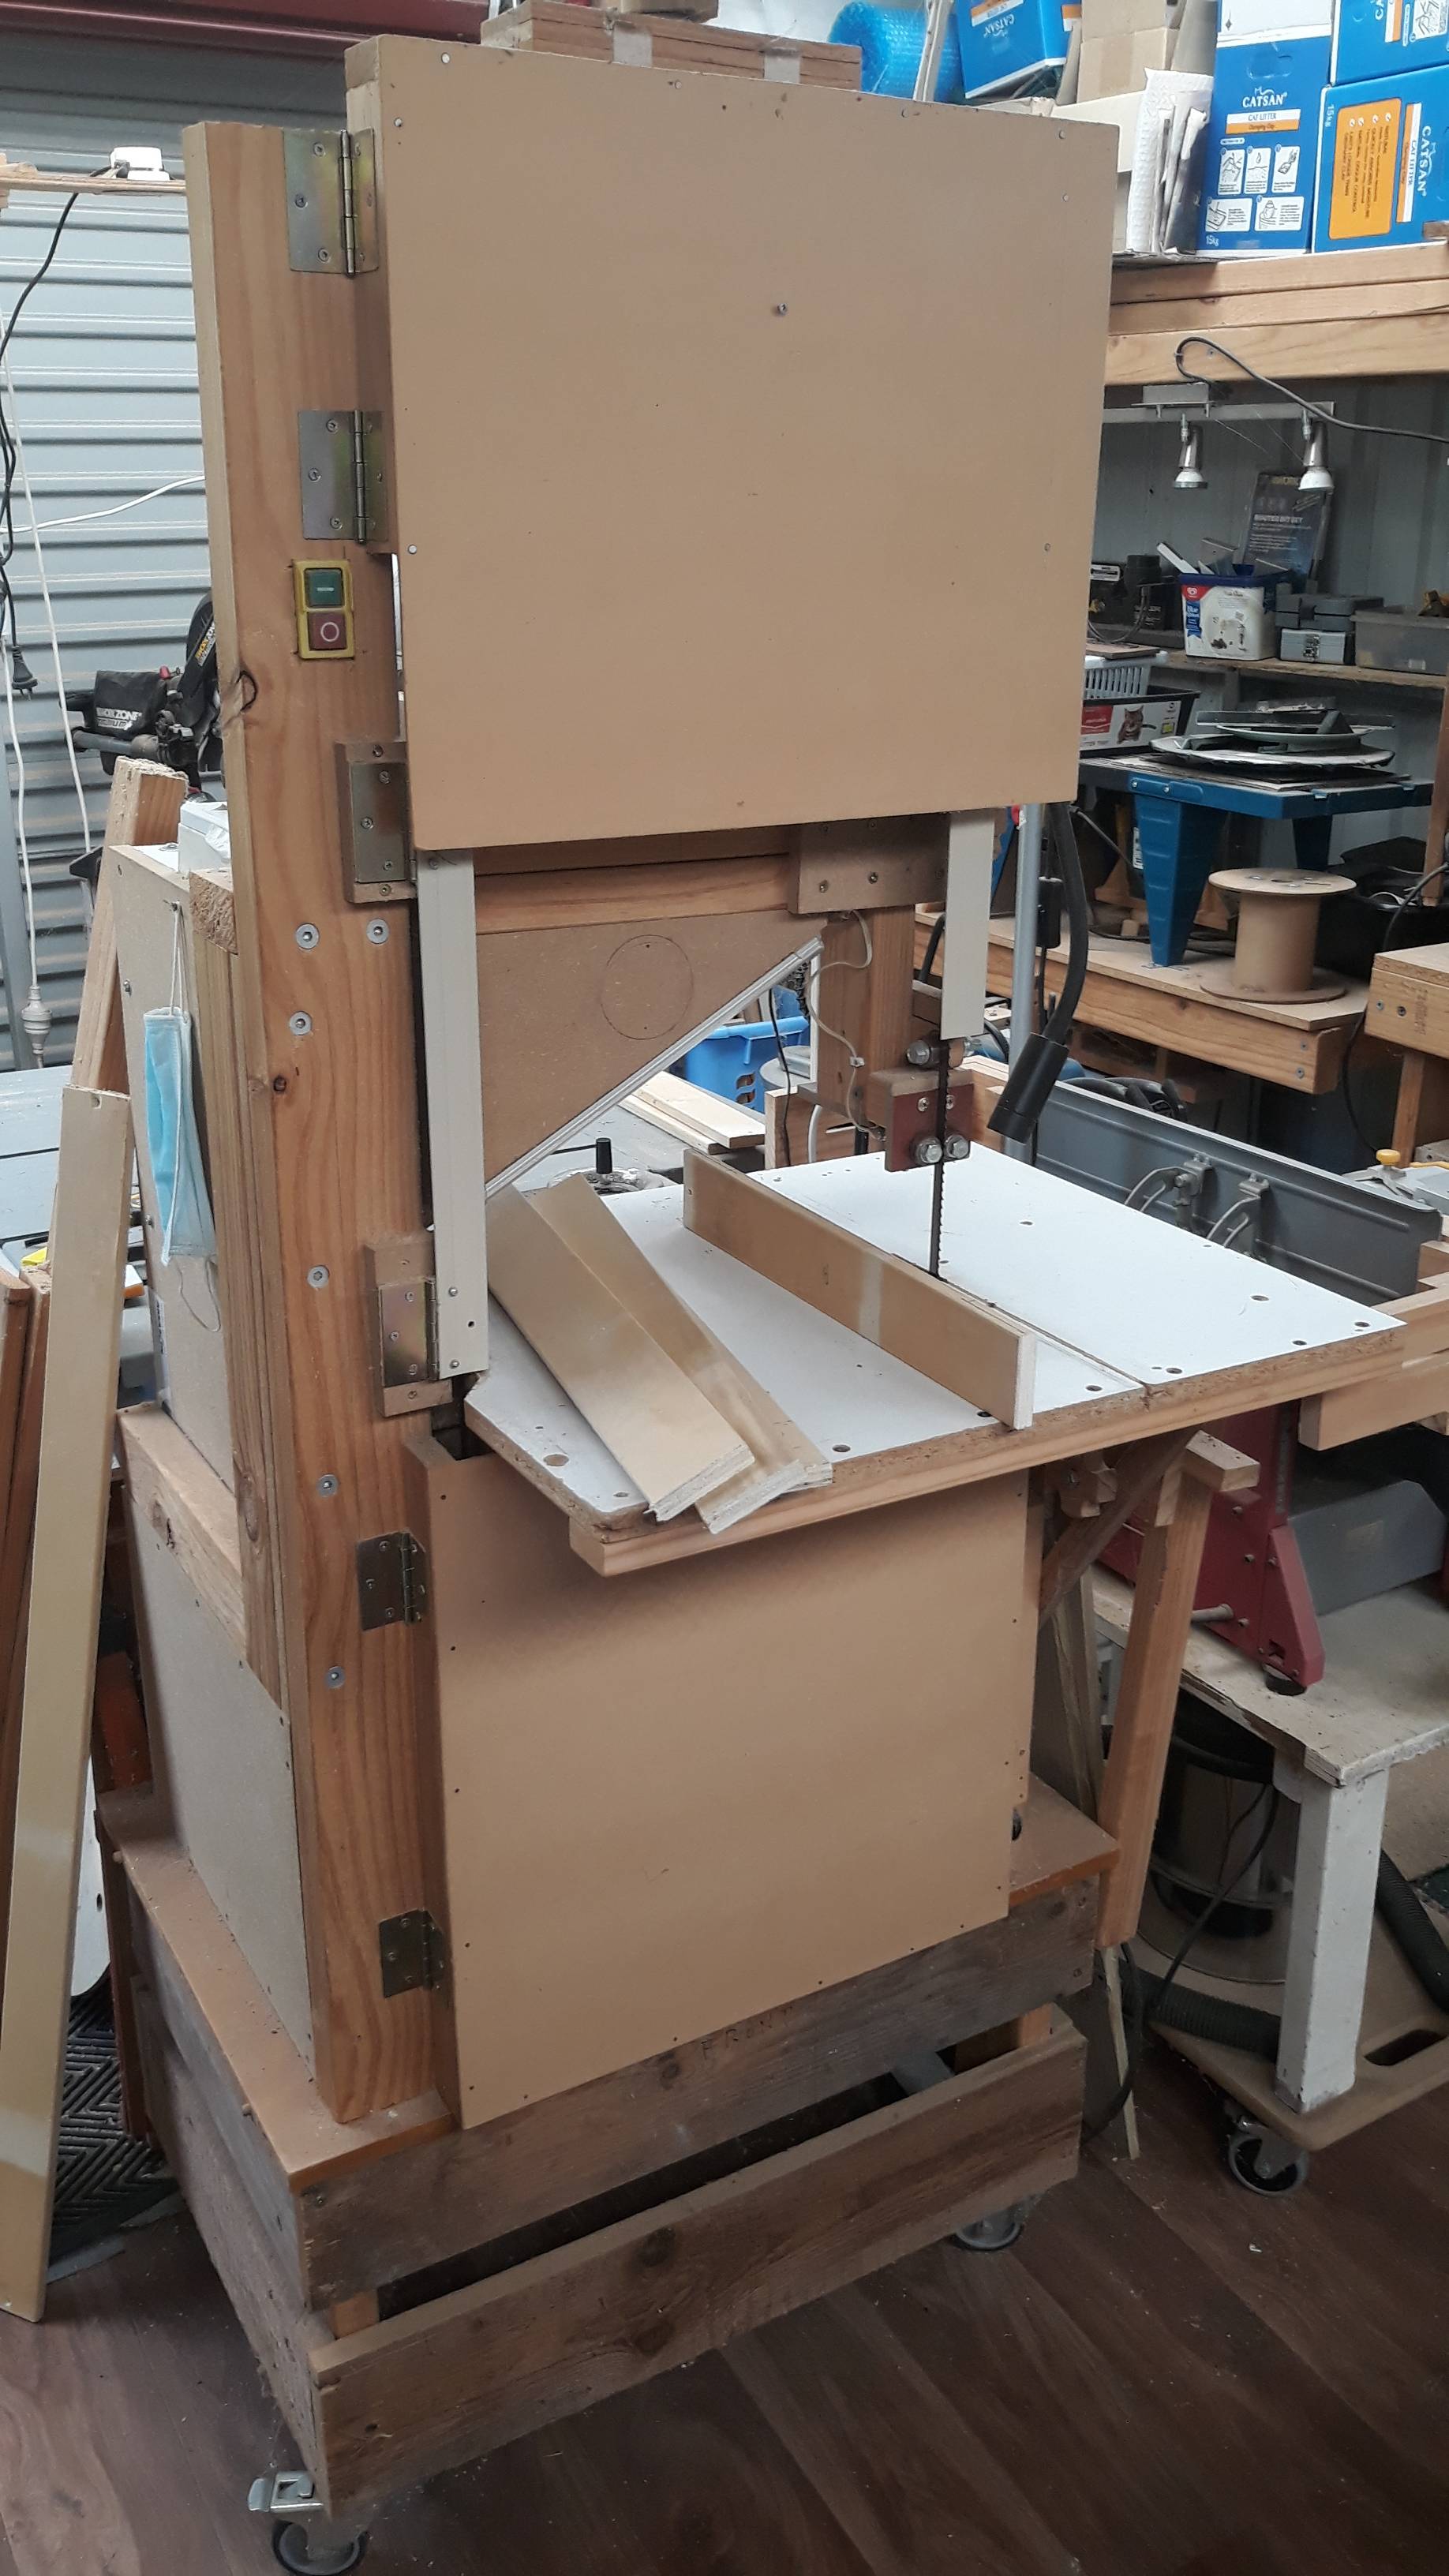 This is the 2nd band saw that I made in 2018.
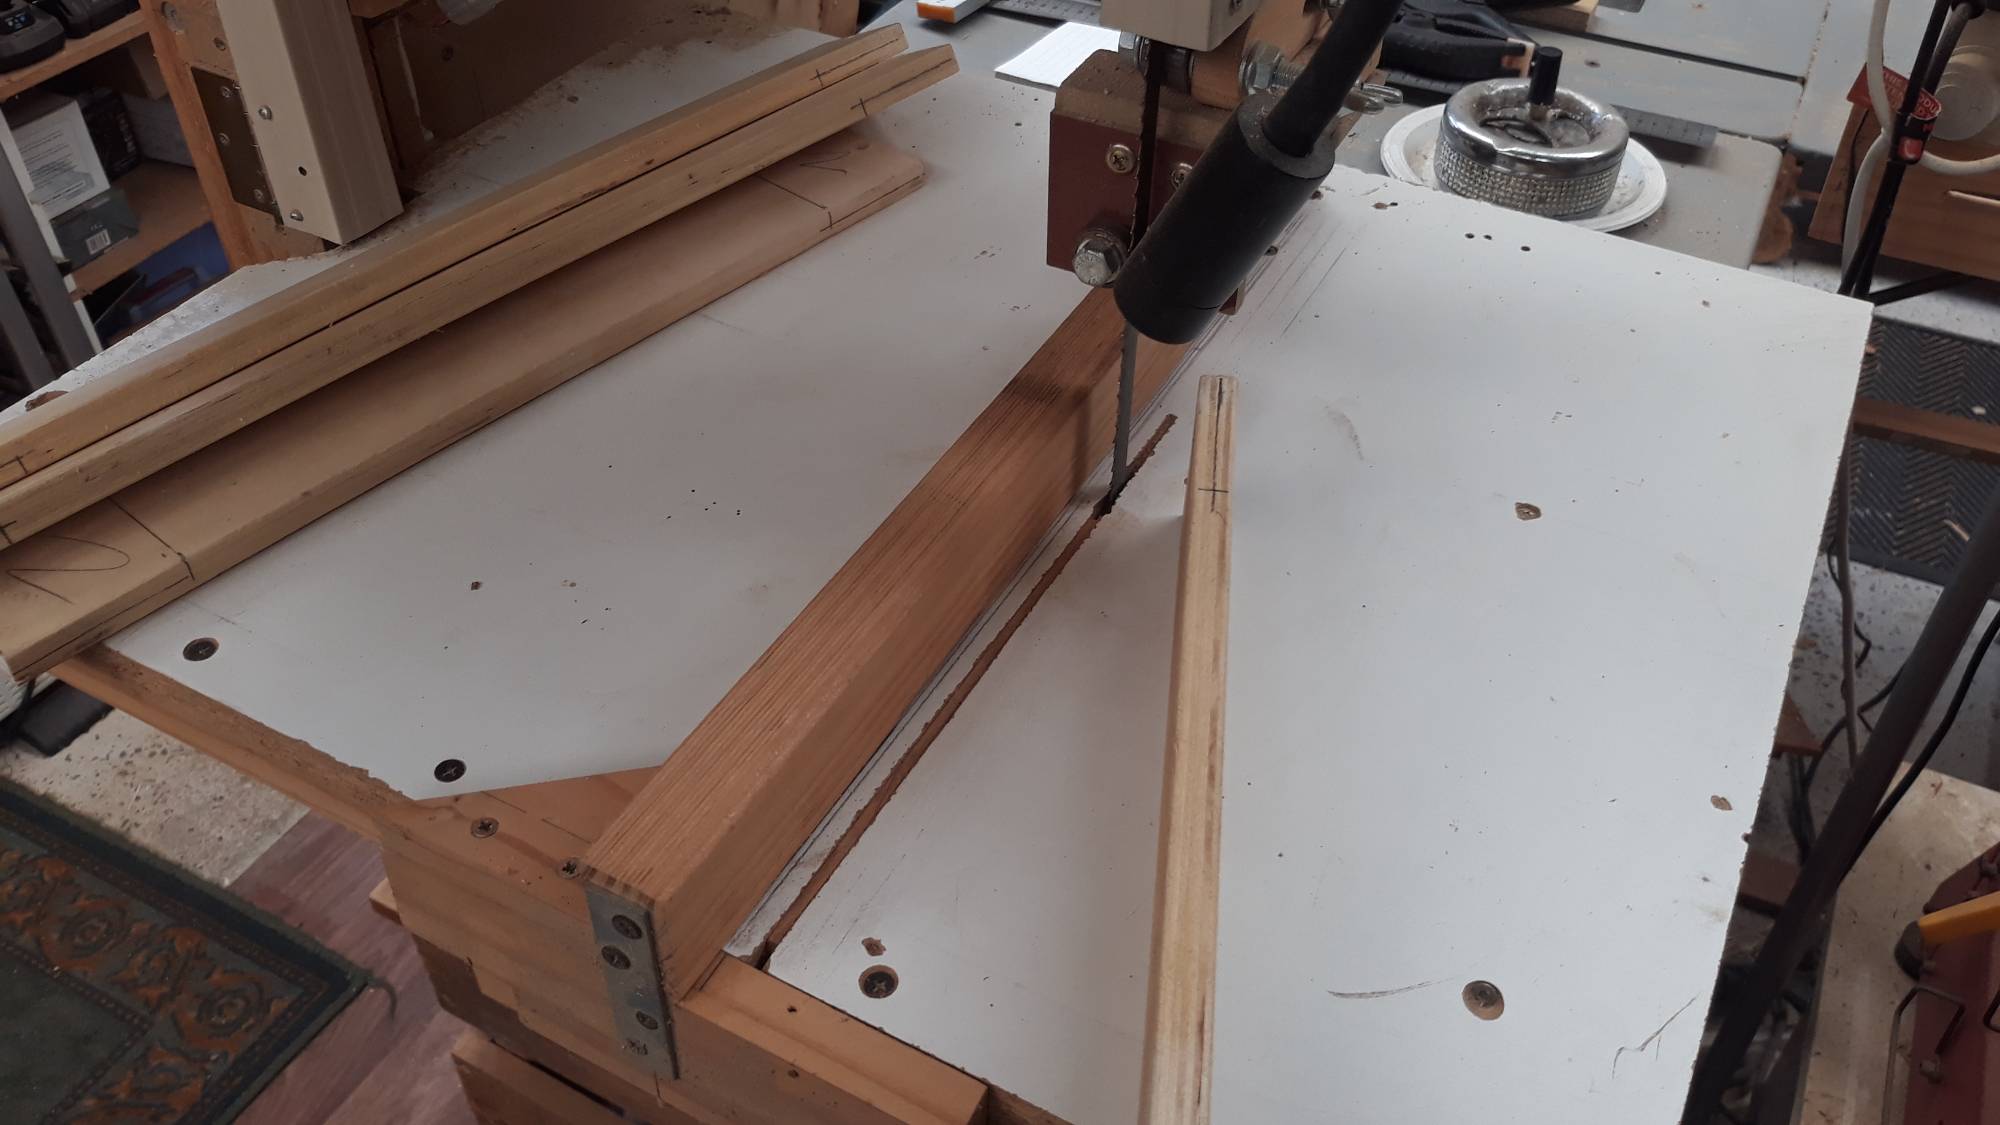
Setting up the fence.
 That’s the first one, seven to go.
 This is the last one.
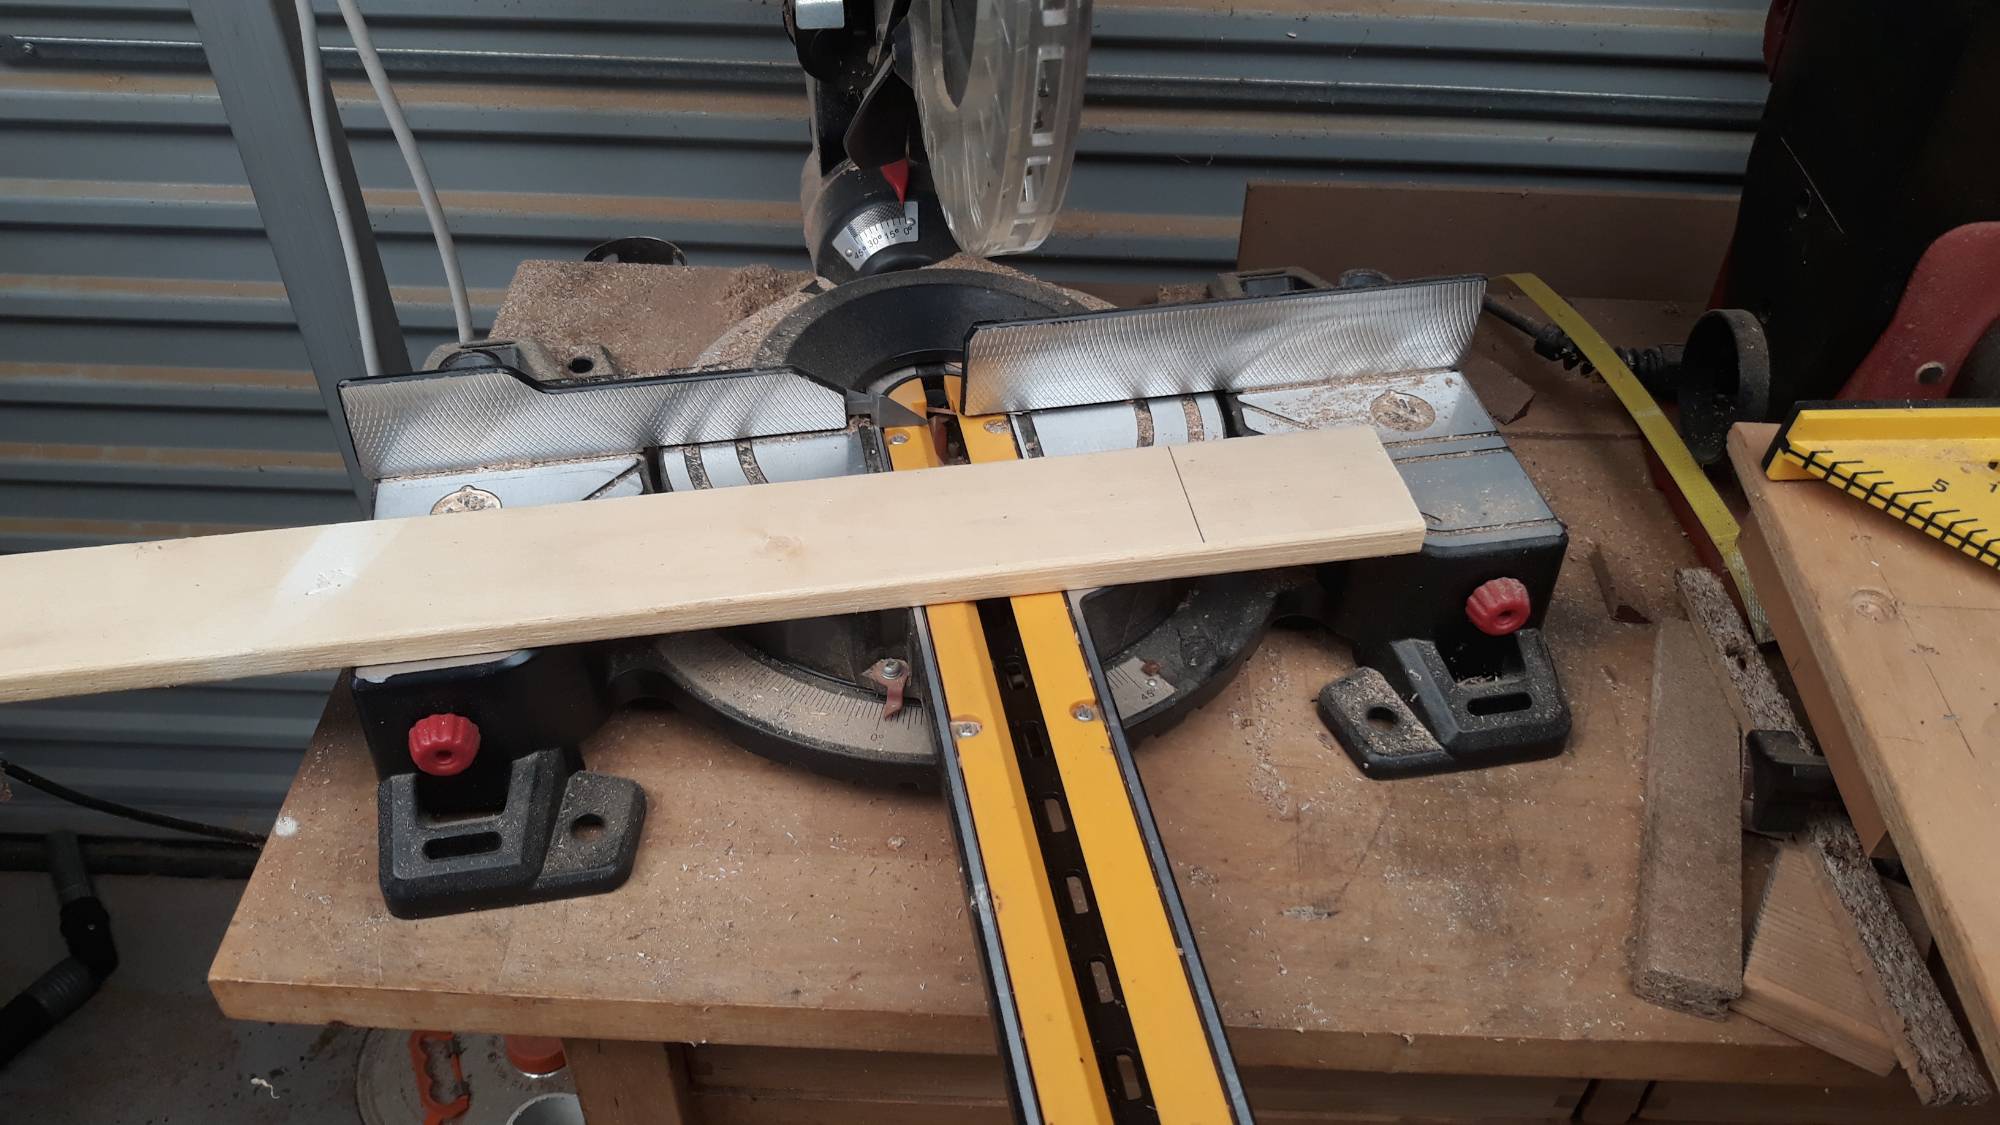
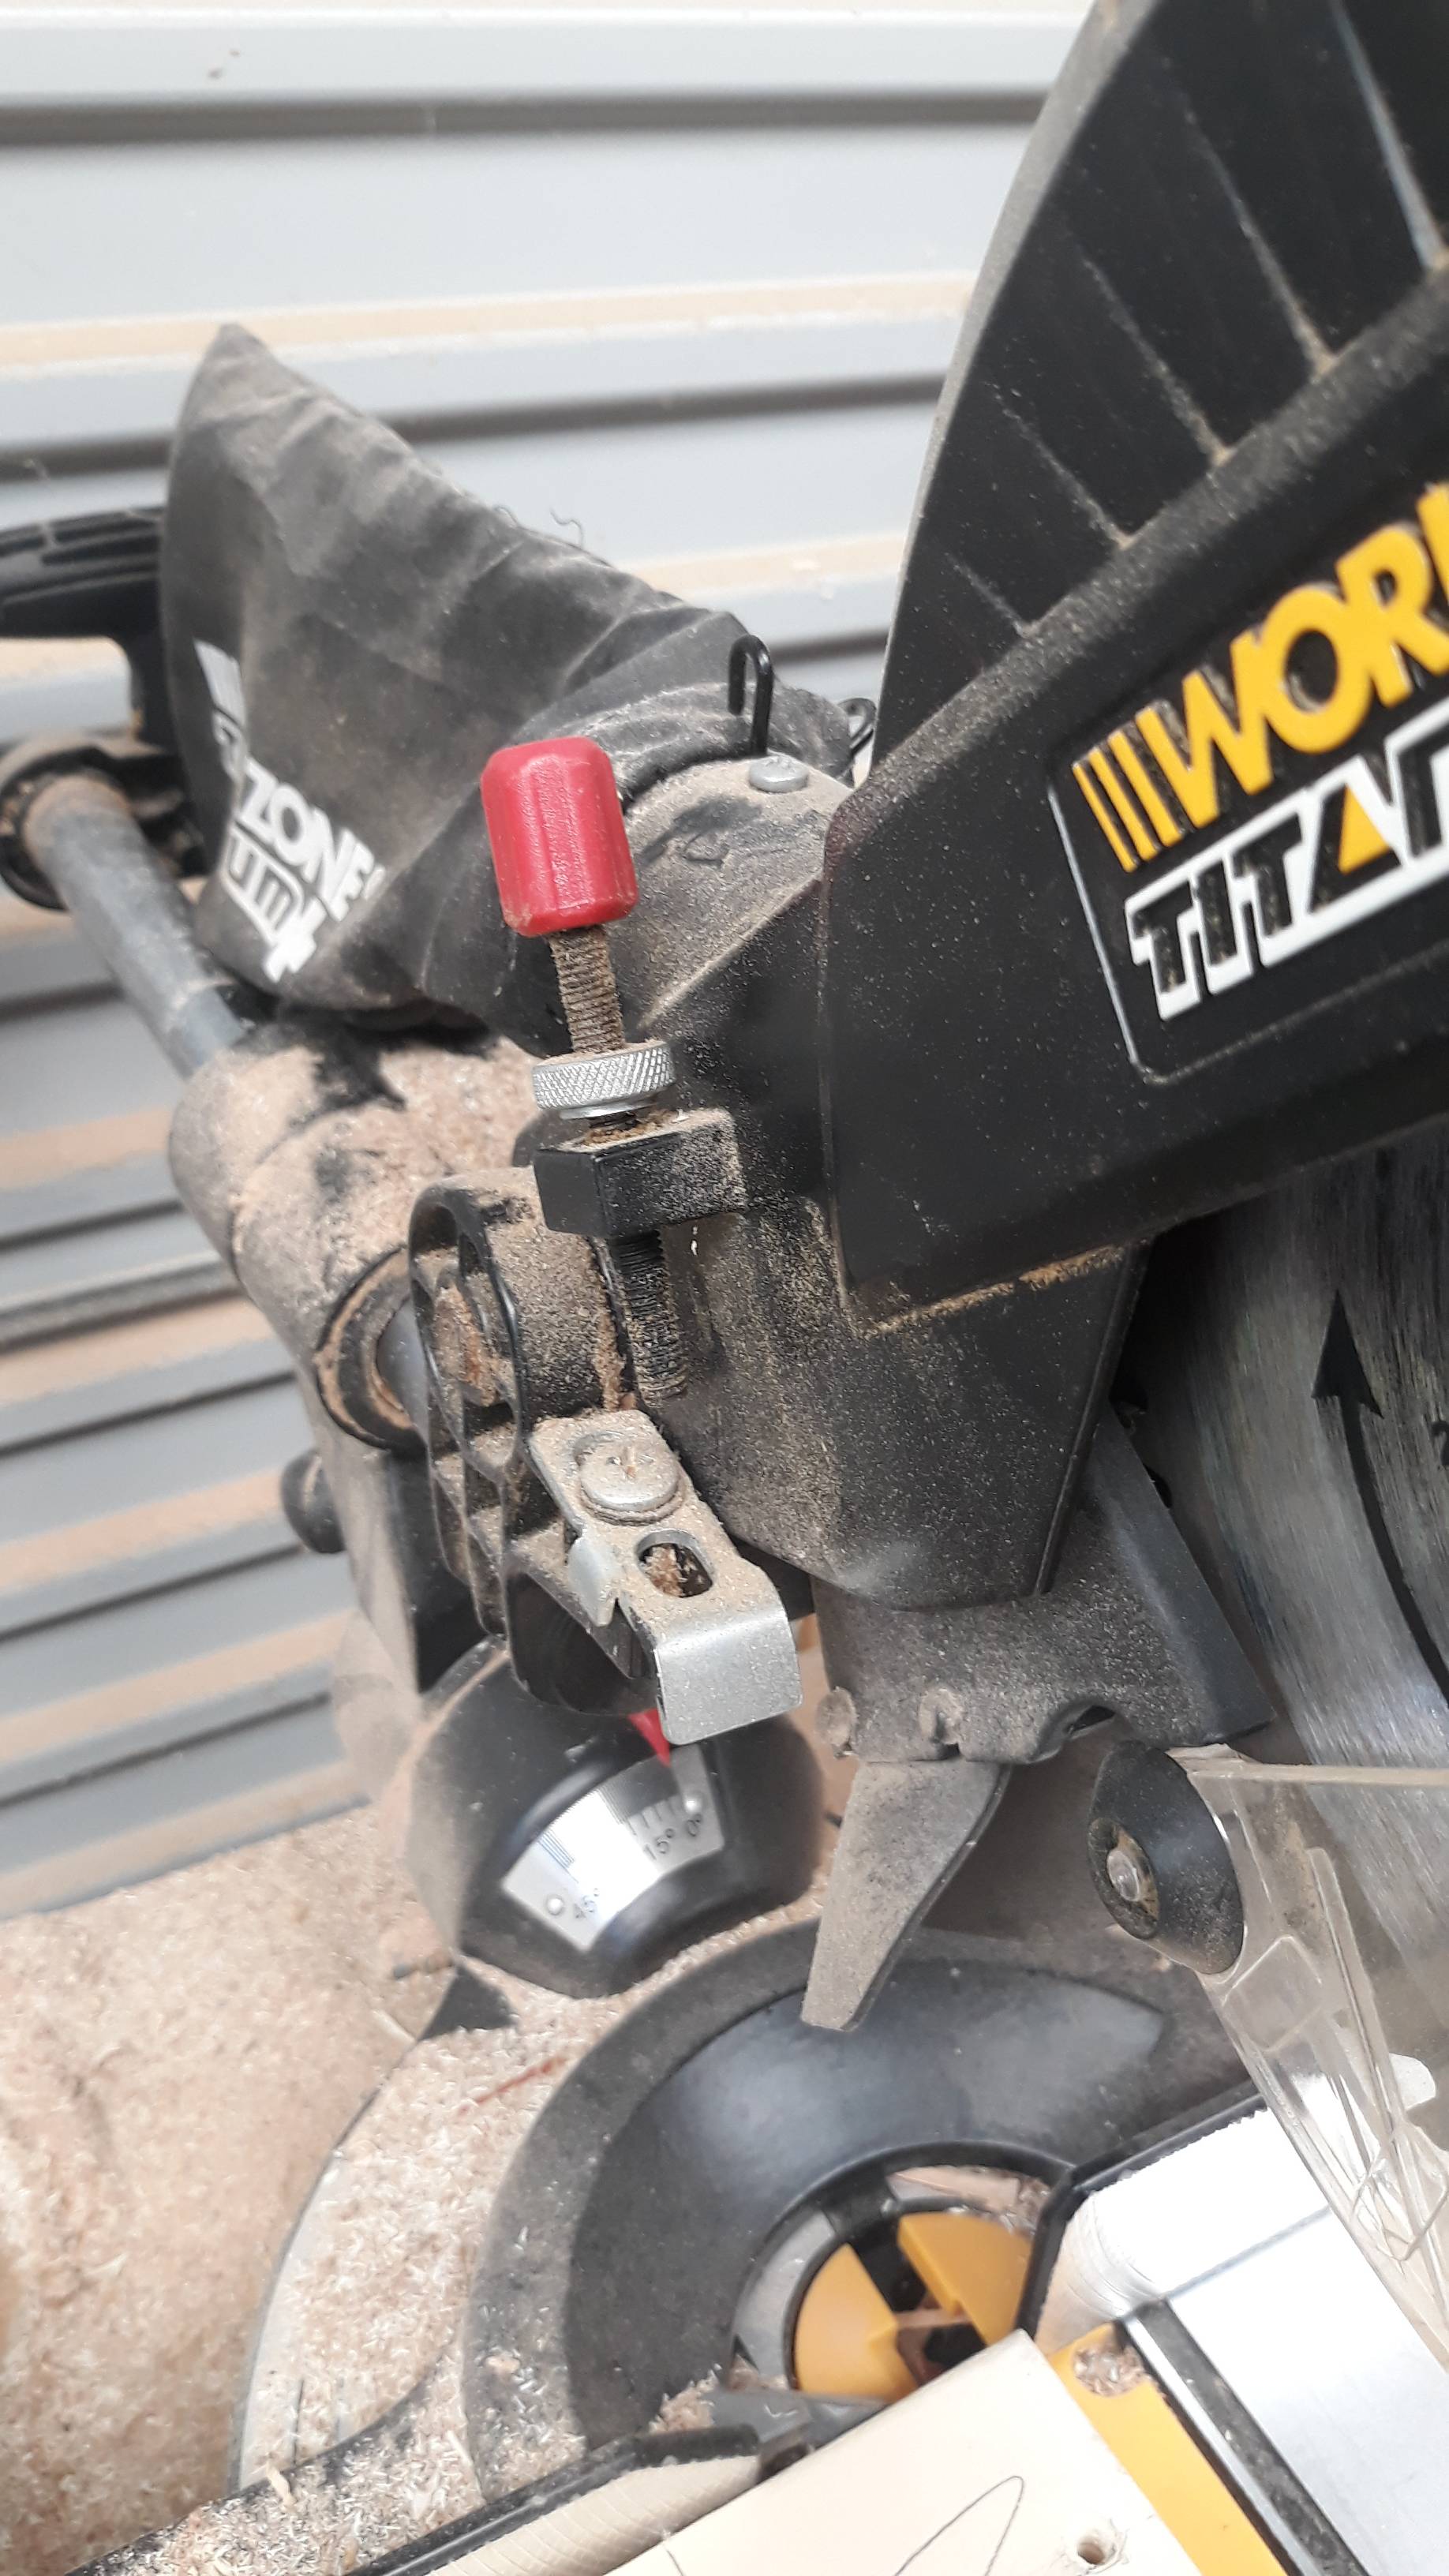 Now over to the 8″ sliding miter saw.
We need to set the depth gauge to slice out the waste.
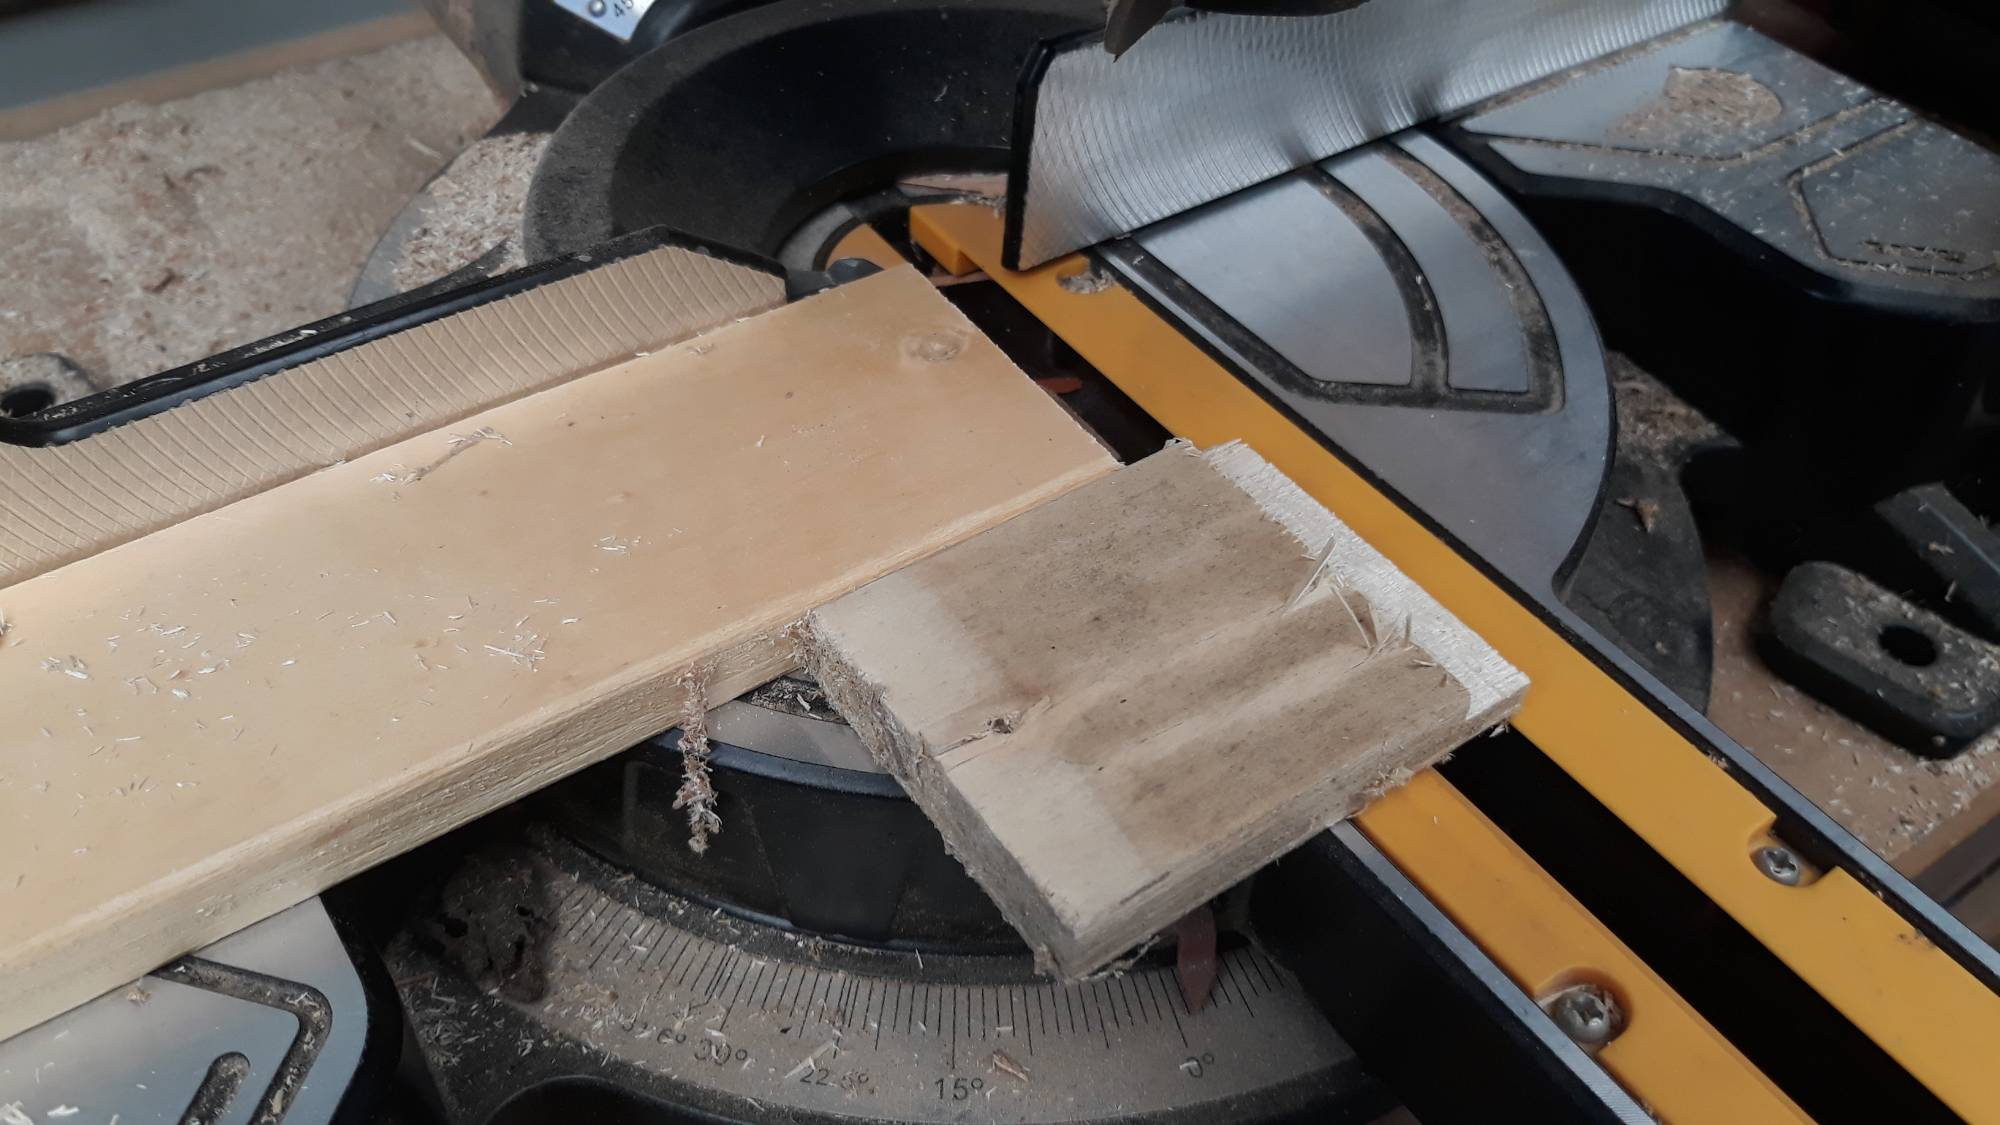
The depth gauge reduces the crosscut capability so we need a packer piece.
Using scrap to che3ck the depth setting – that’s good.
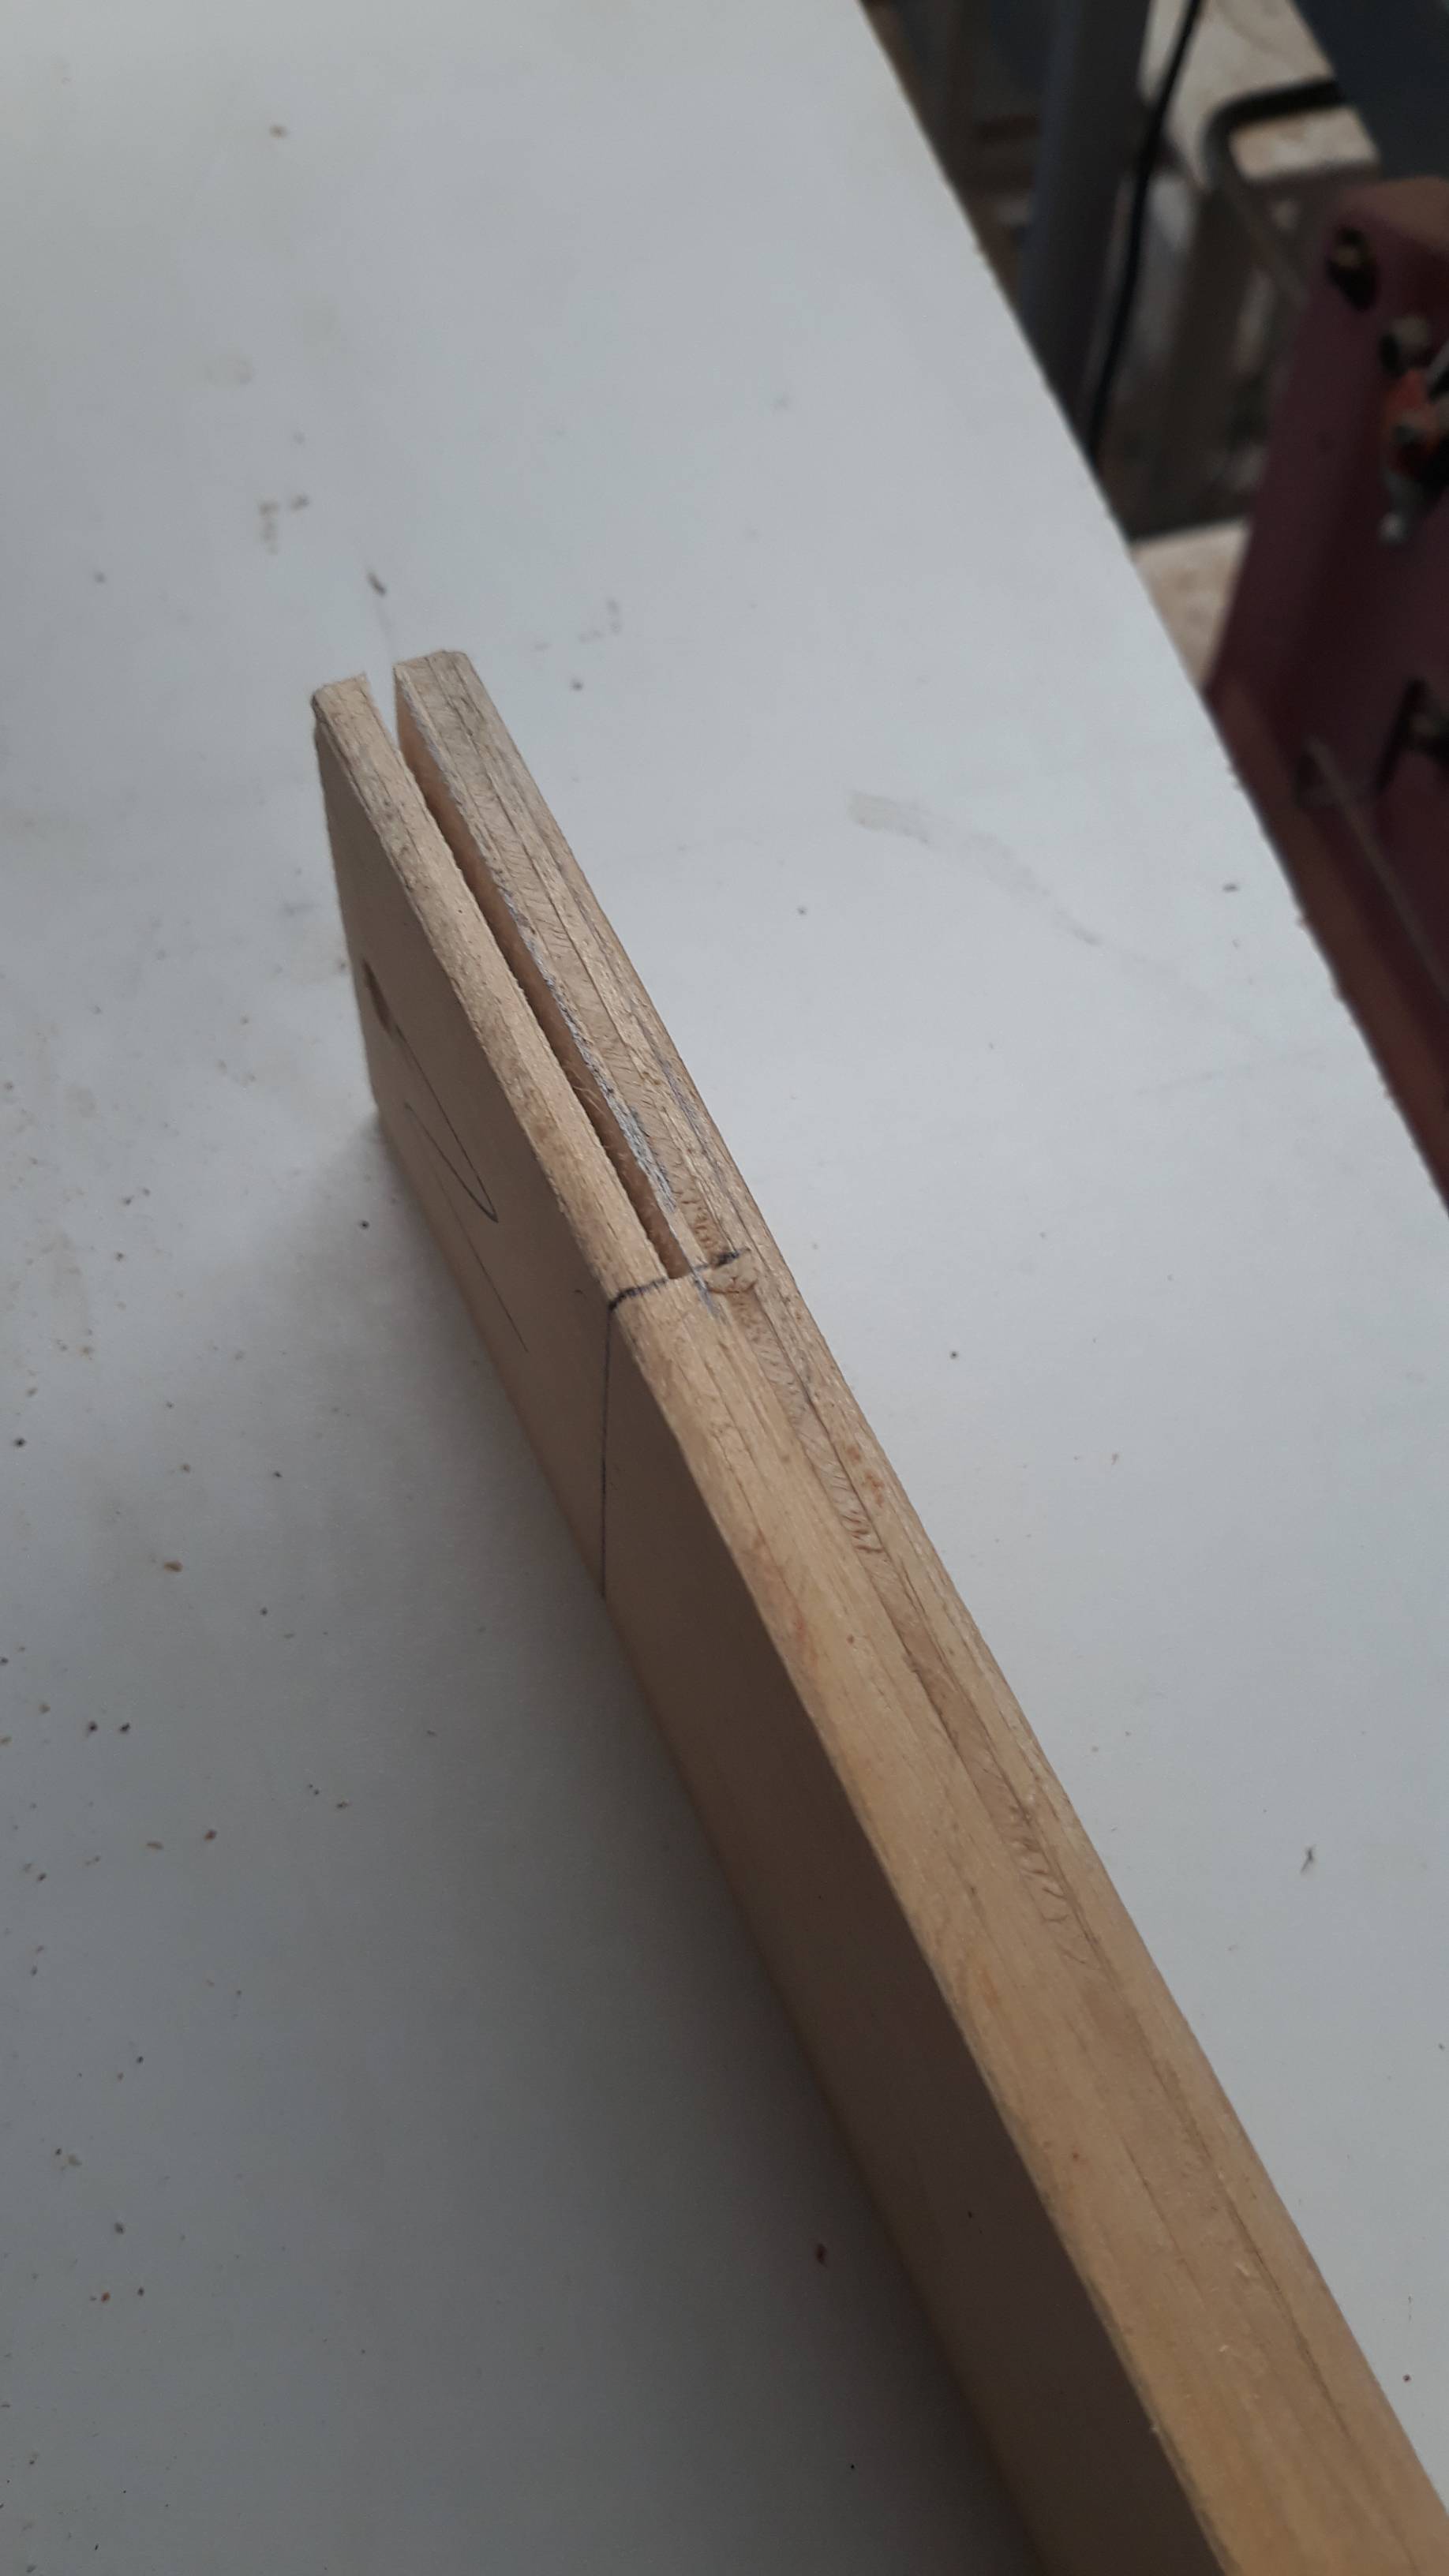
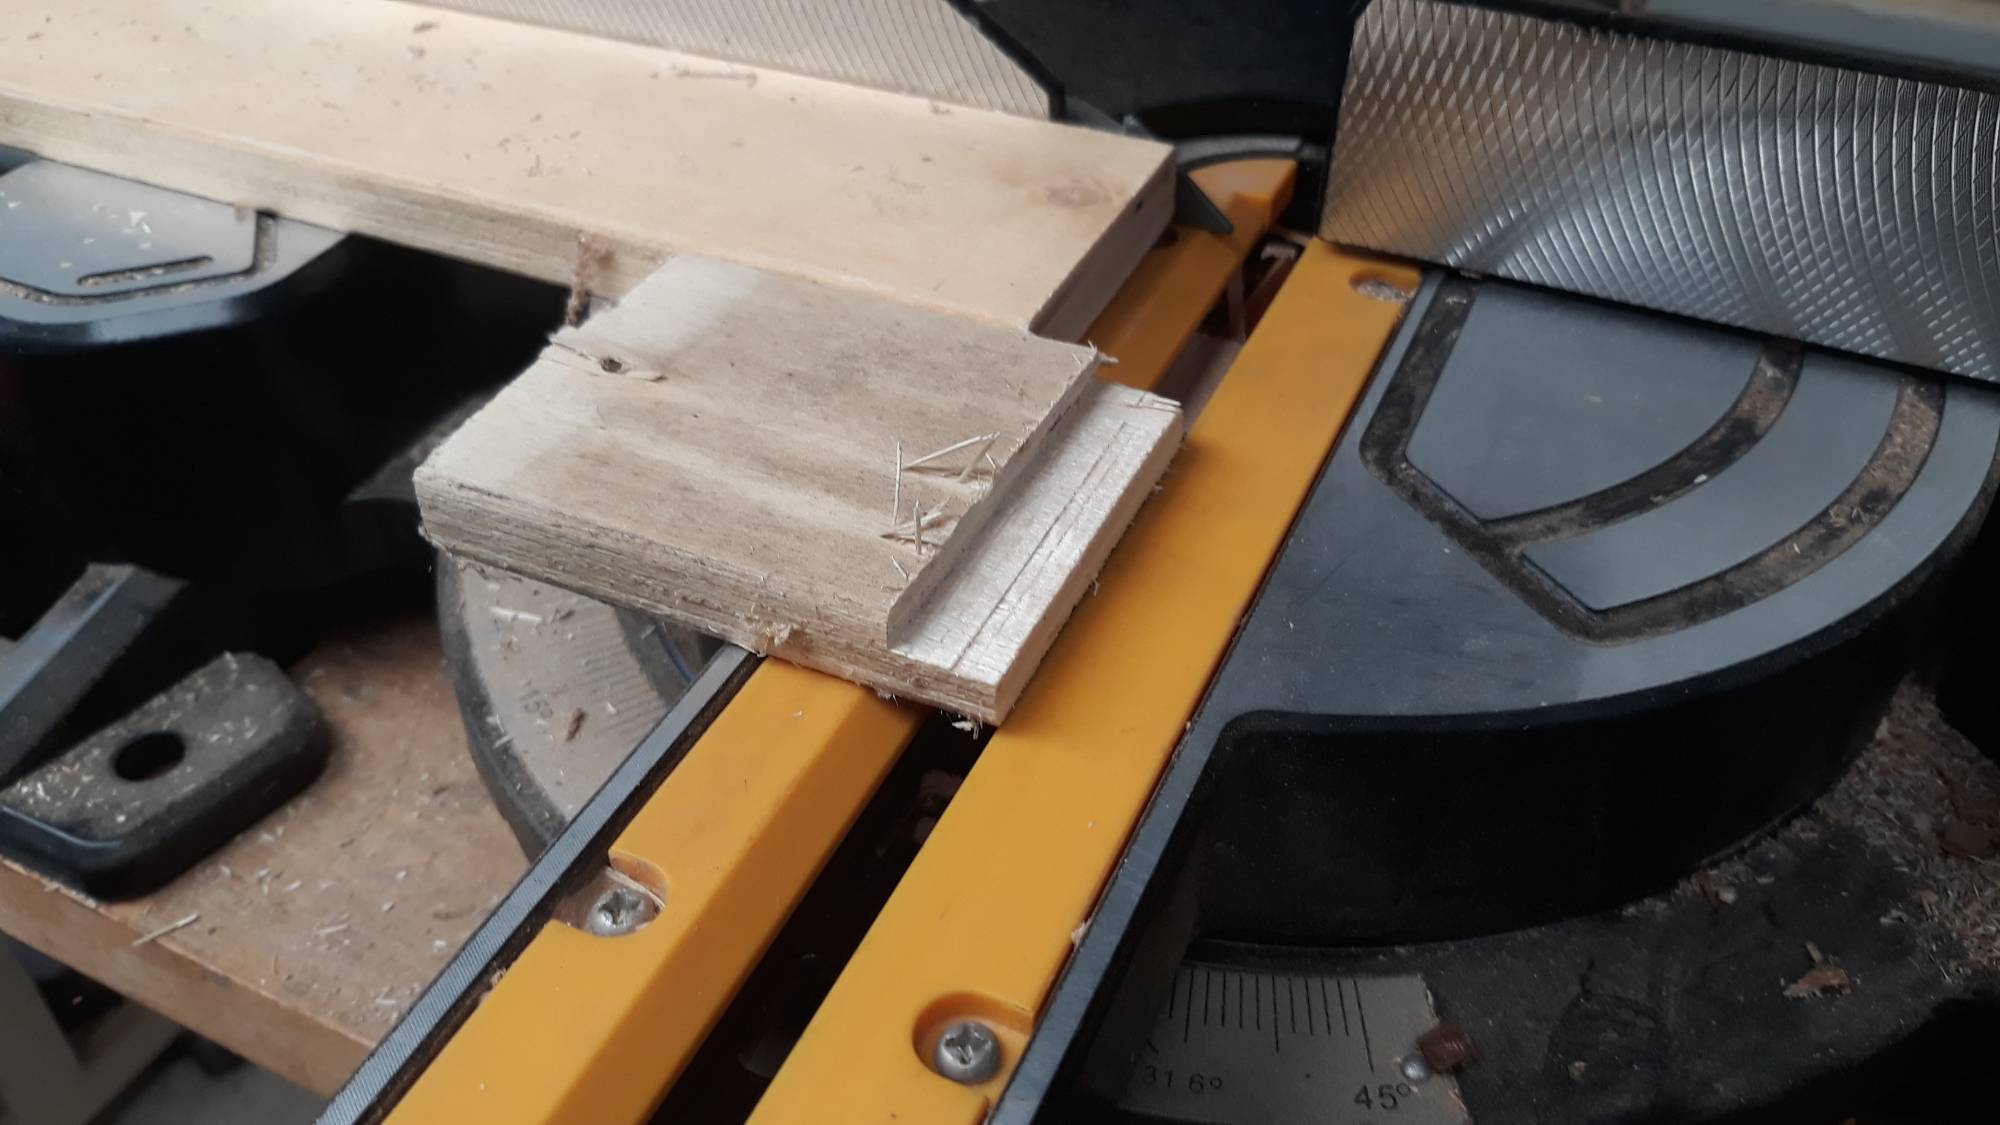
 Starting to take shape, you can see the waste pieces towards the top.
Enough for today I’ll be back tomorrow.
