
From the last session we are going to cut a piece of clear plastic that will be glued onto the back of the carrier to support the negative.. We can the do some test scanning!
With the clear plastic cut and glued to the bottom of the negative carrier we can put aside with some weight on top.
 We are back after cleaning Speckles coop and changing her feed and water.
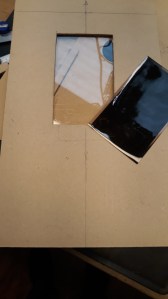
Here’s the plastic carrier windows that will support the negative.
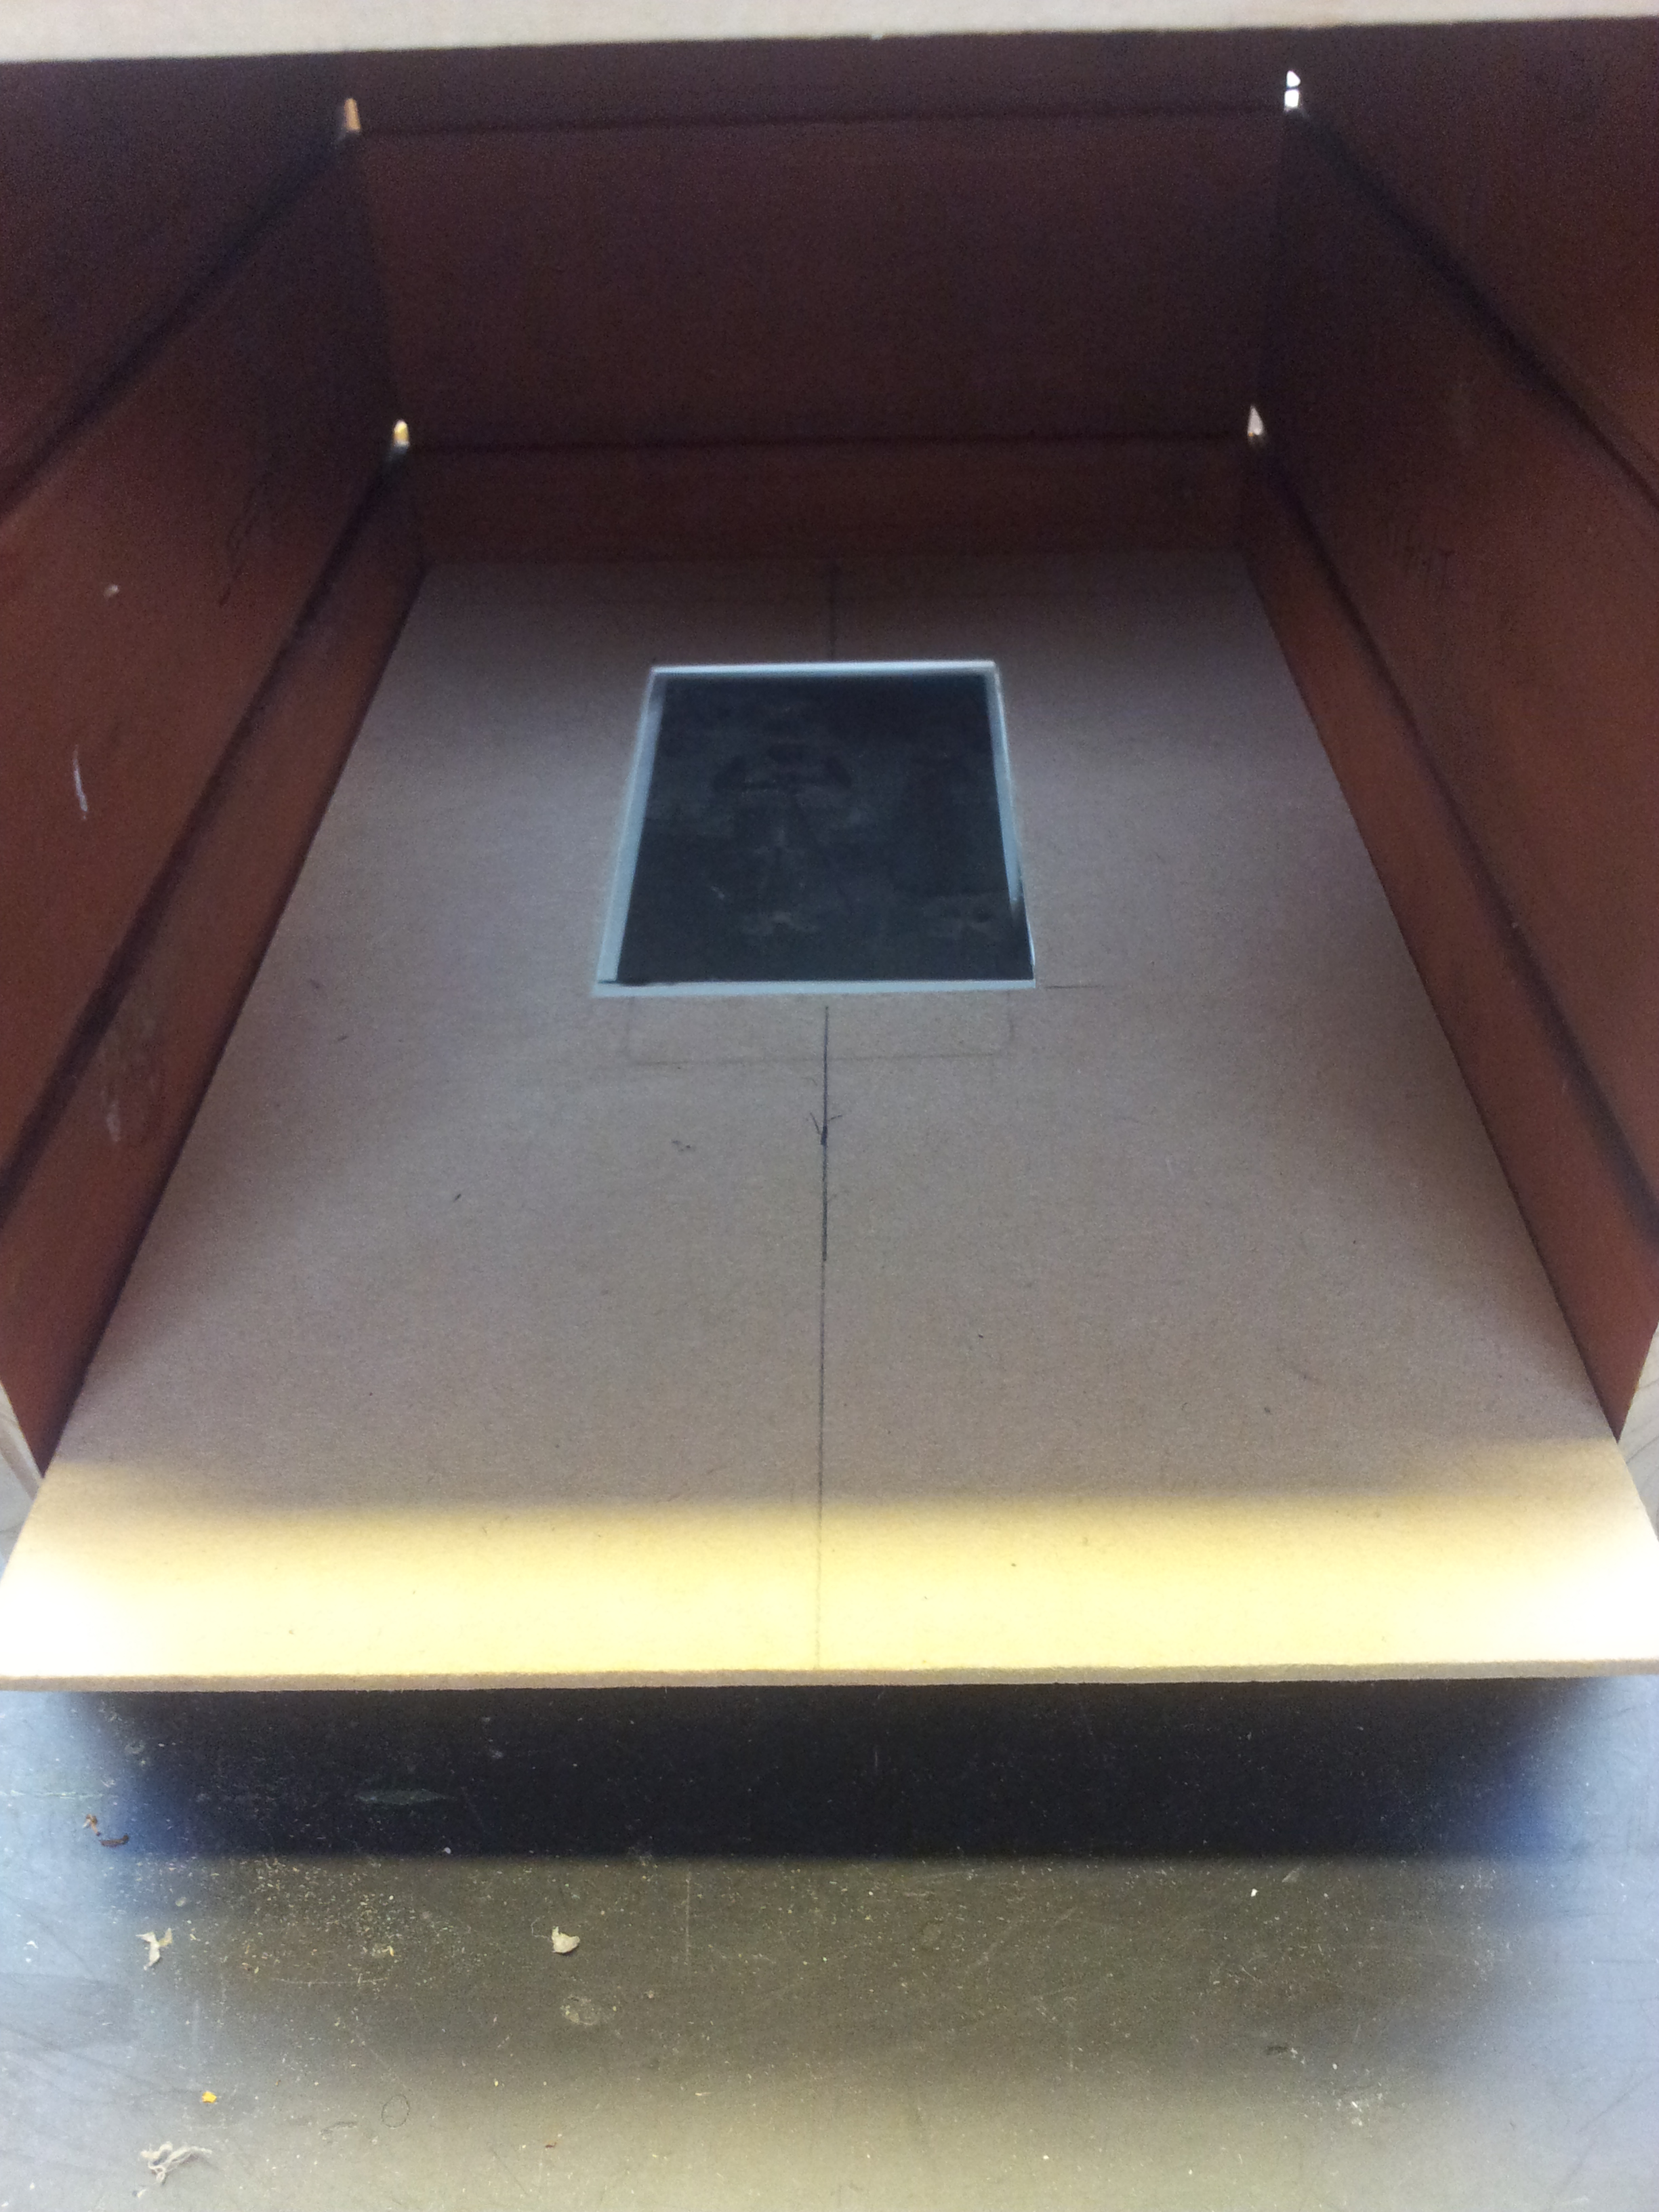
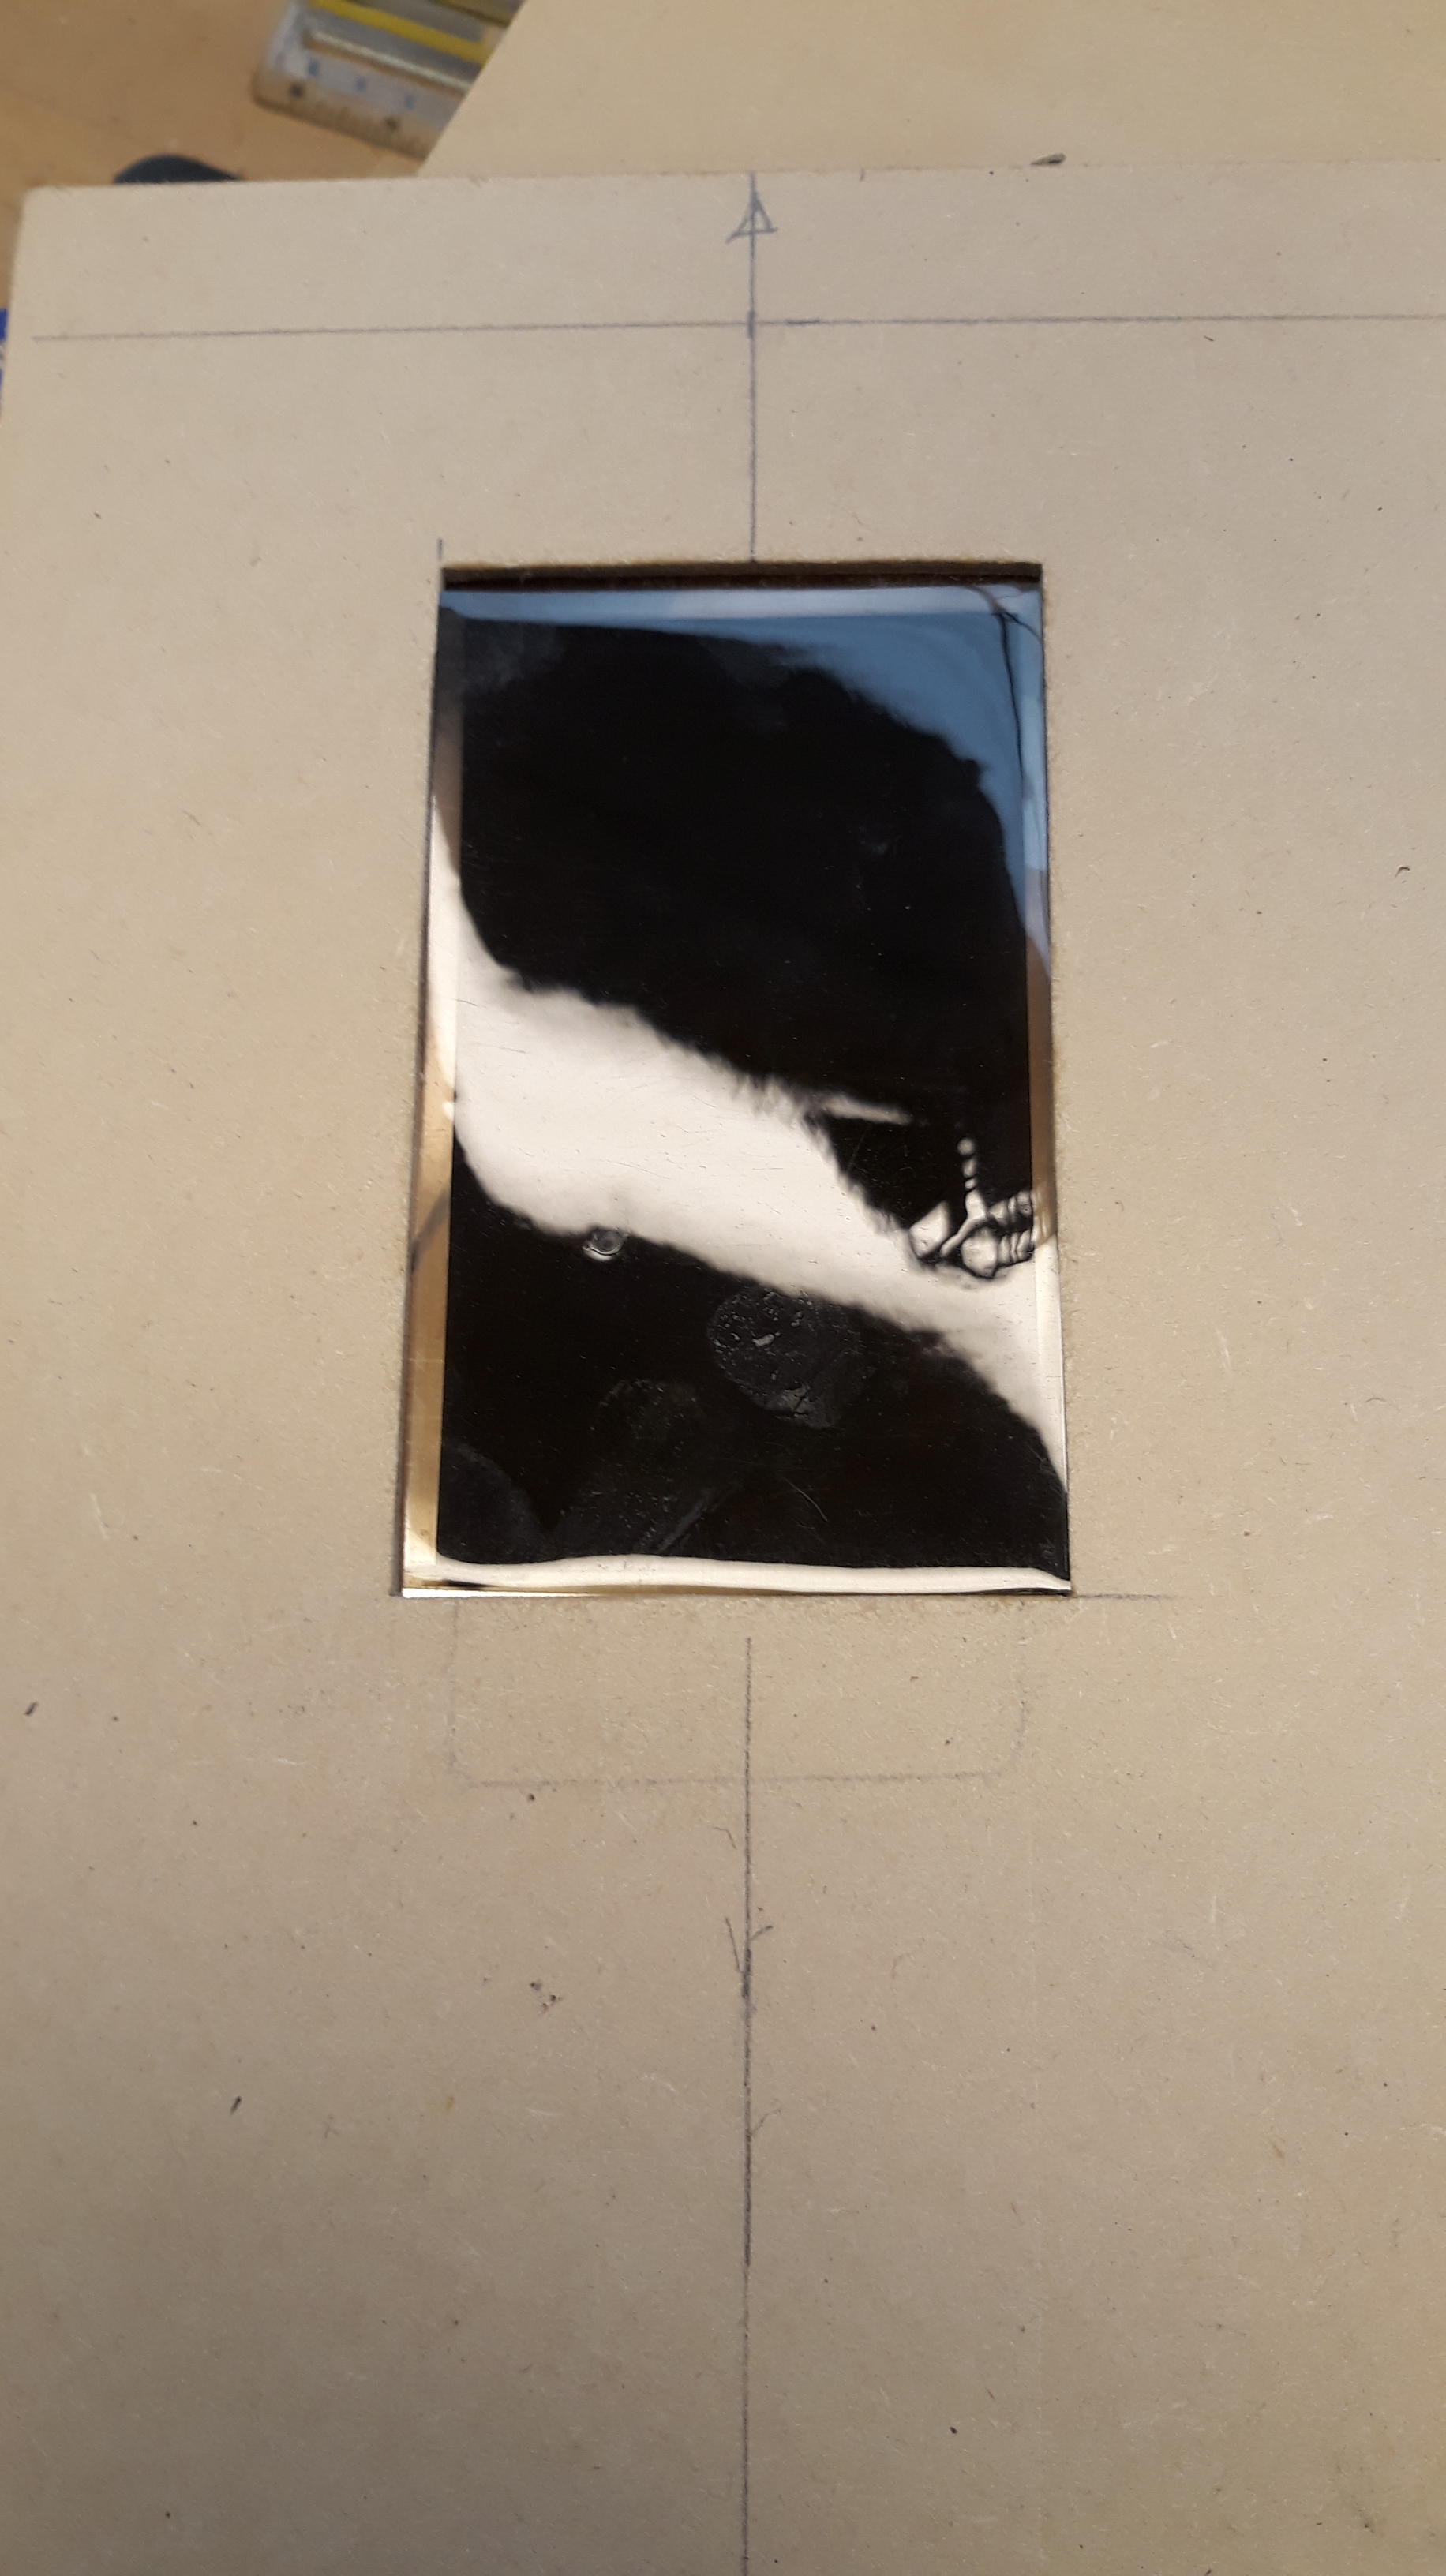 Even though the negative is sitting on the plastic window the heat from the tablet running Lightbox will still curl the negative.
The Acrylic glass placed on top stop the negative curling.
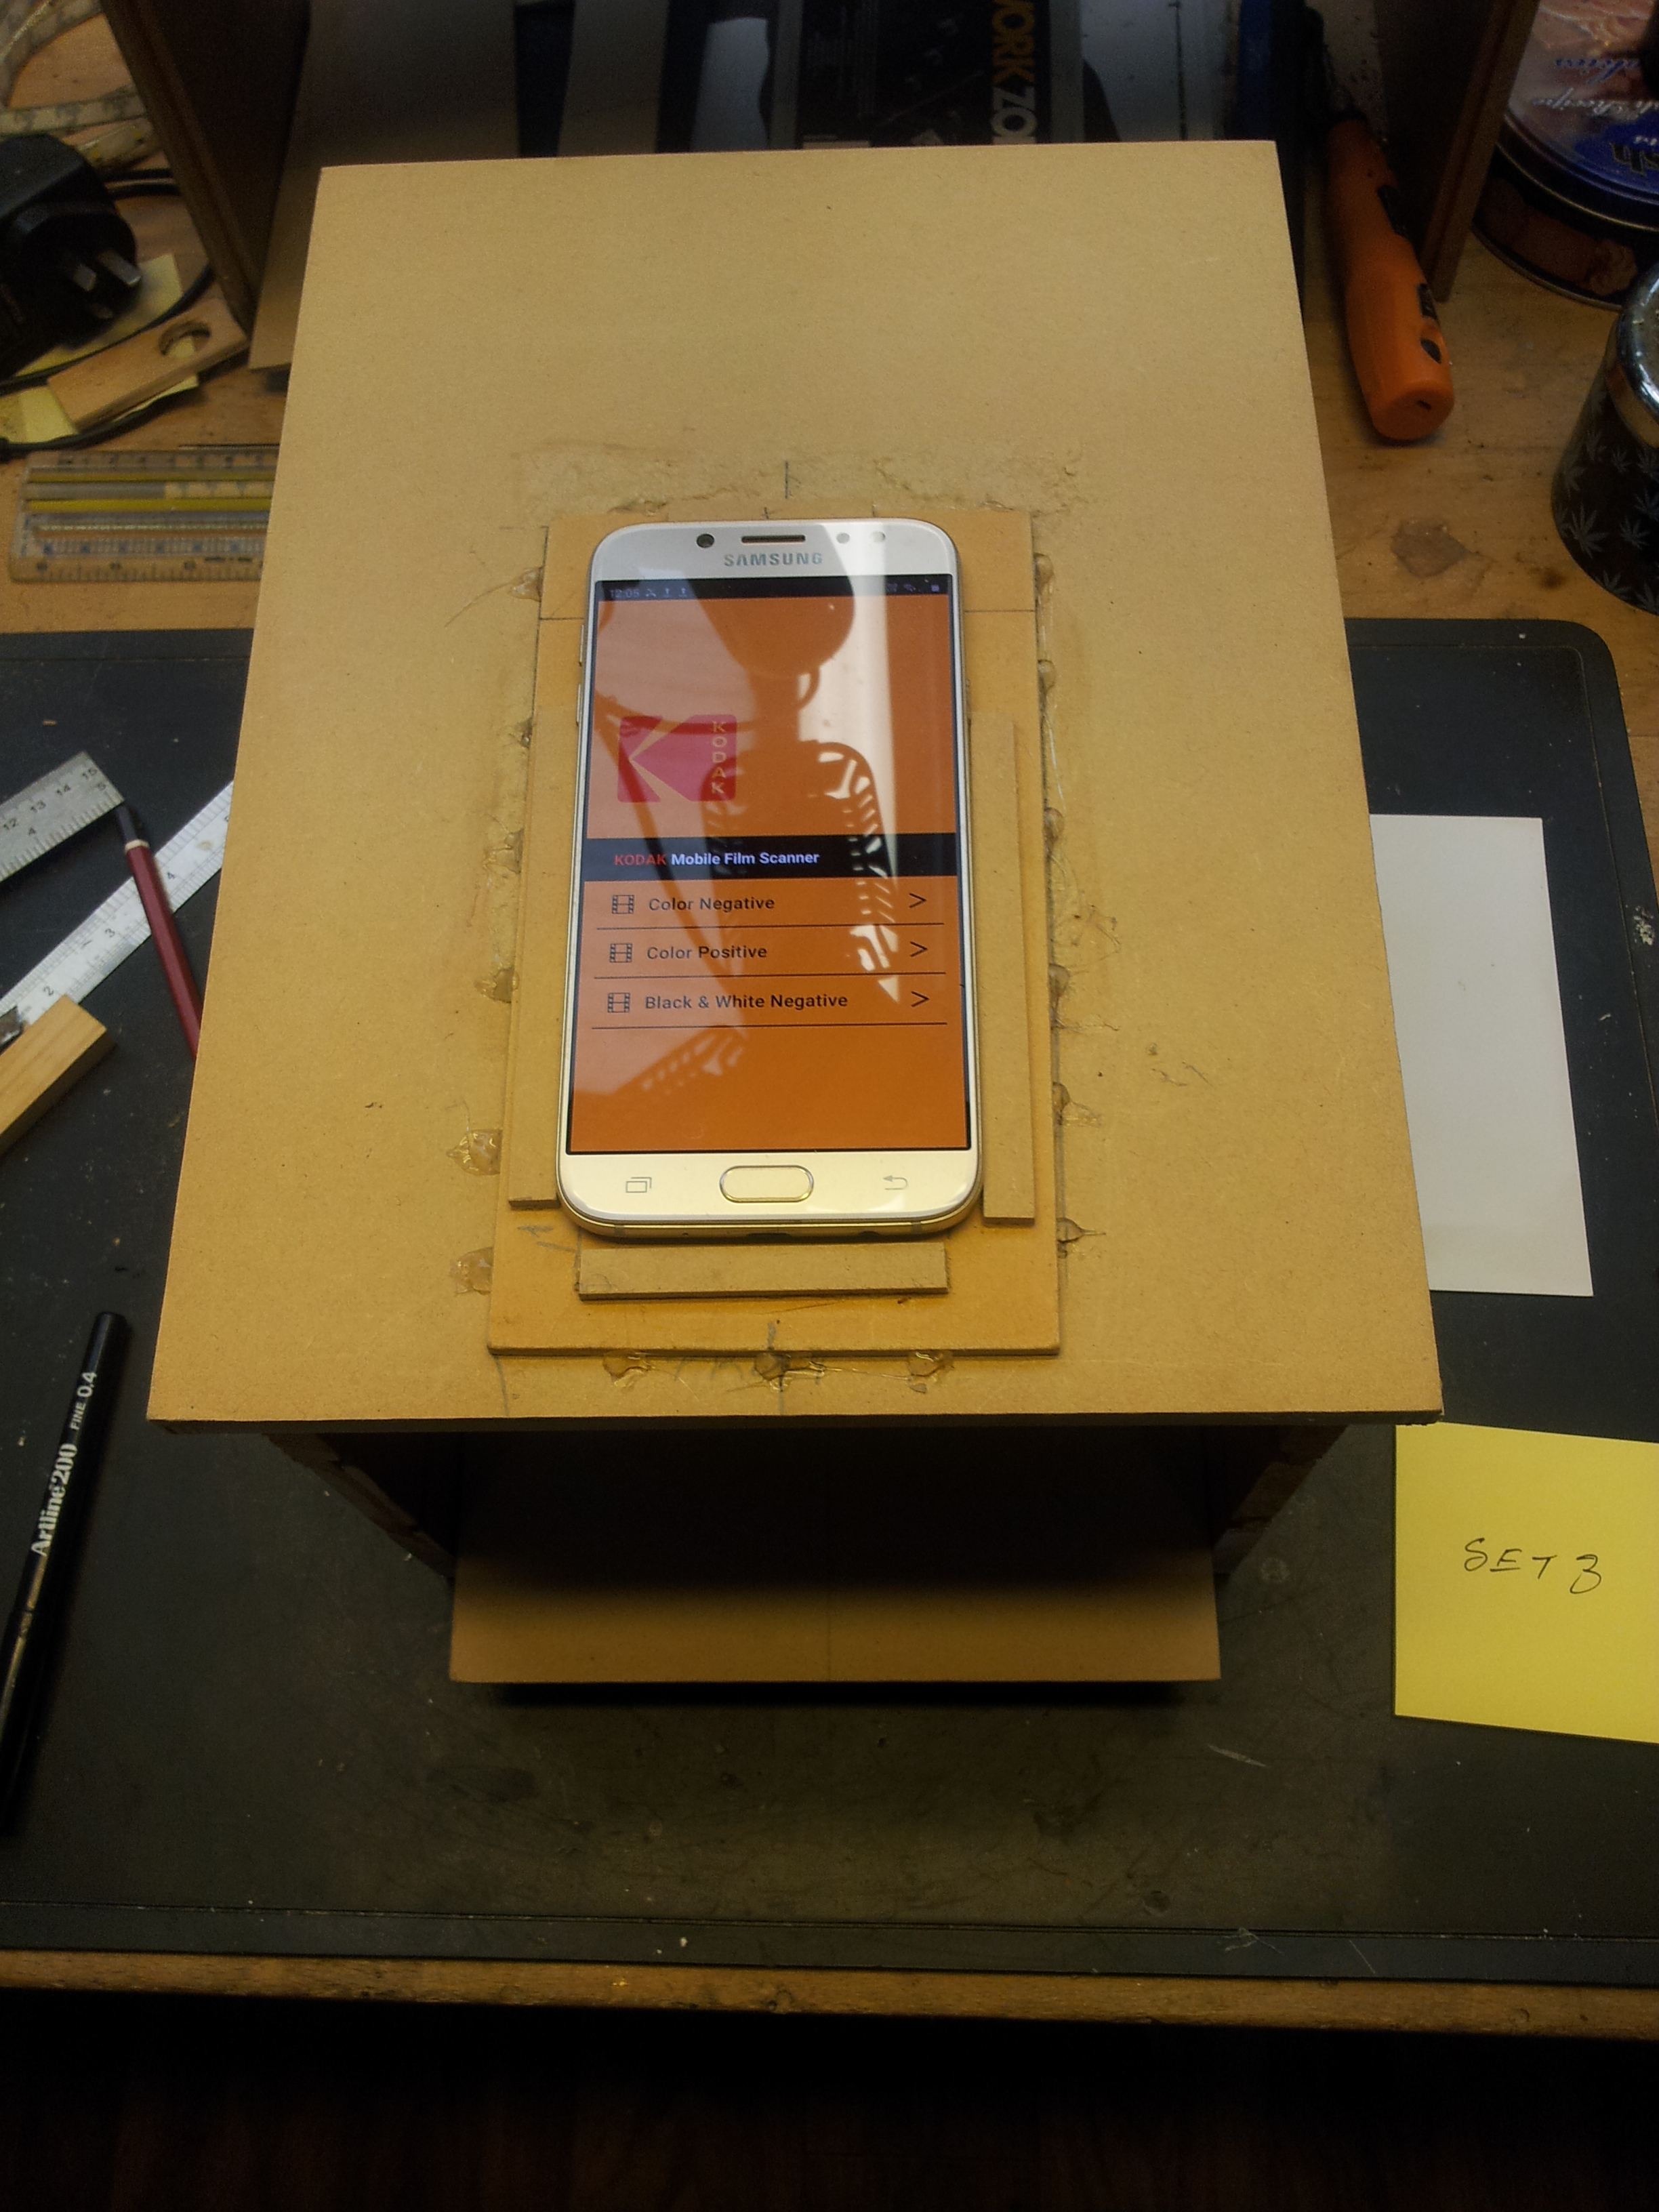
The Samsung J7 Pro is running the Kodak Mobile Film Scanner app.
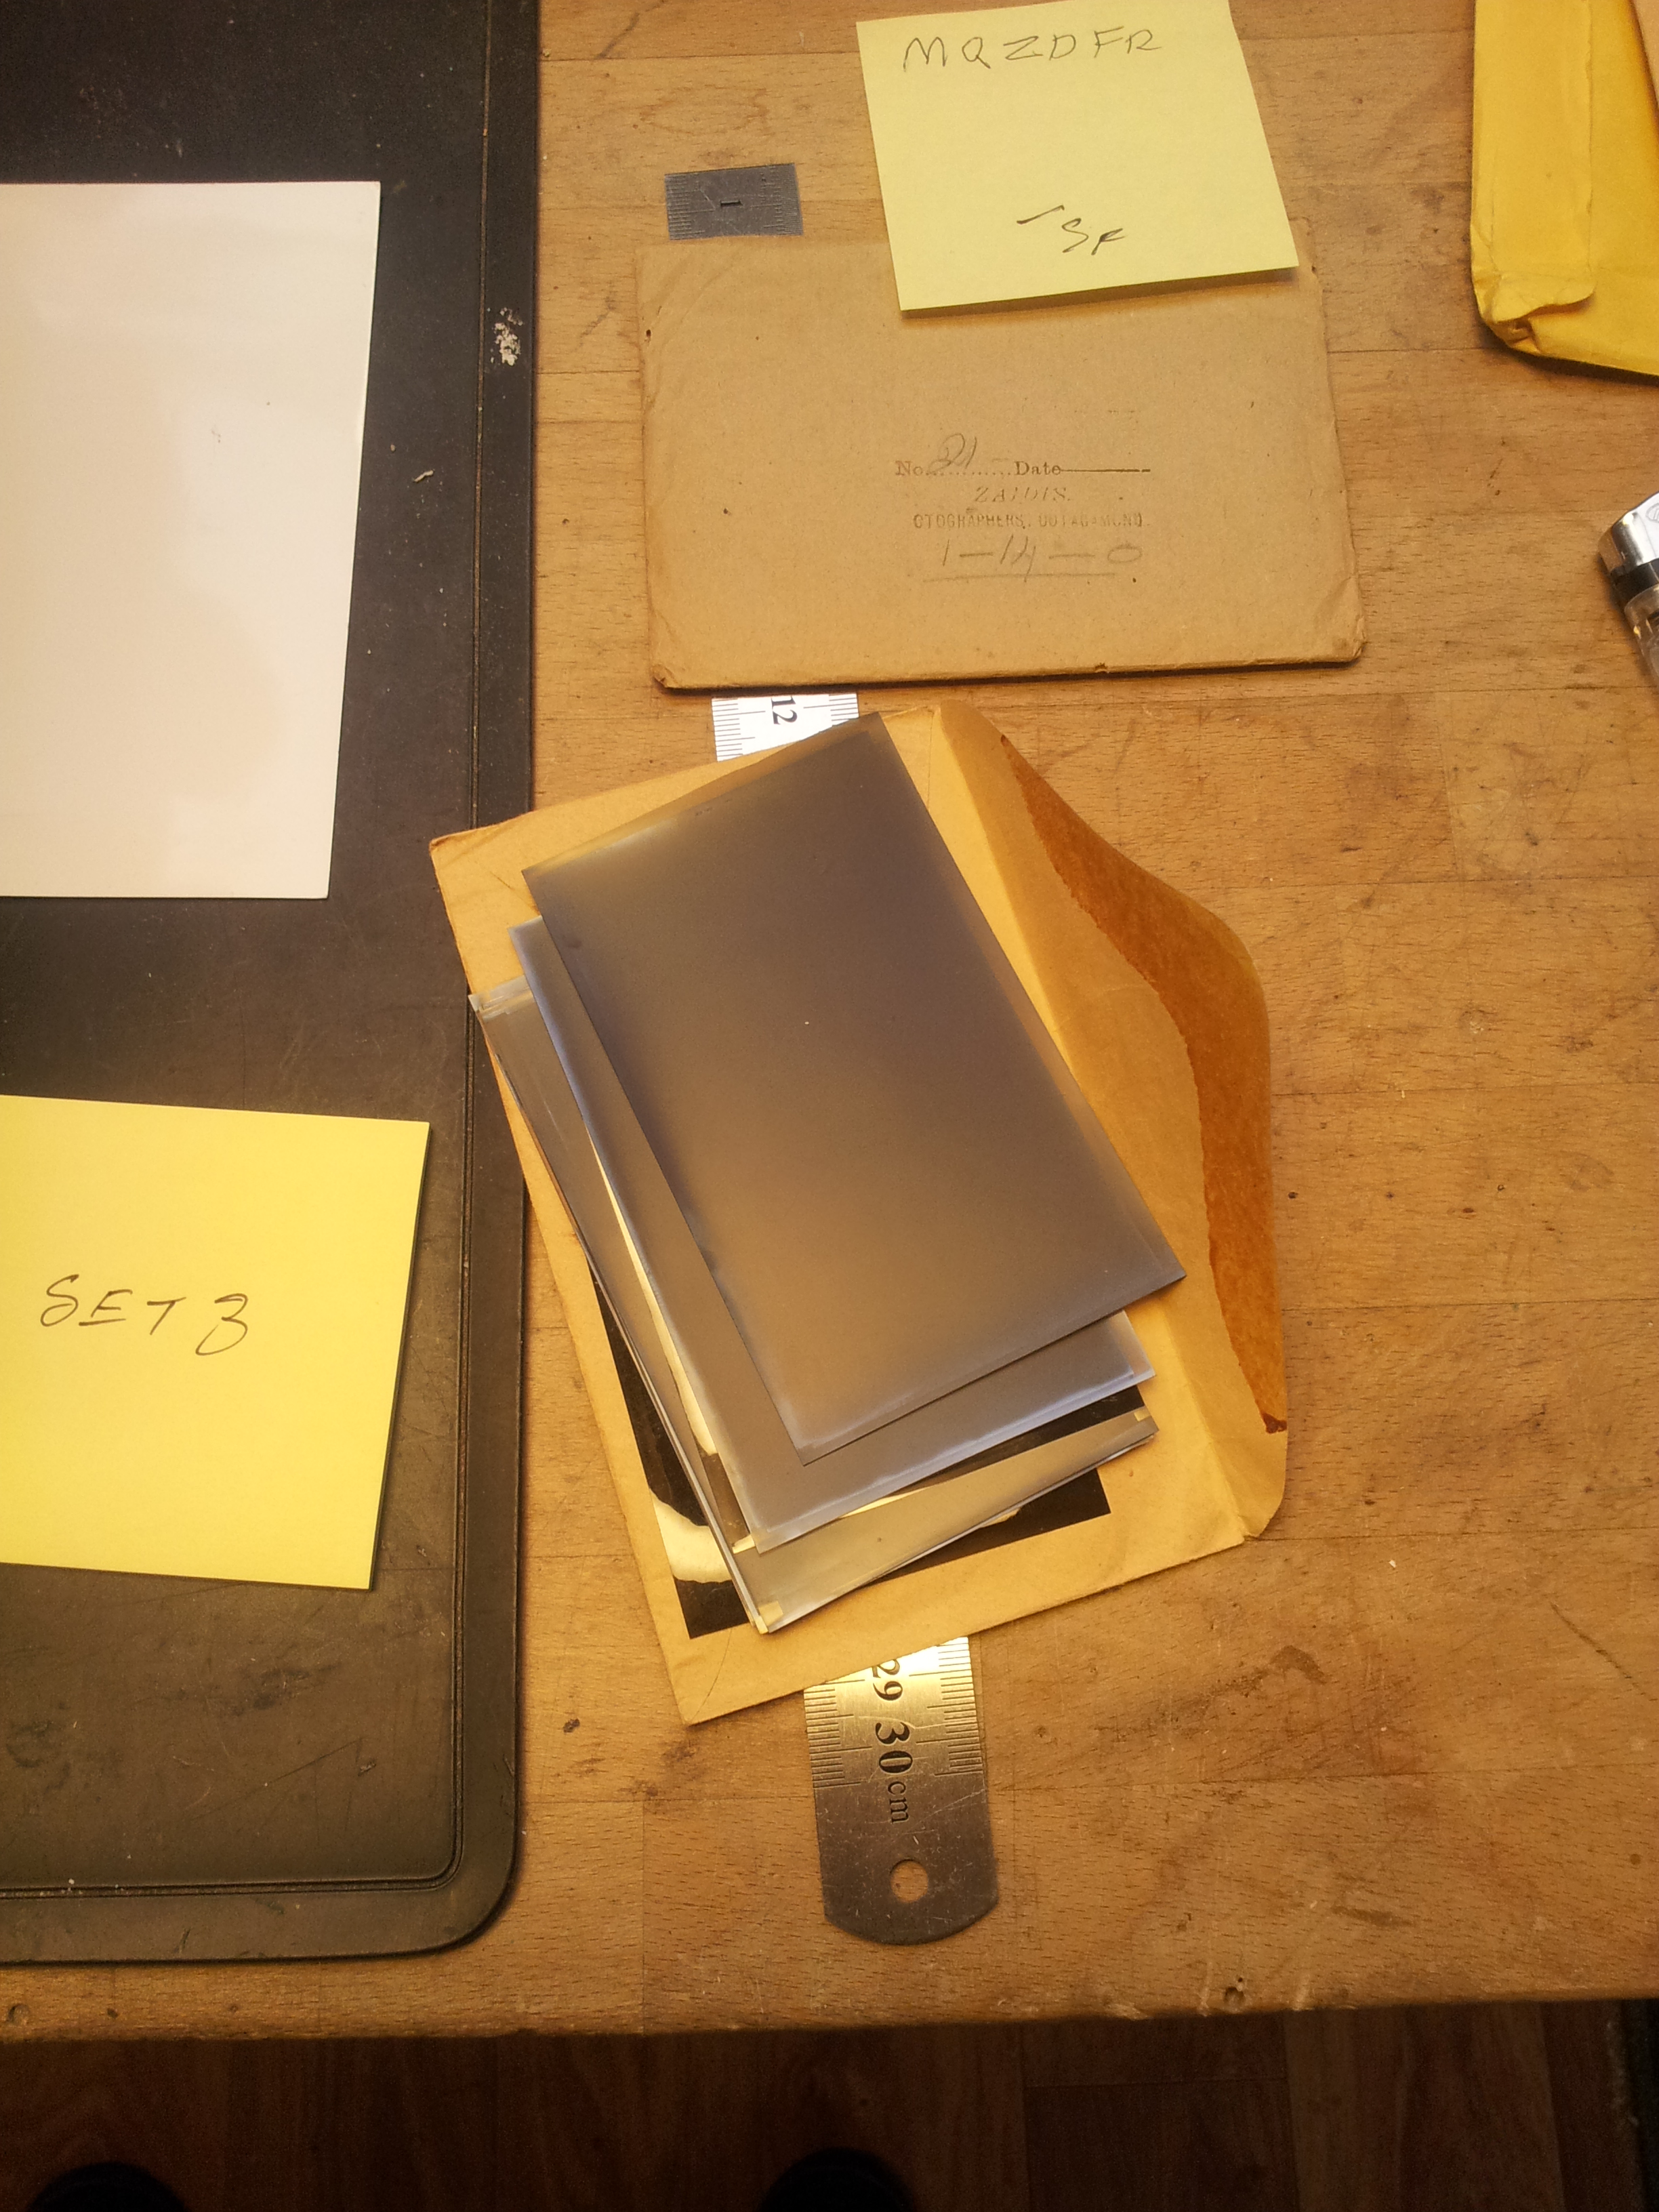
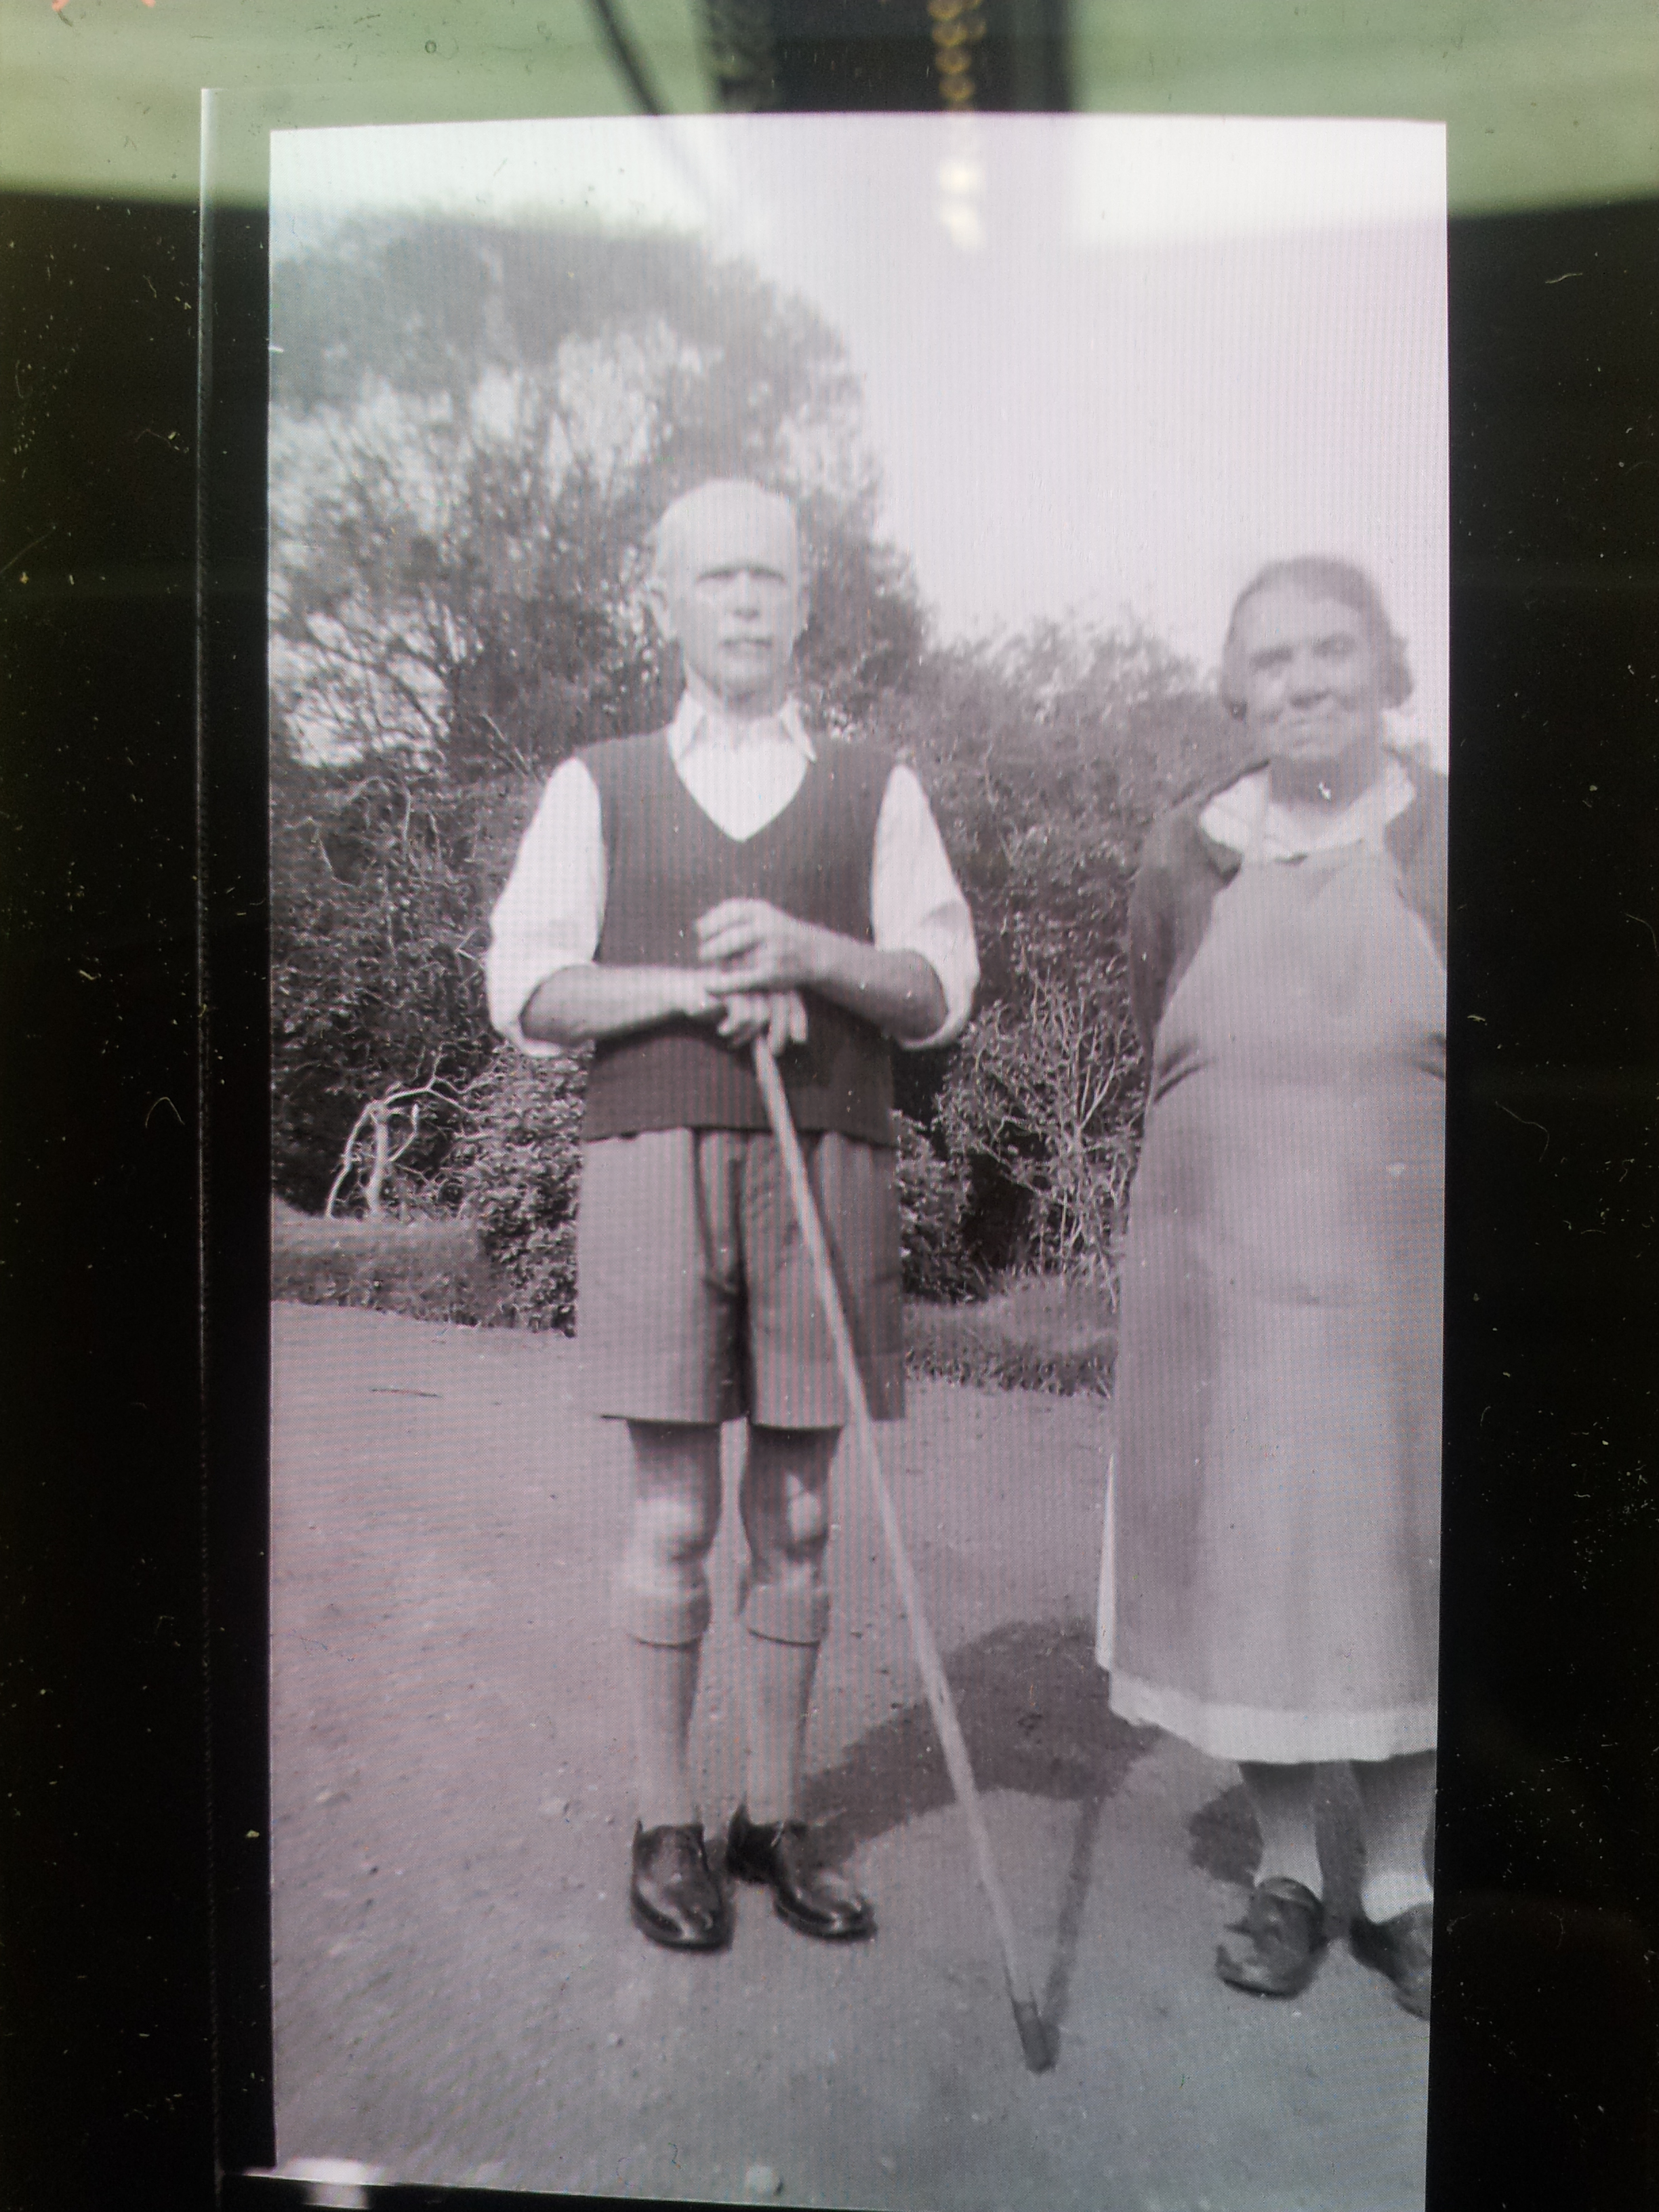
Doing a test run with some 70 year old negatives.
 Load the negative.
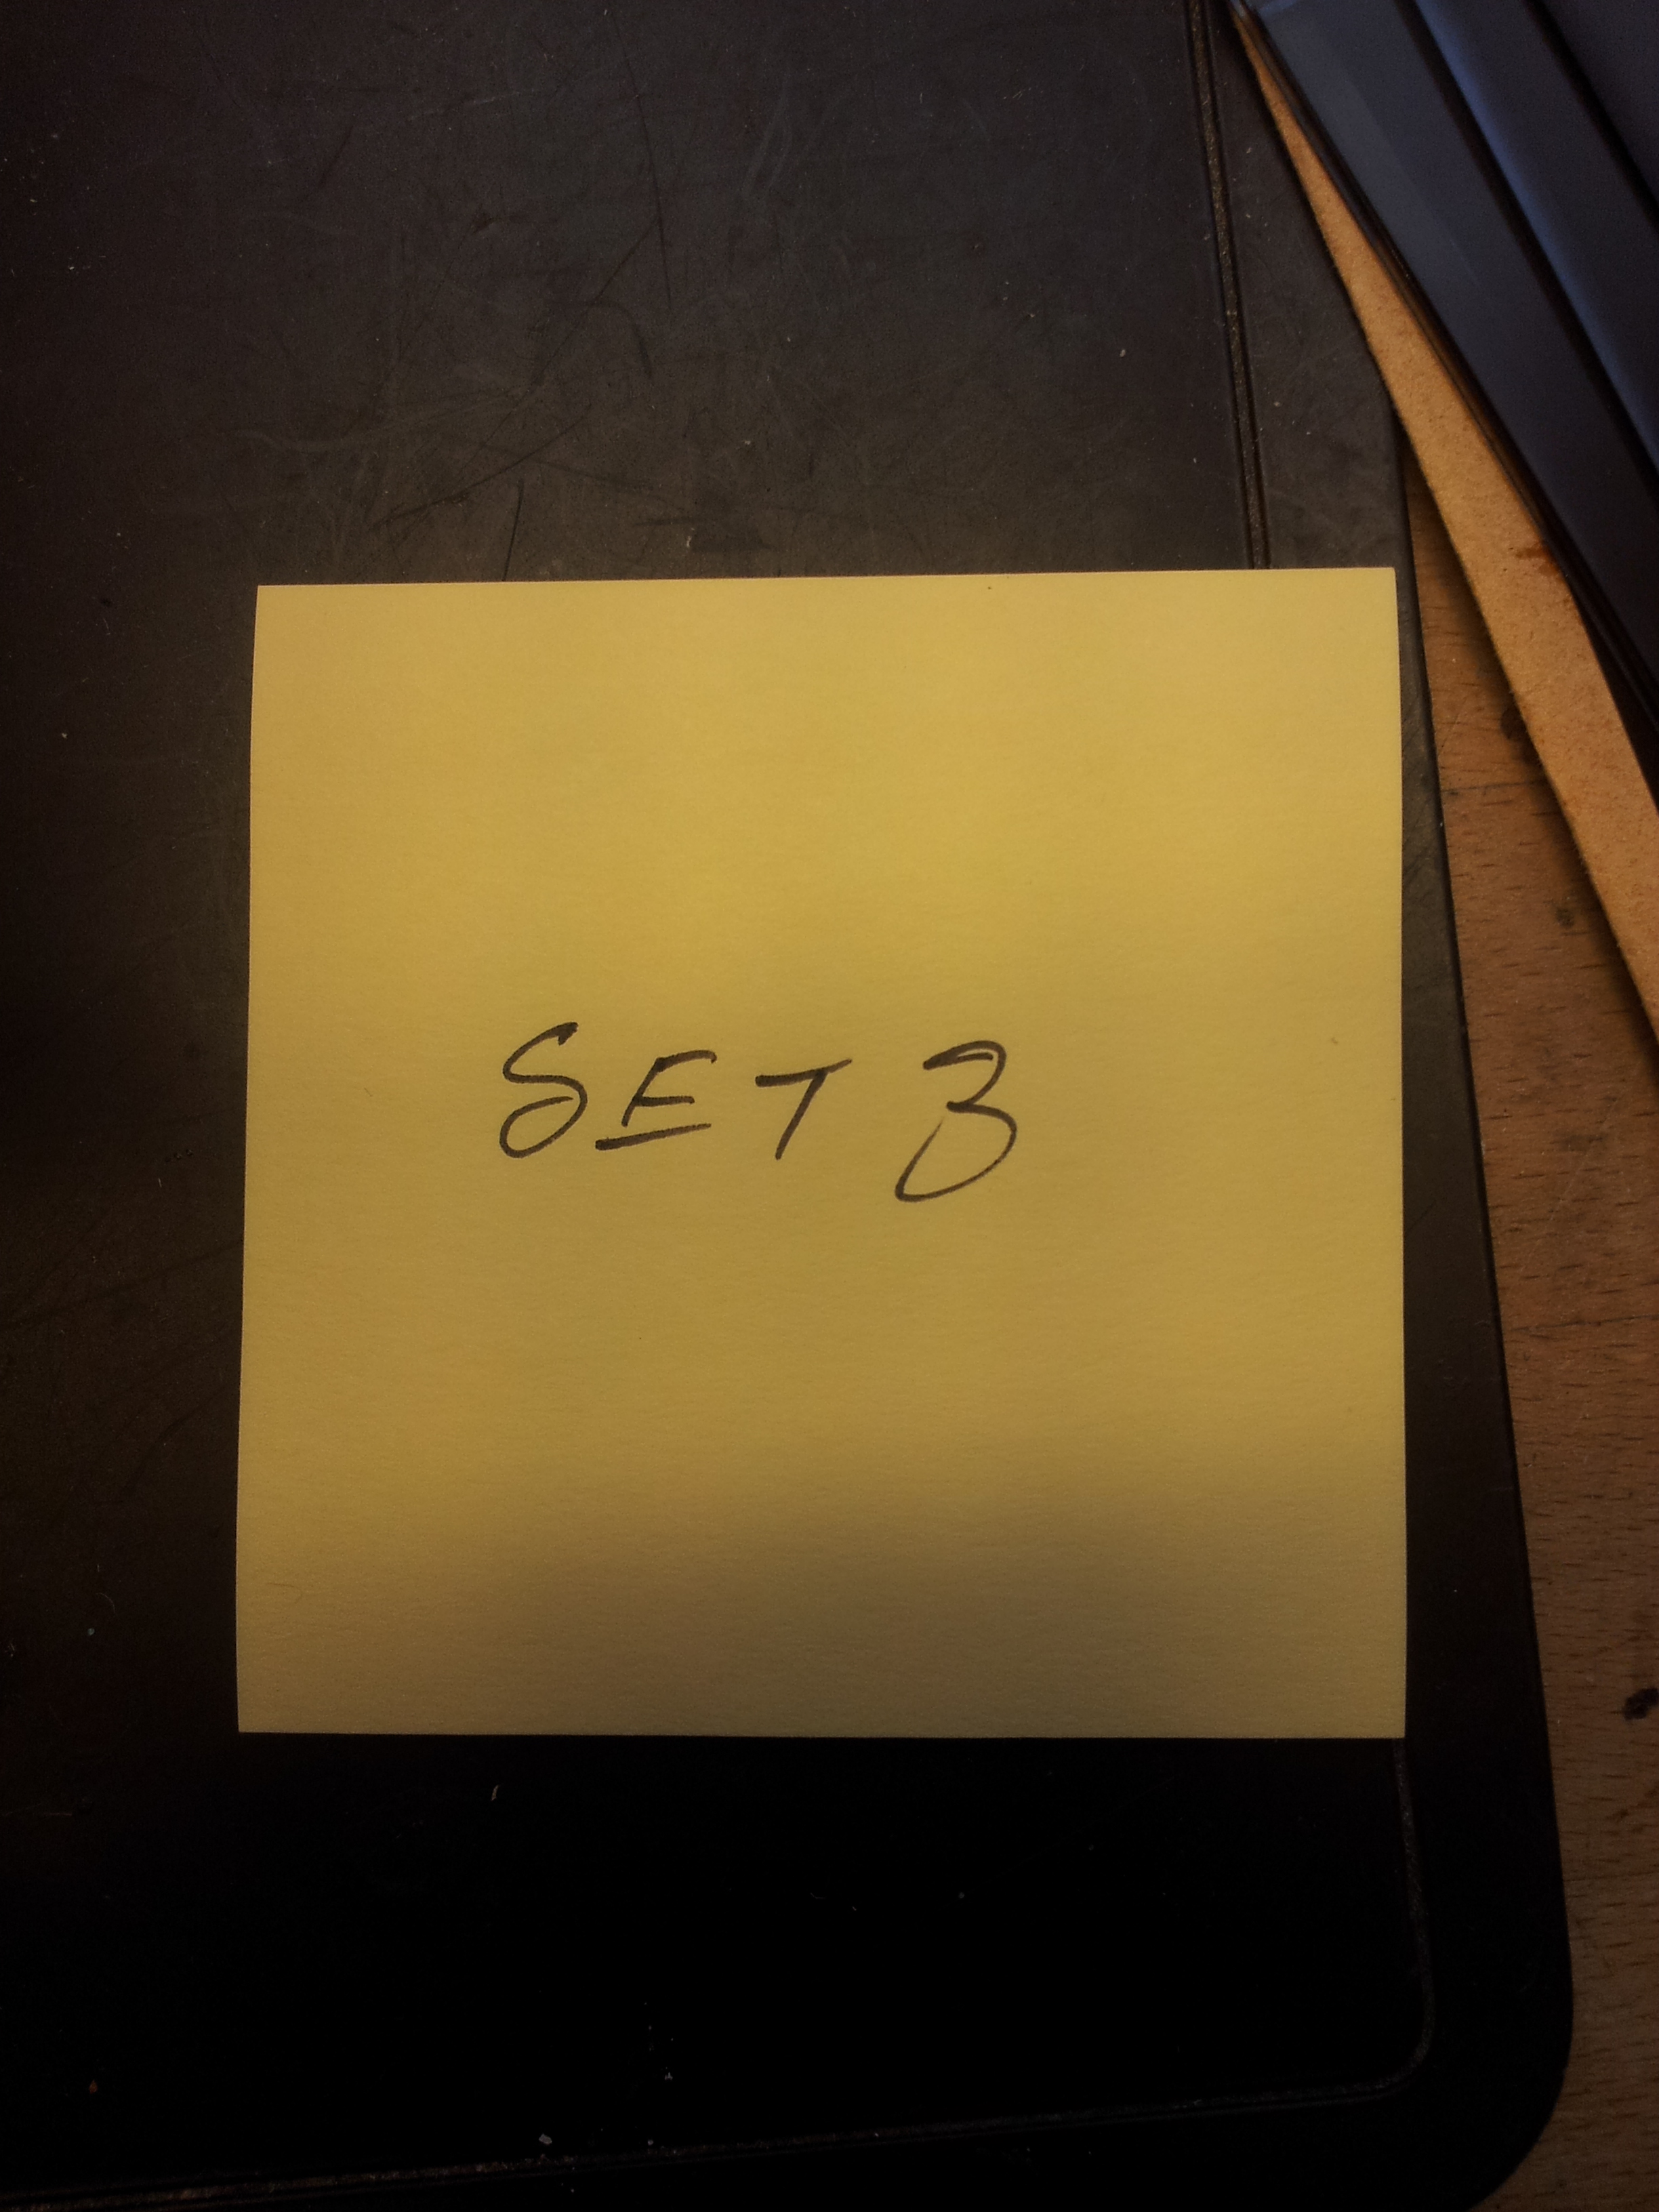
I label the start of the scanning session with a sticky note.
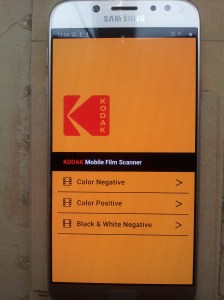 Ready to start scanning tap ‘Black & White Negative’.
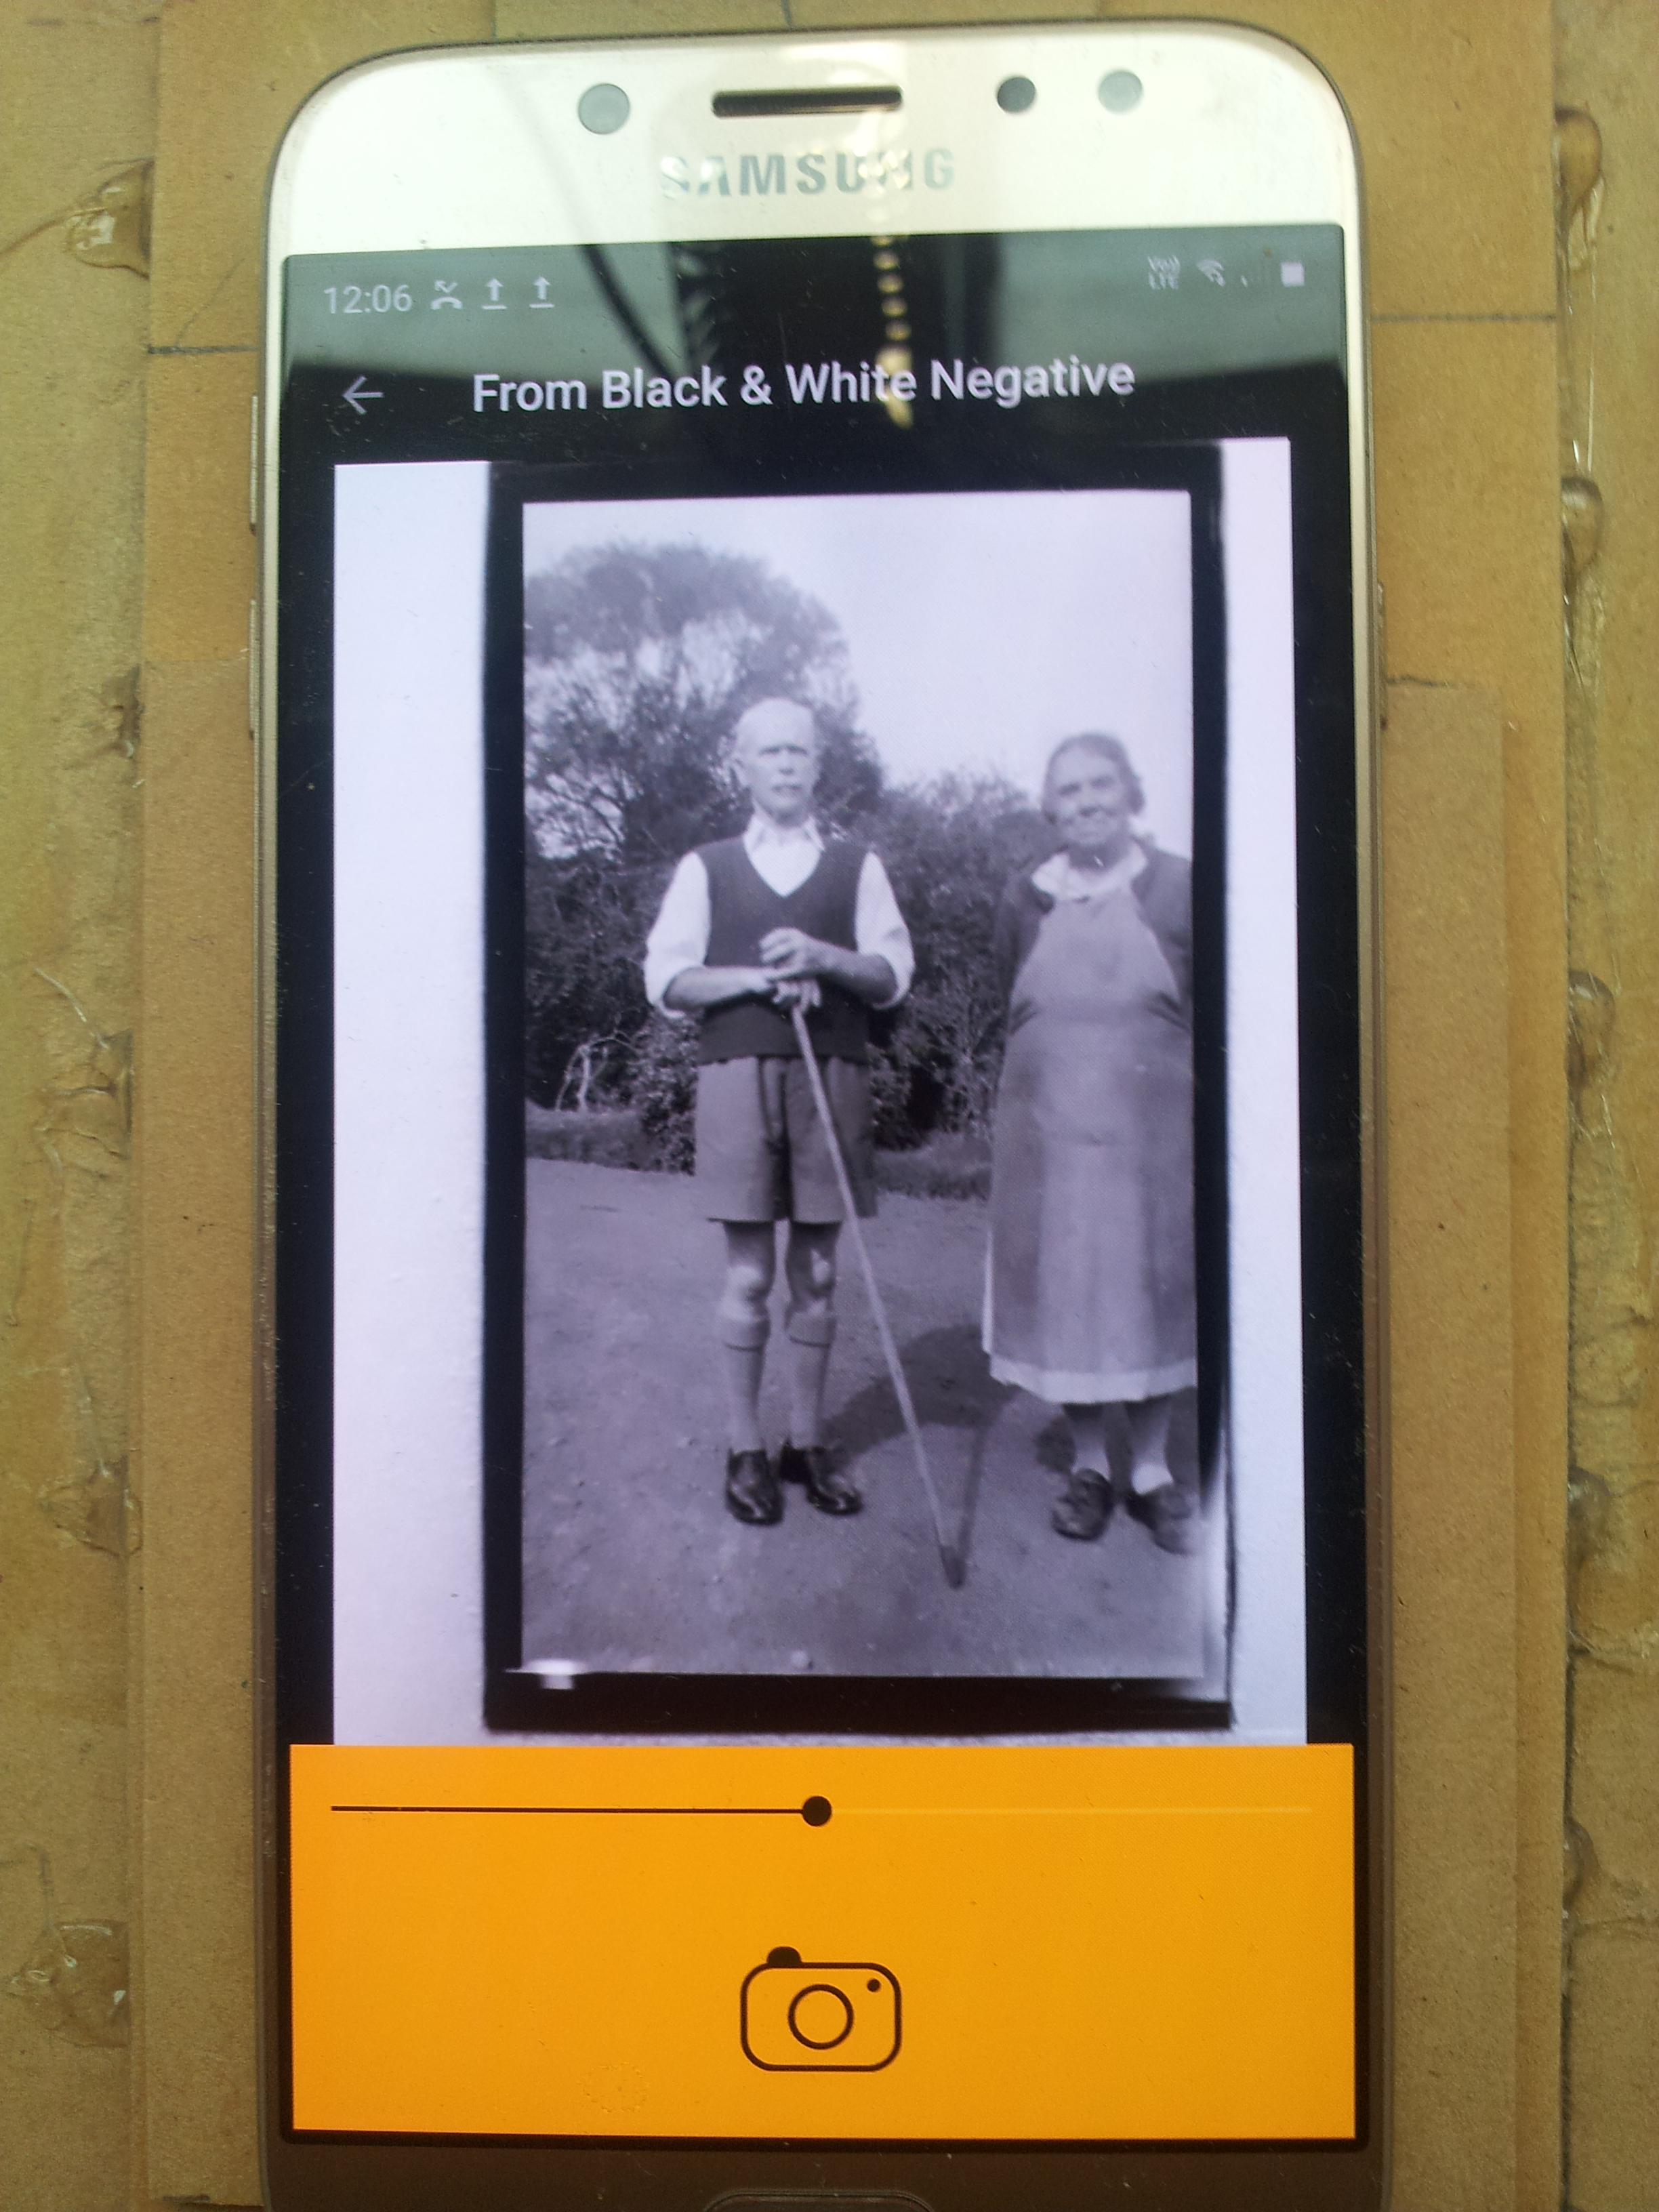 Zoom to frame top and bottom, the sides will come good later on.
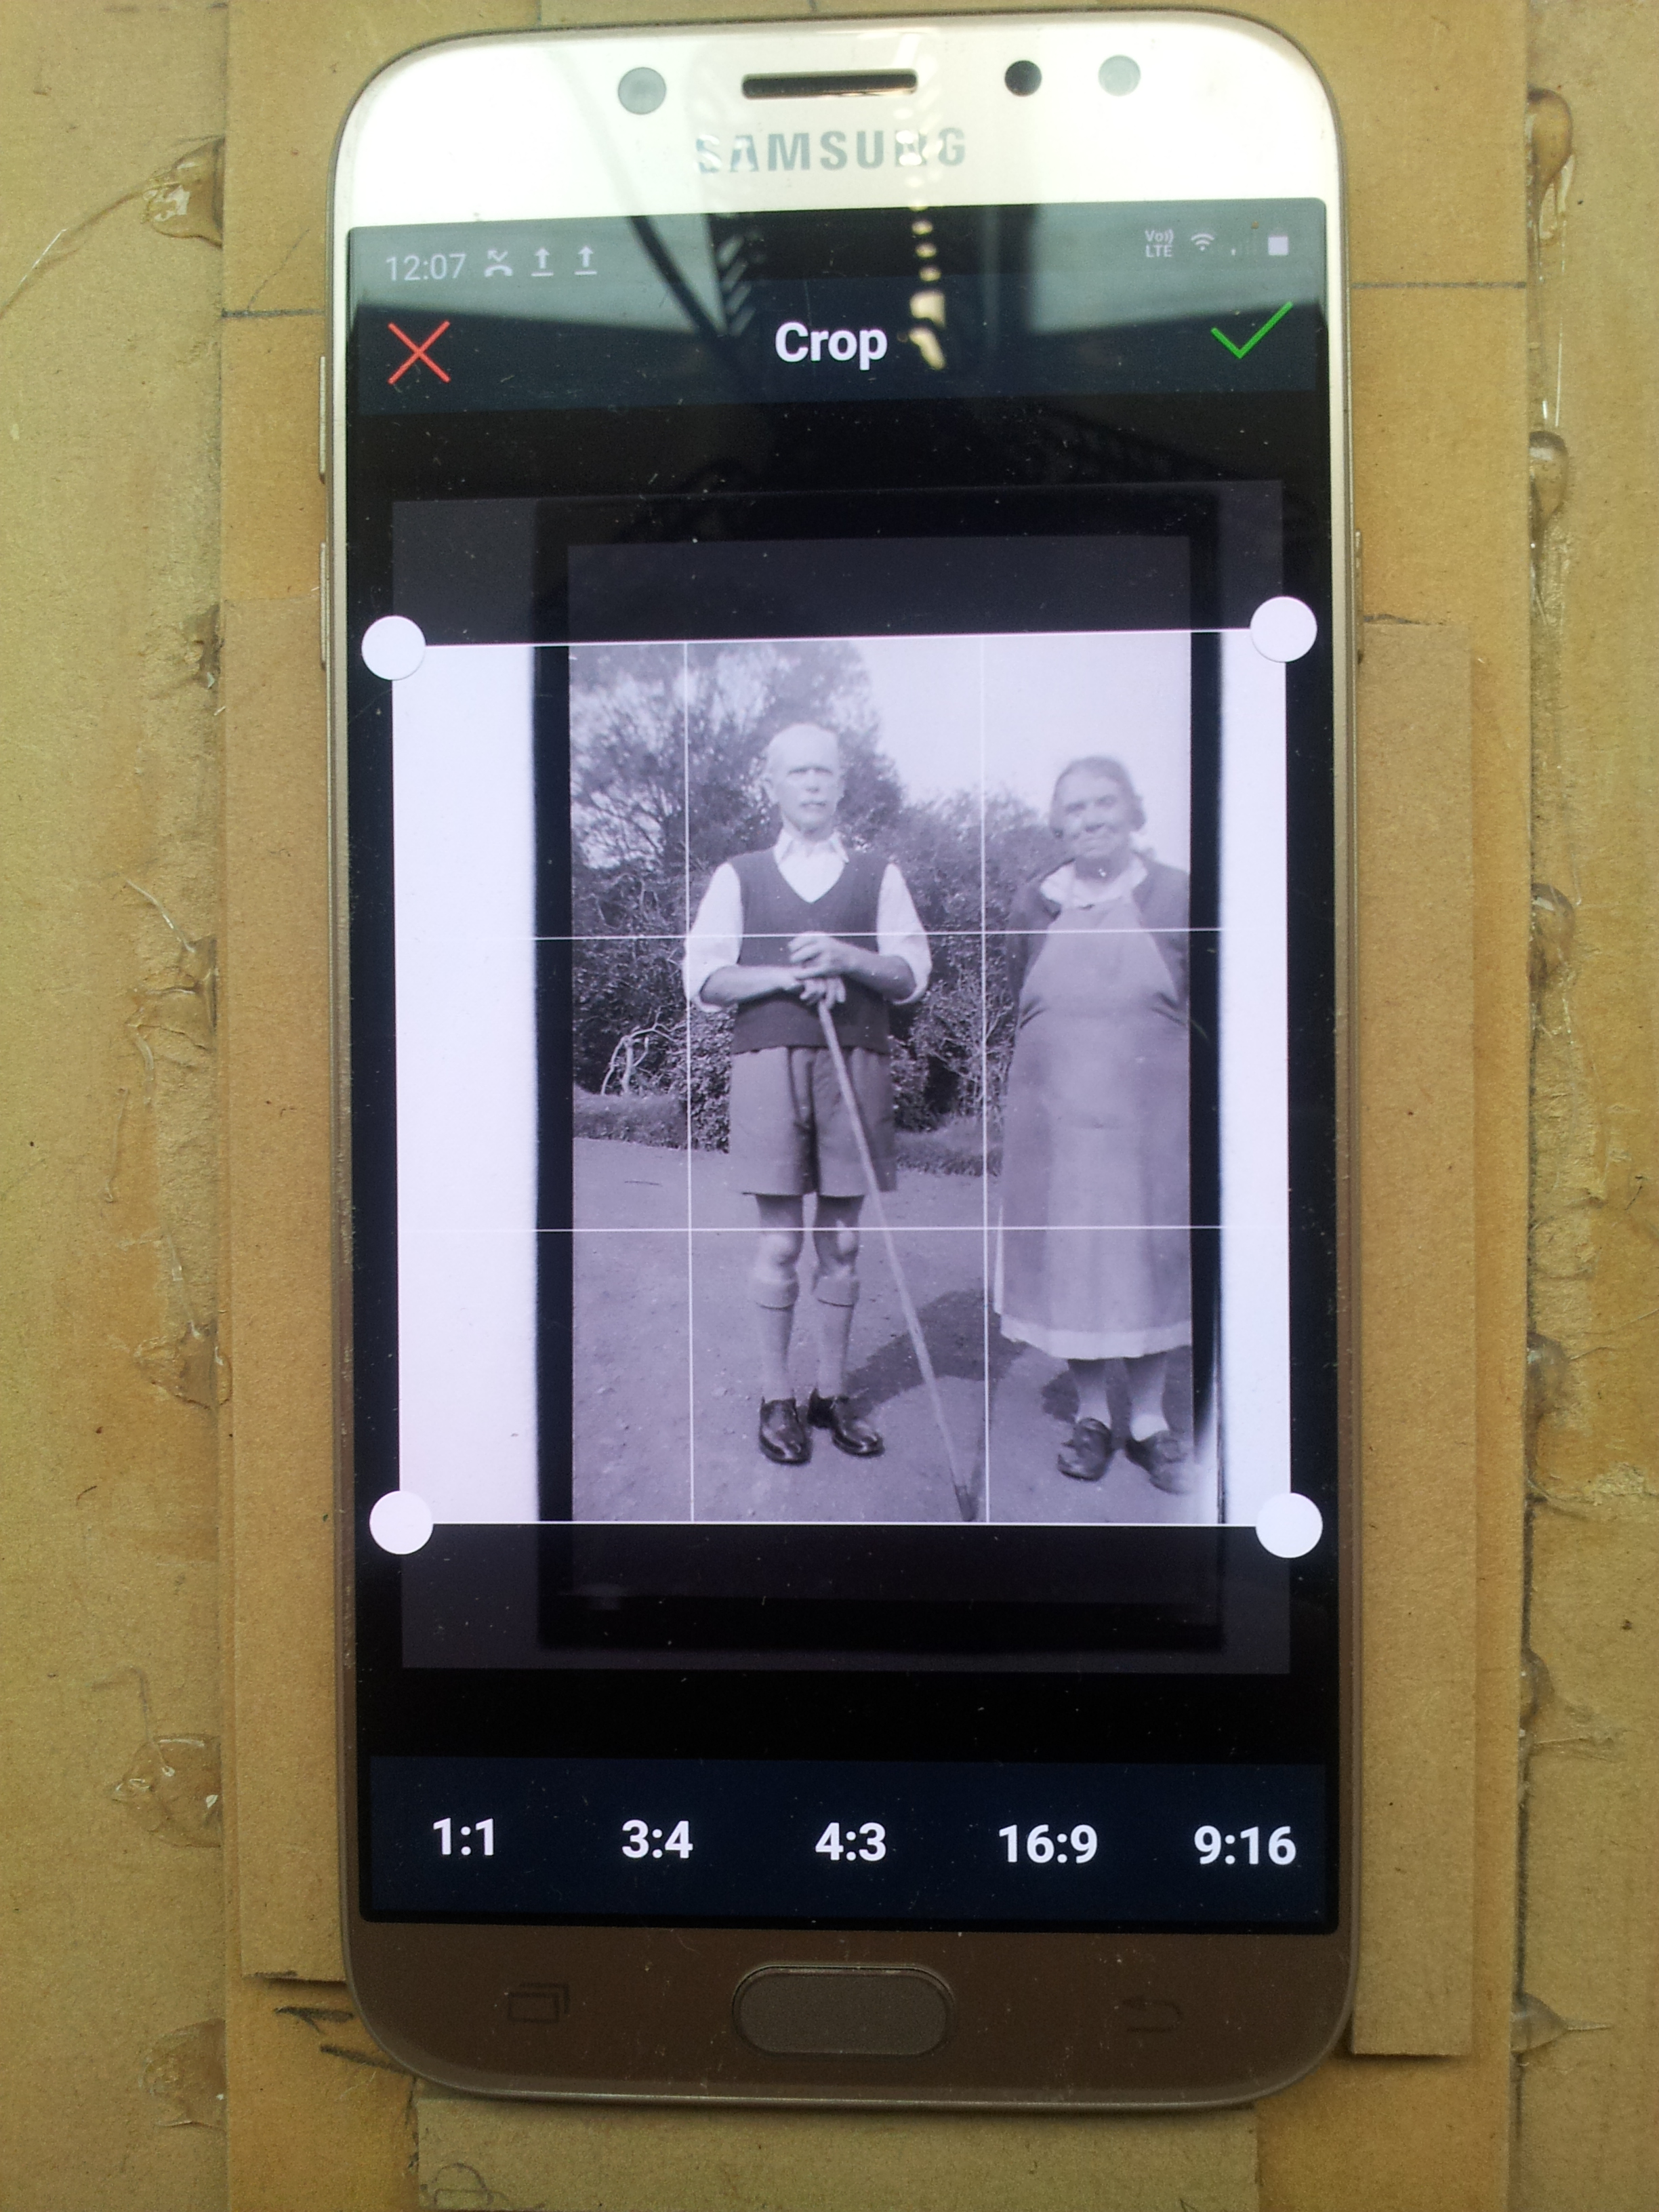 From the editing menu select ‘Crop’ which defaults to ‘1:1’, tap ‘9:16’.
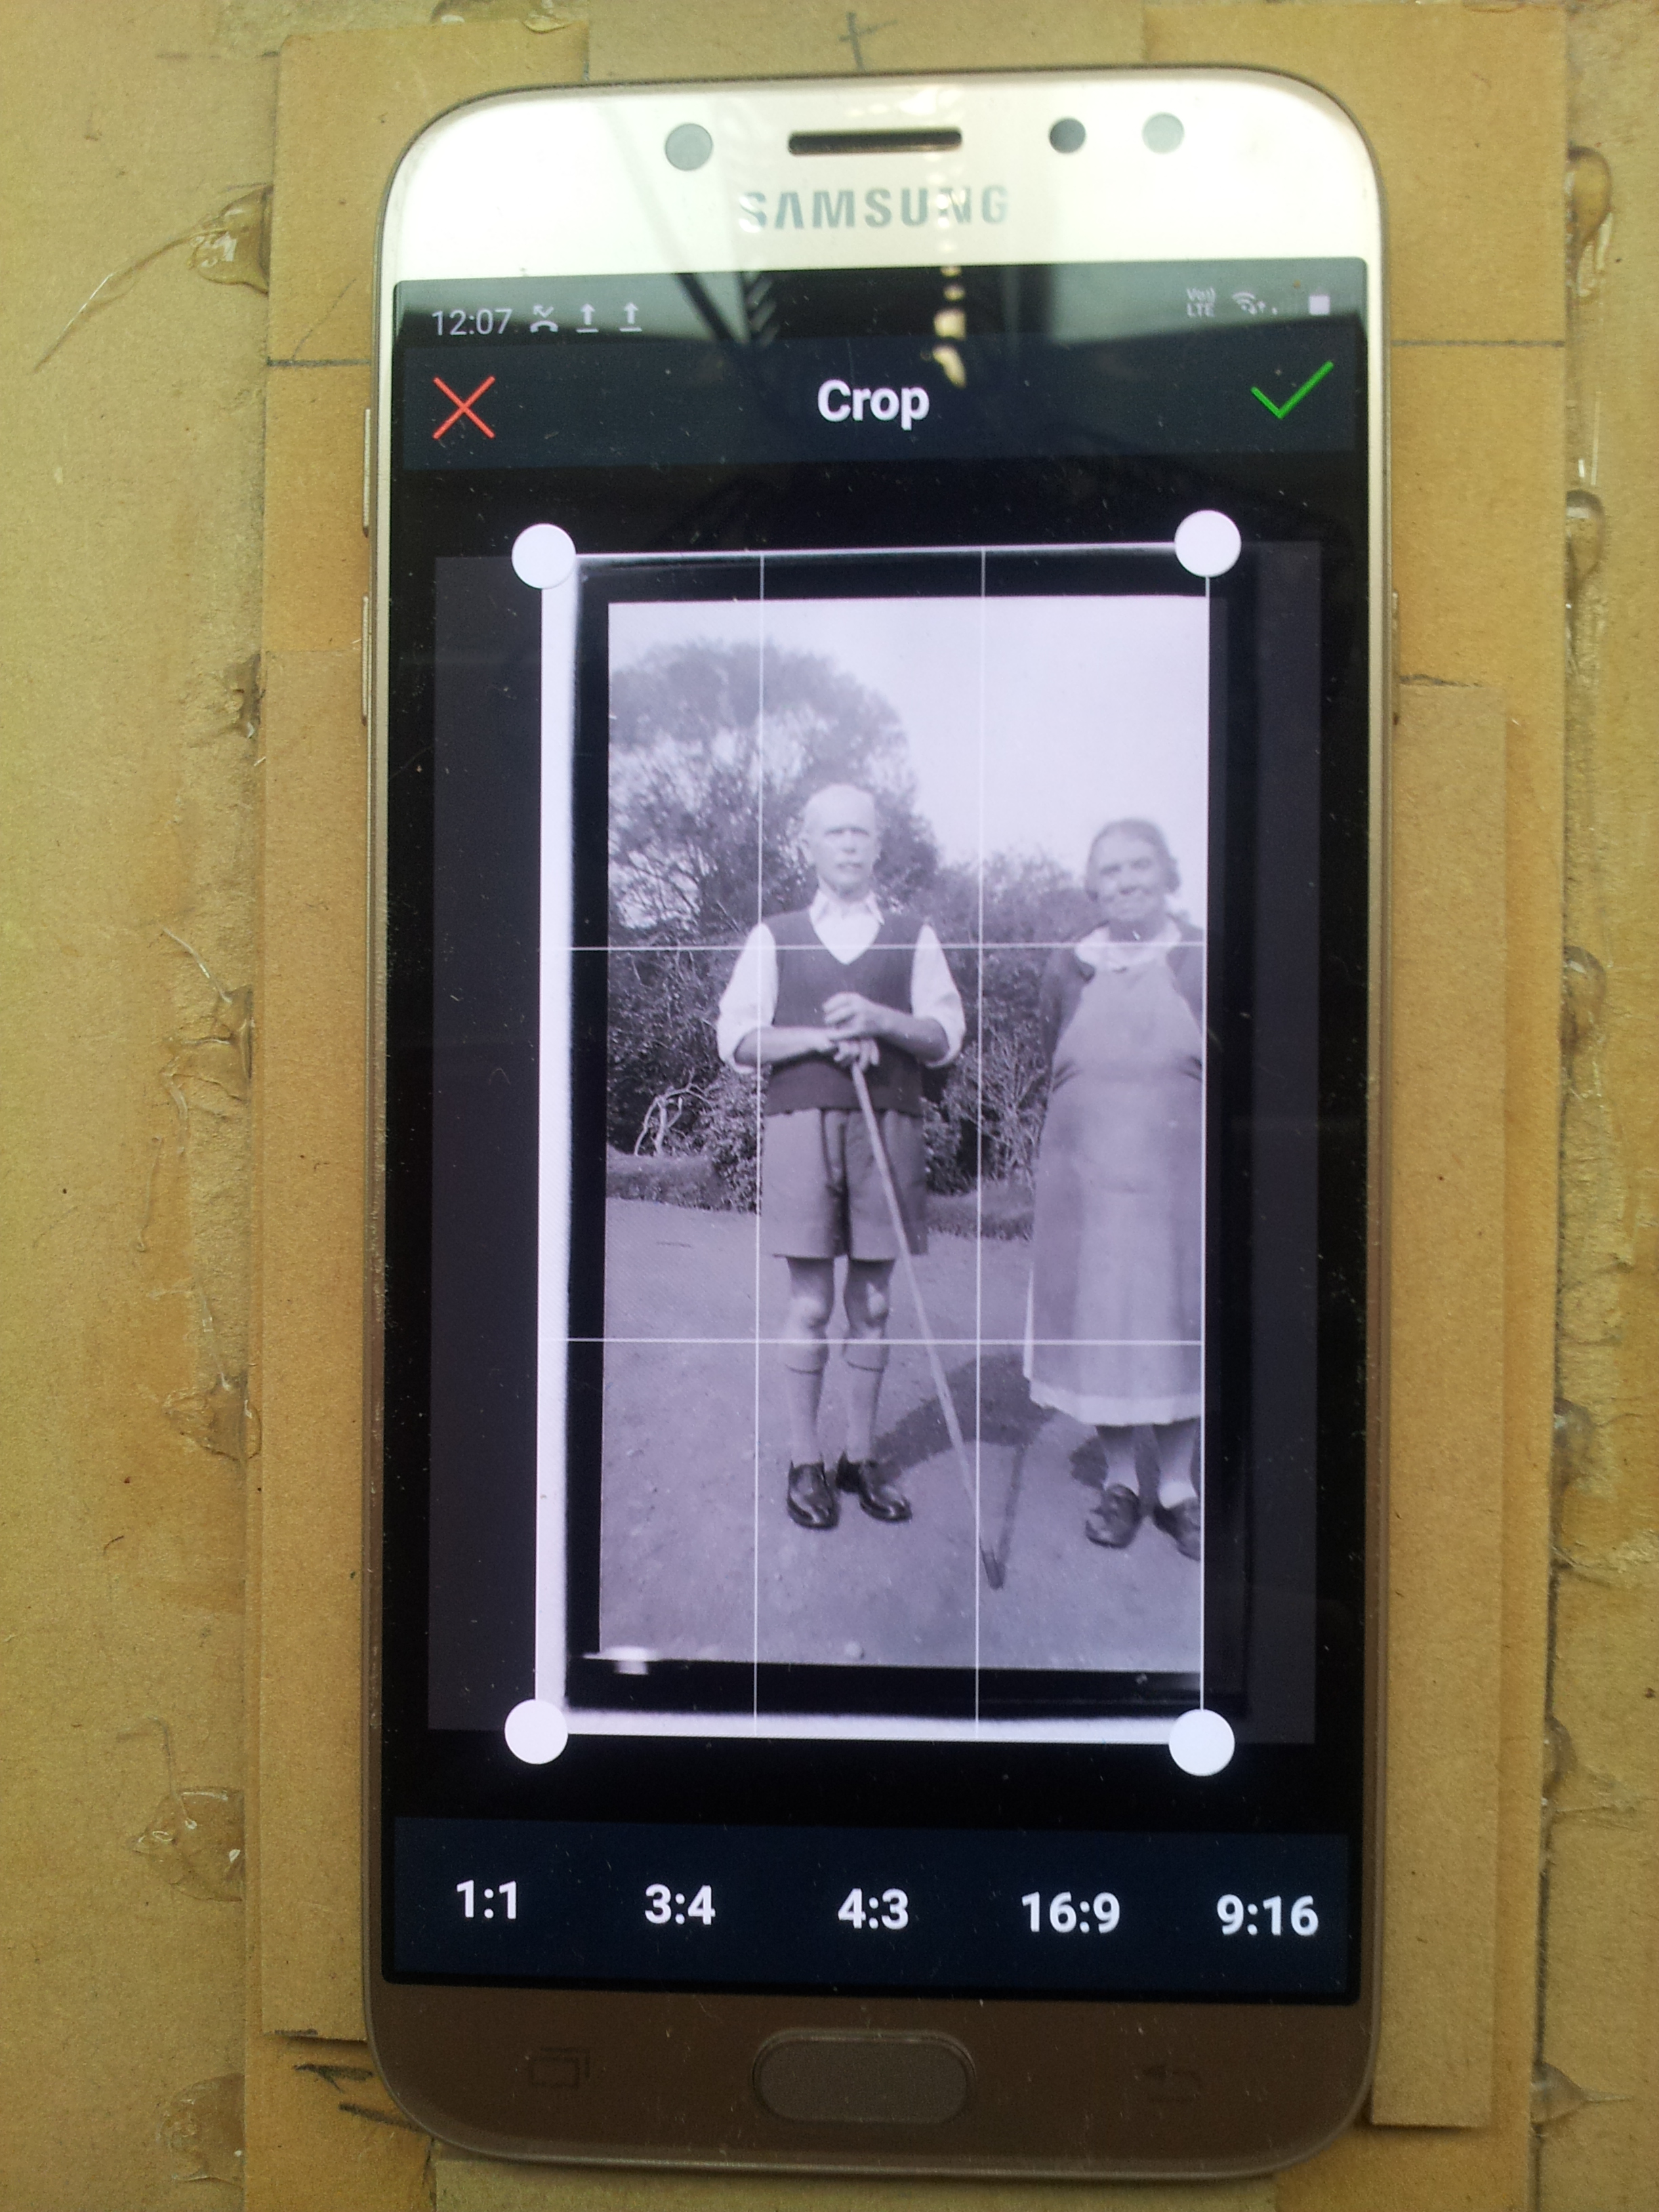
Drag the whole crop around to centre and/or the corners to size.
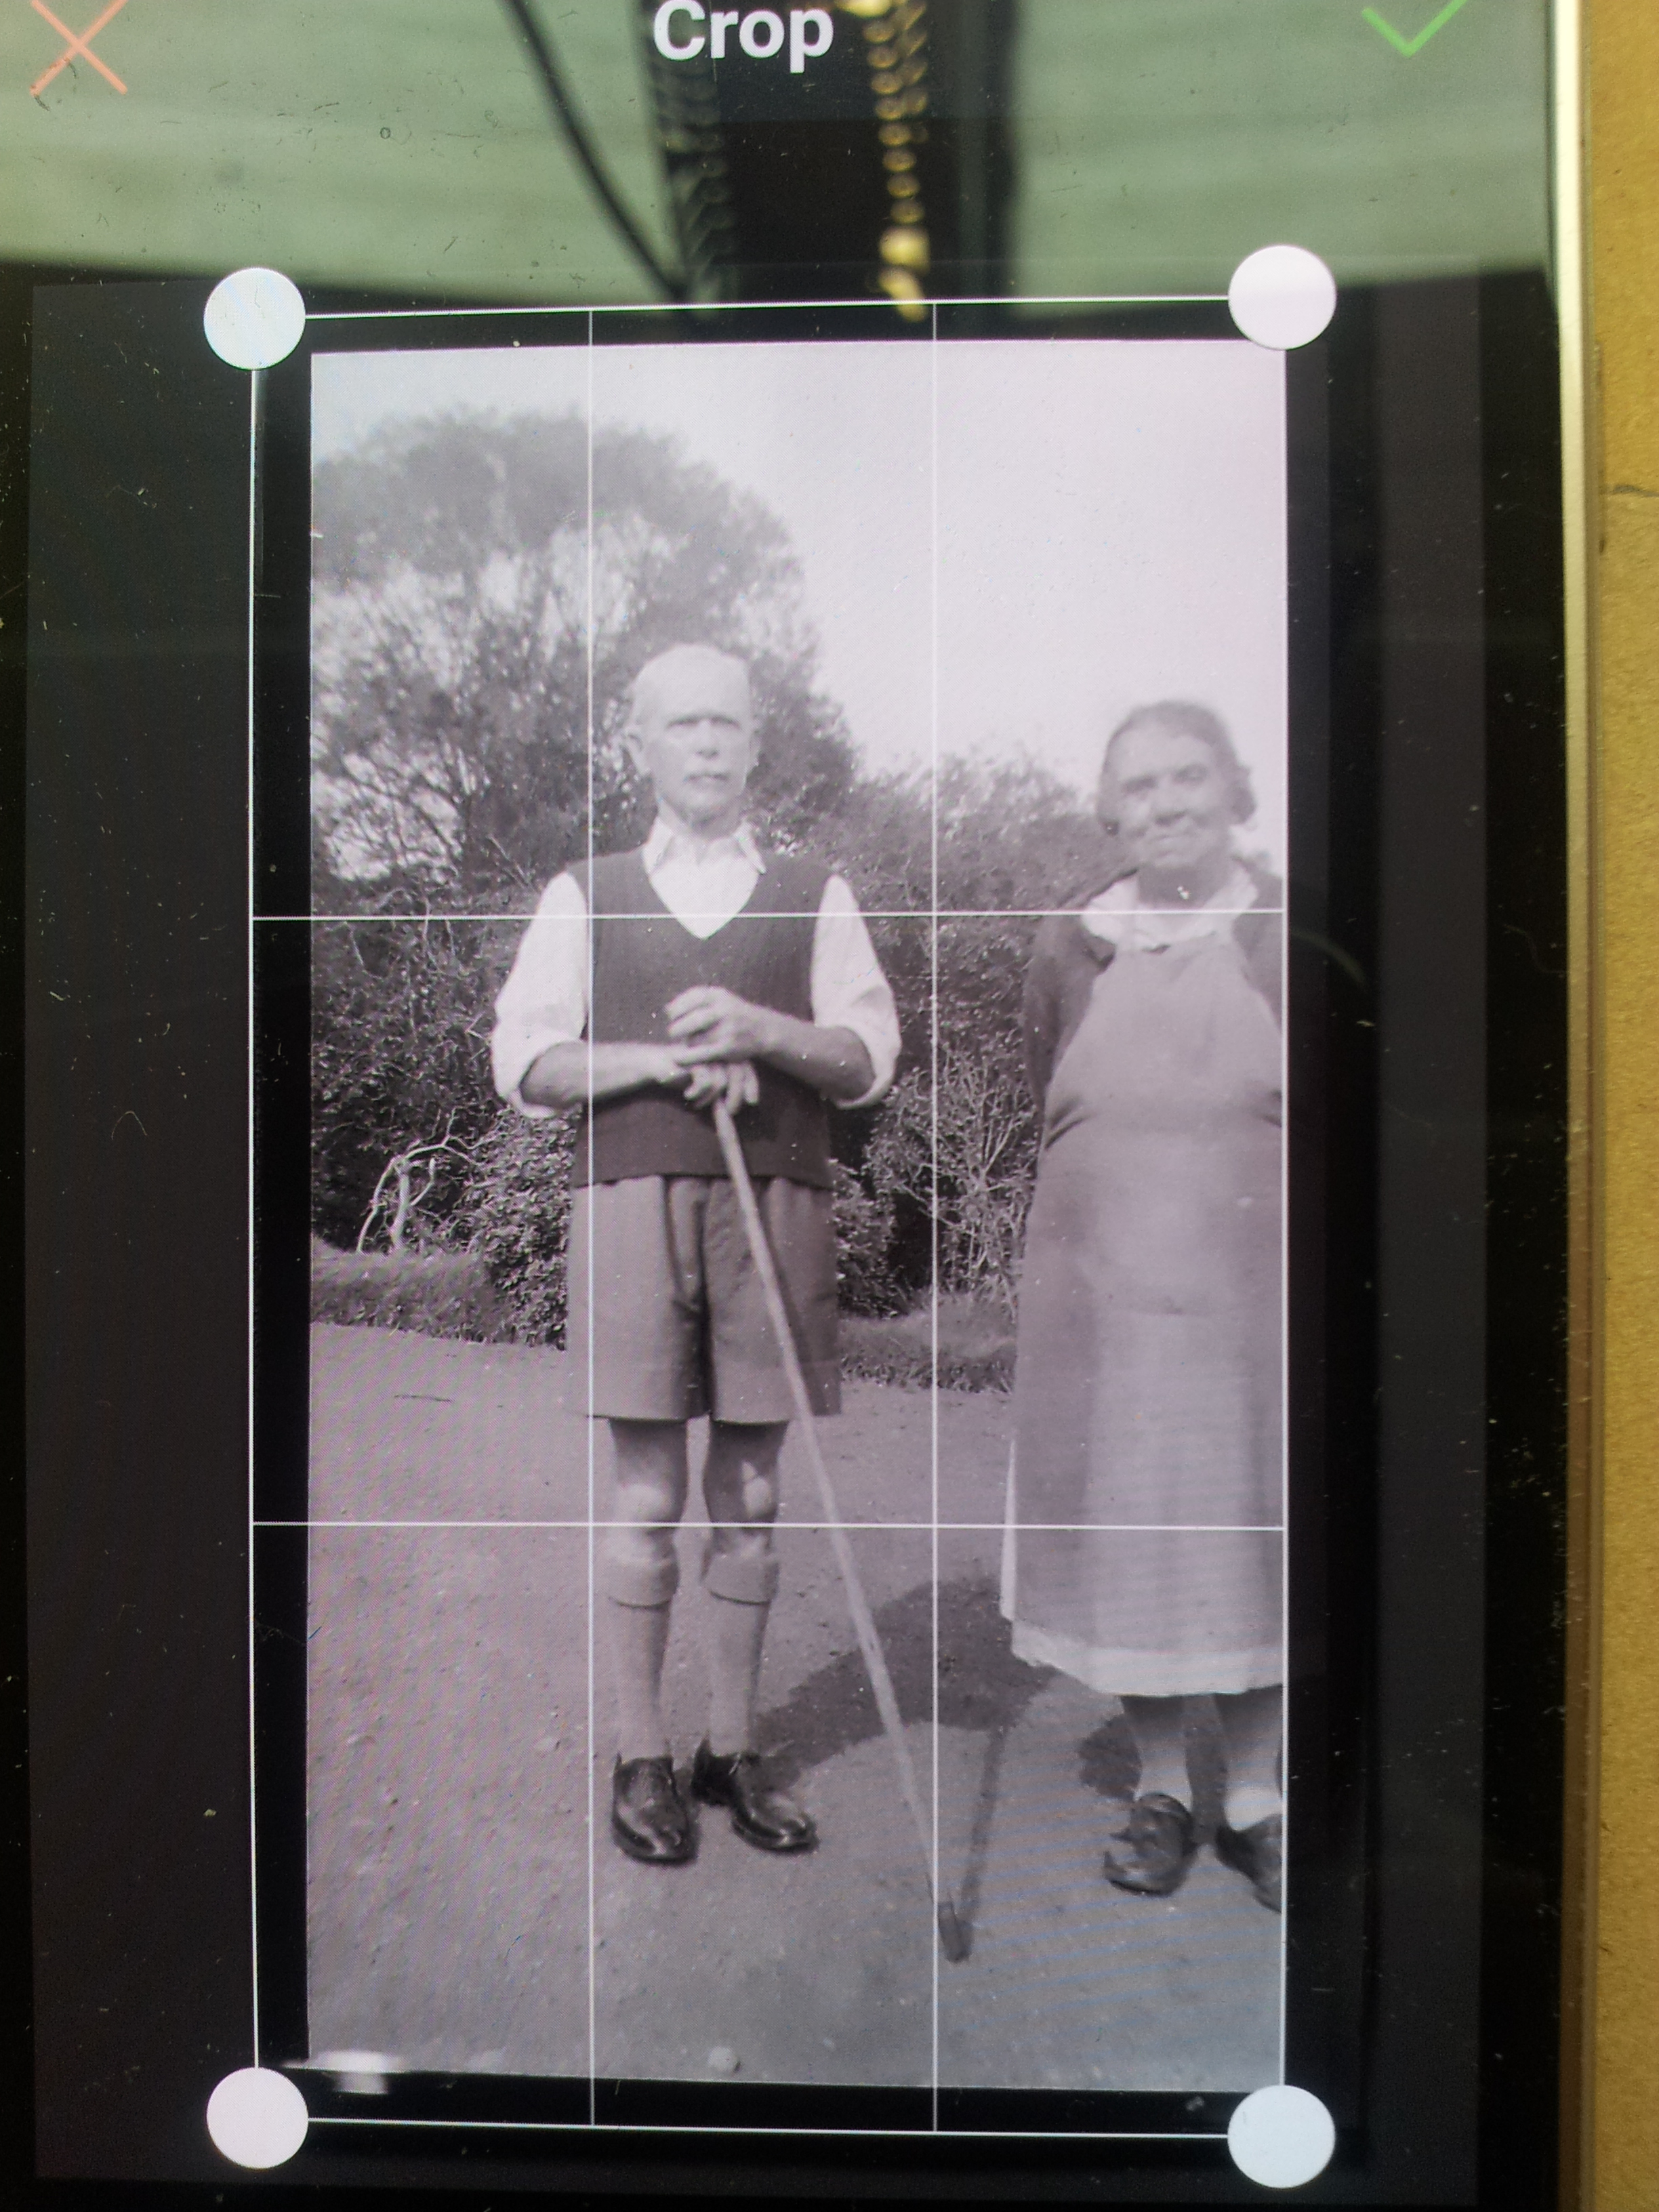
Tap the Tick symbol in top right corner to scan and save.
 That’s it… backtrack to the scanner home screen and load another one. On forgot to mention before starting a session I make a cup of tea.
I’ll be back…
