
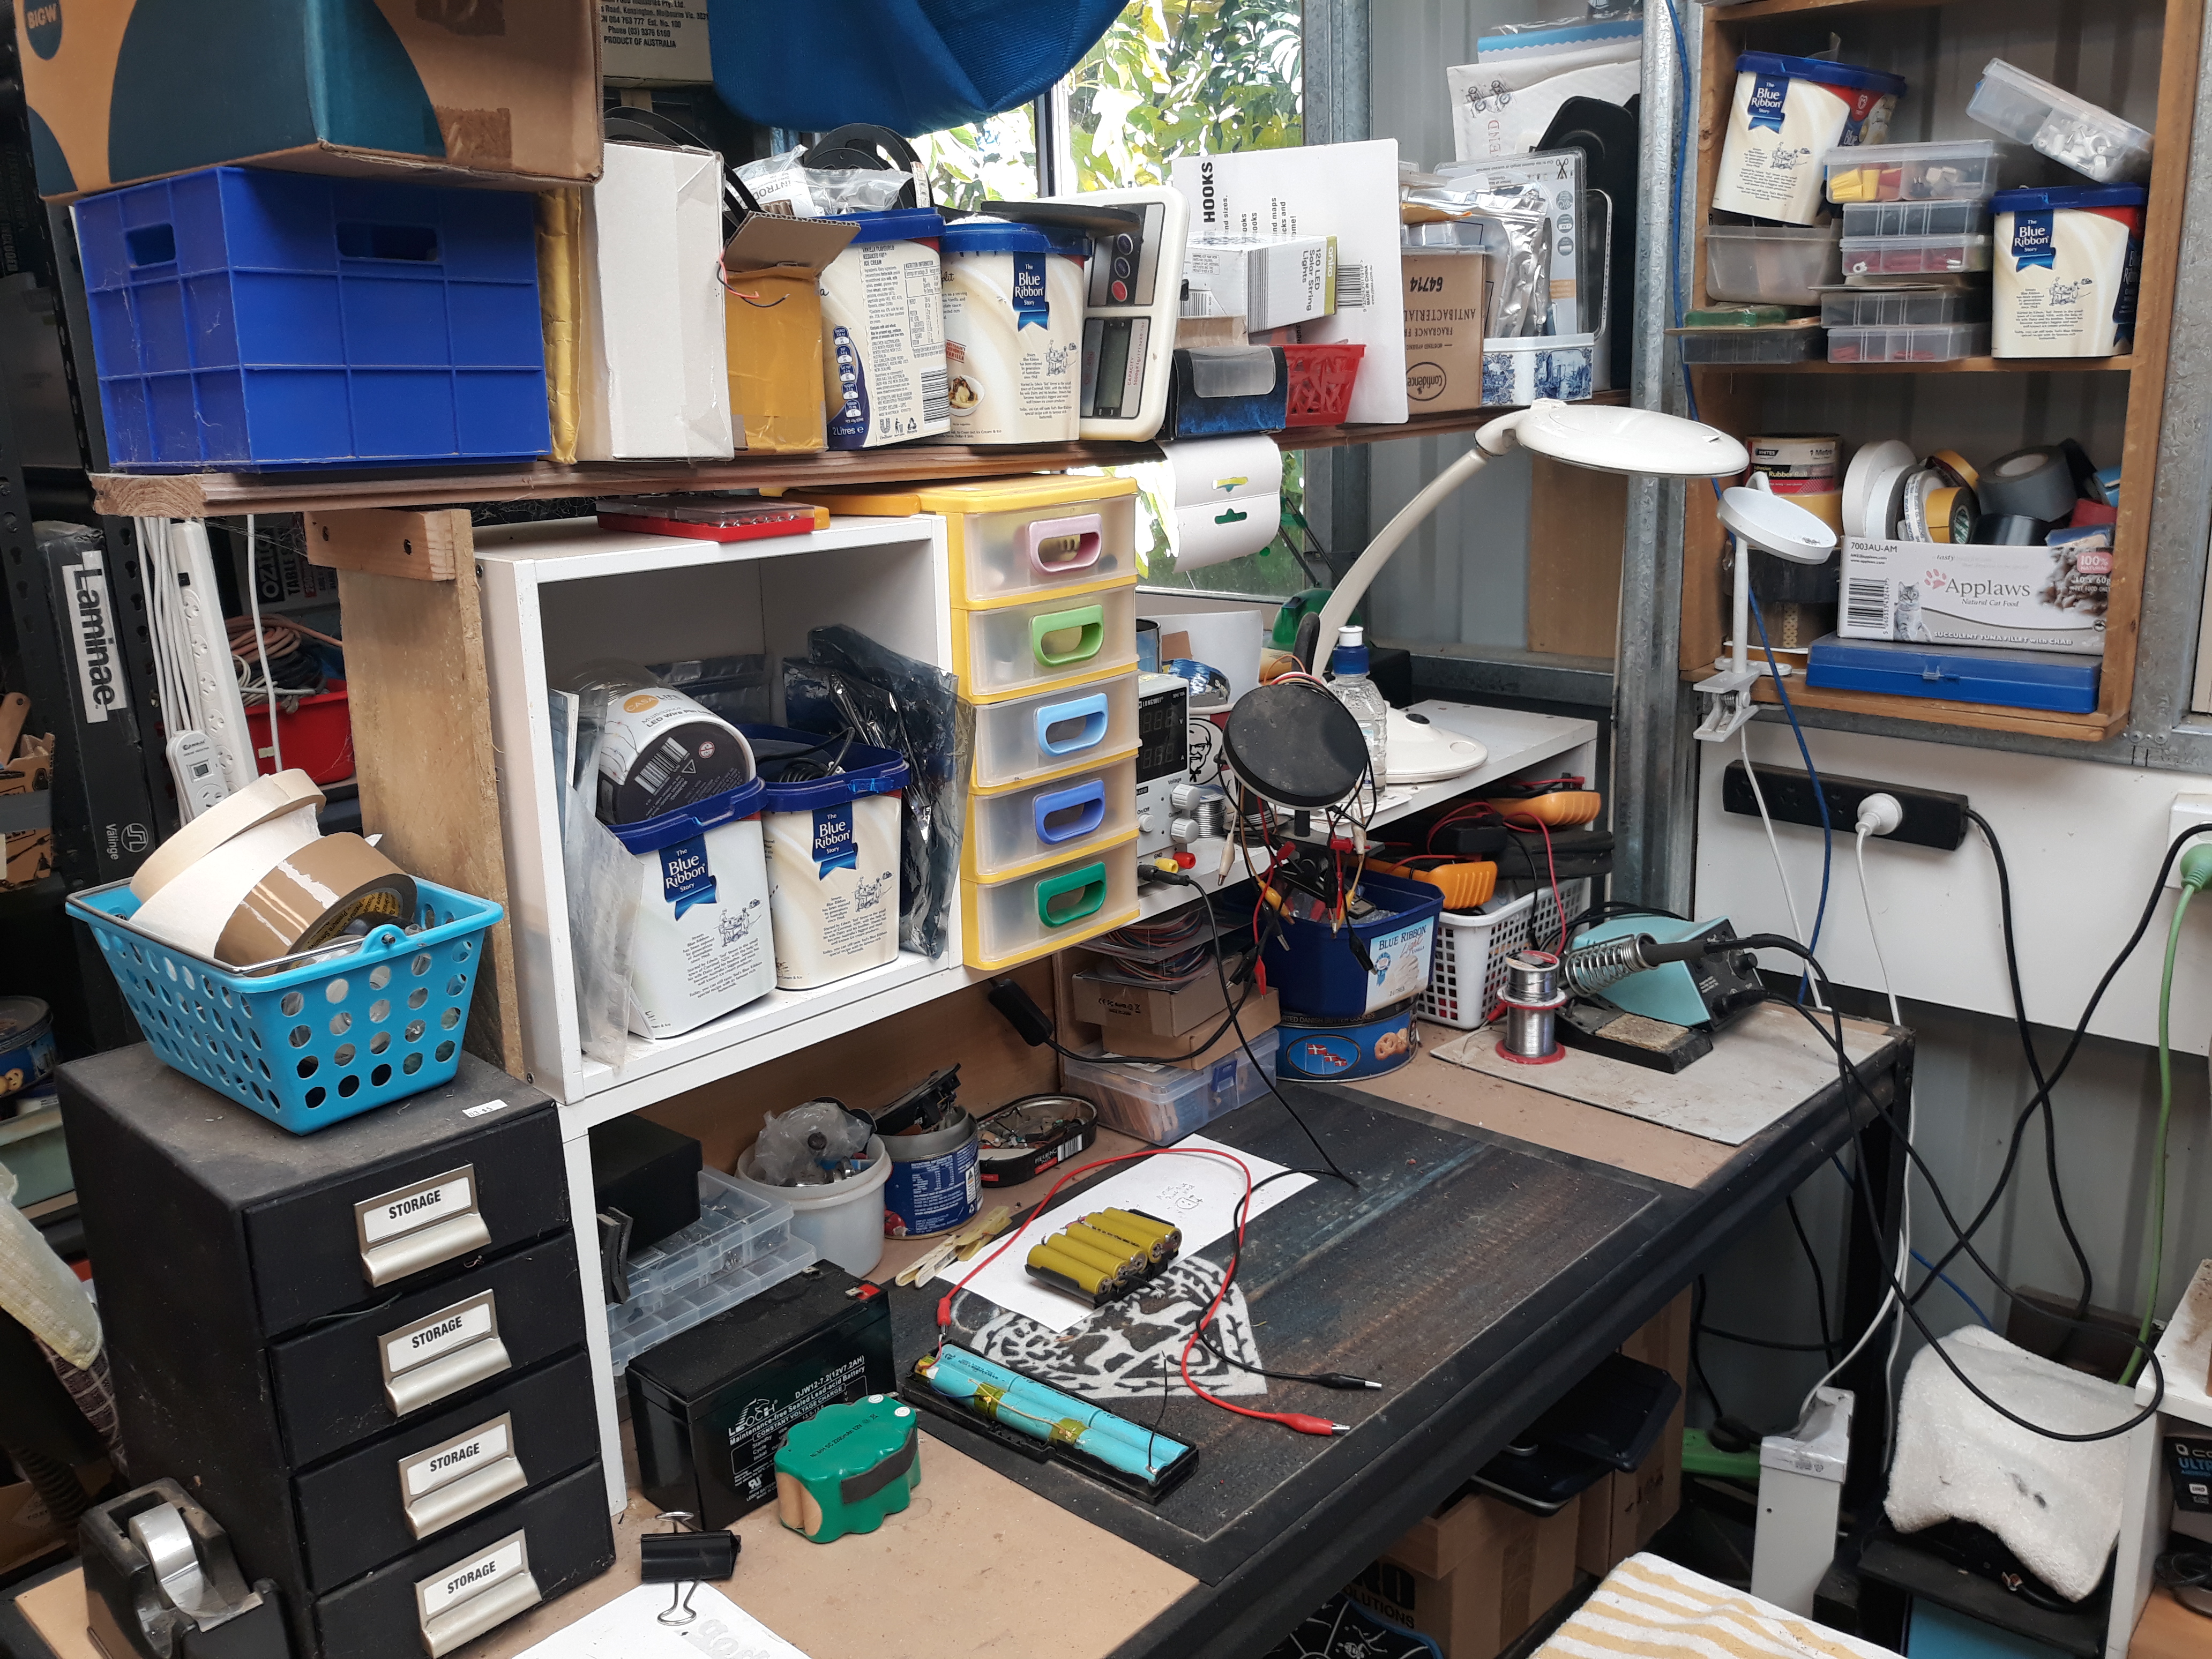
Replacing the electronics/electrical workbench top storage shelf which was simply a length of flooring timber from leftovers when our house was built in 1971 OMG
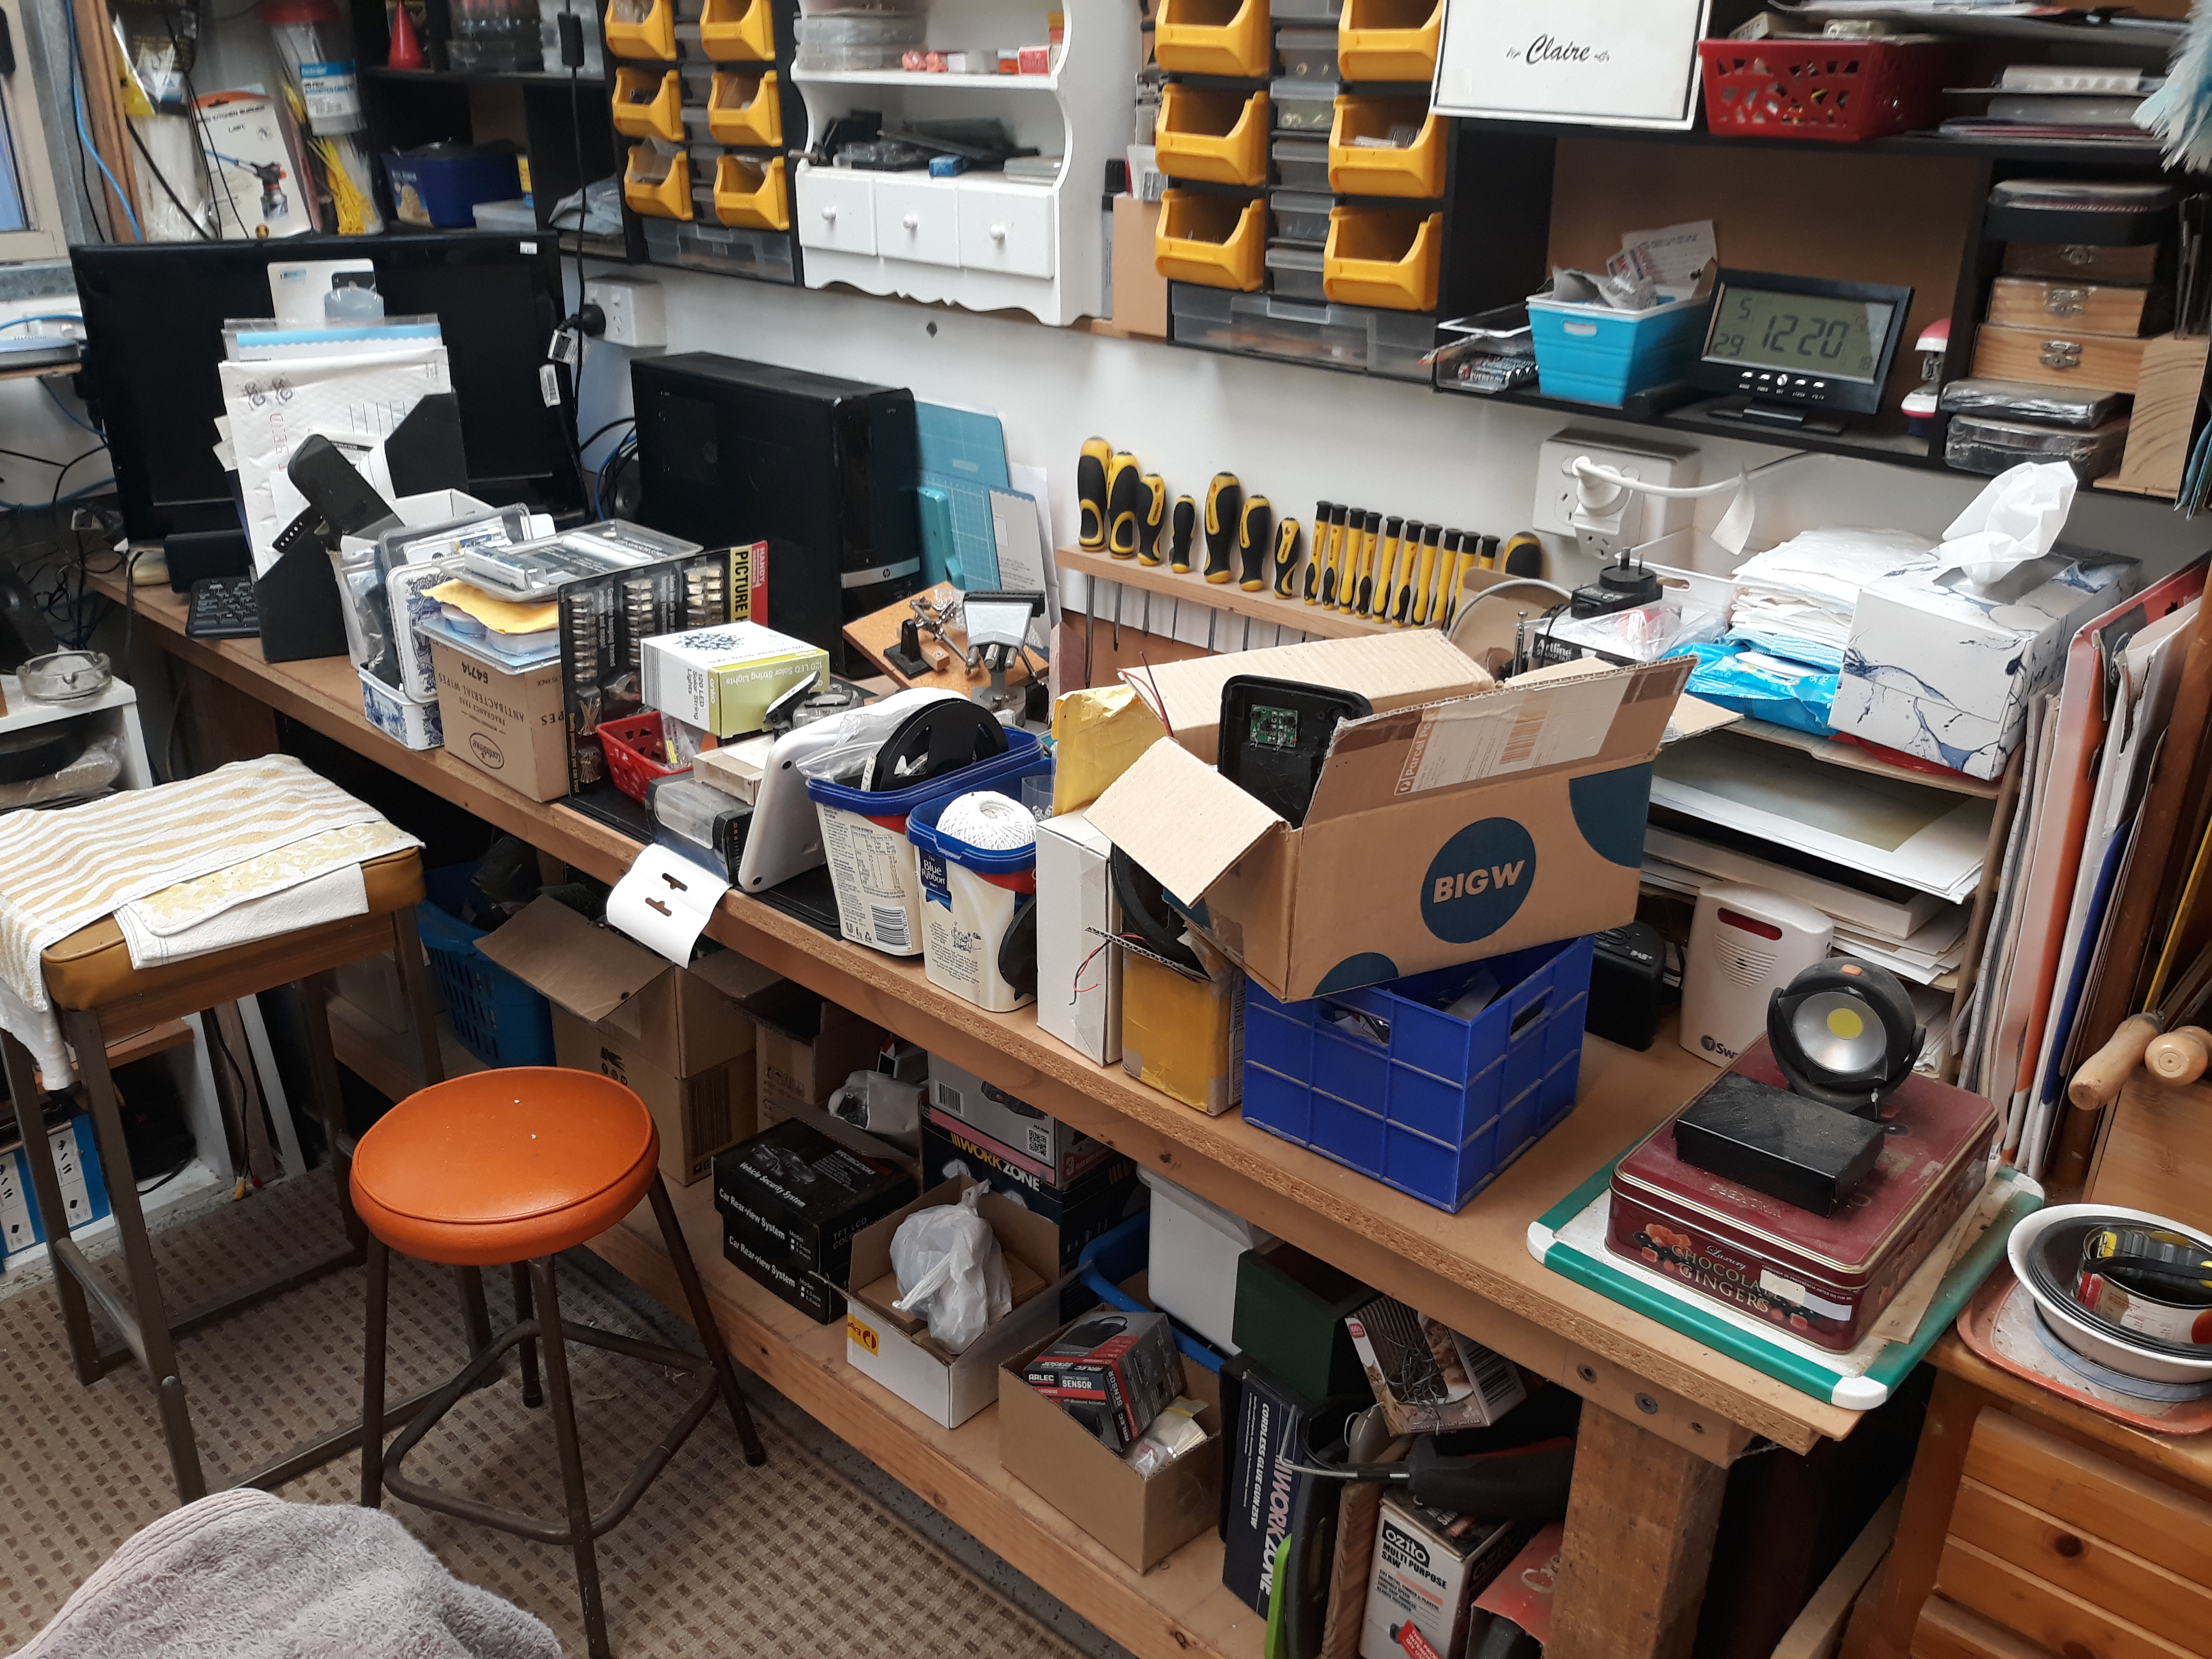
Removed everything that was stored on that narrow flooring board.
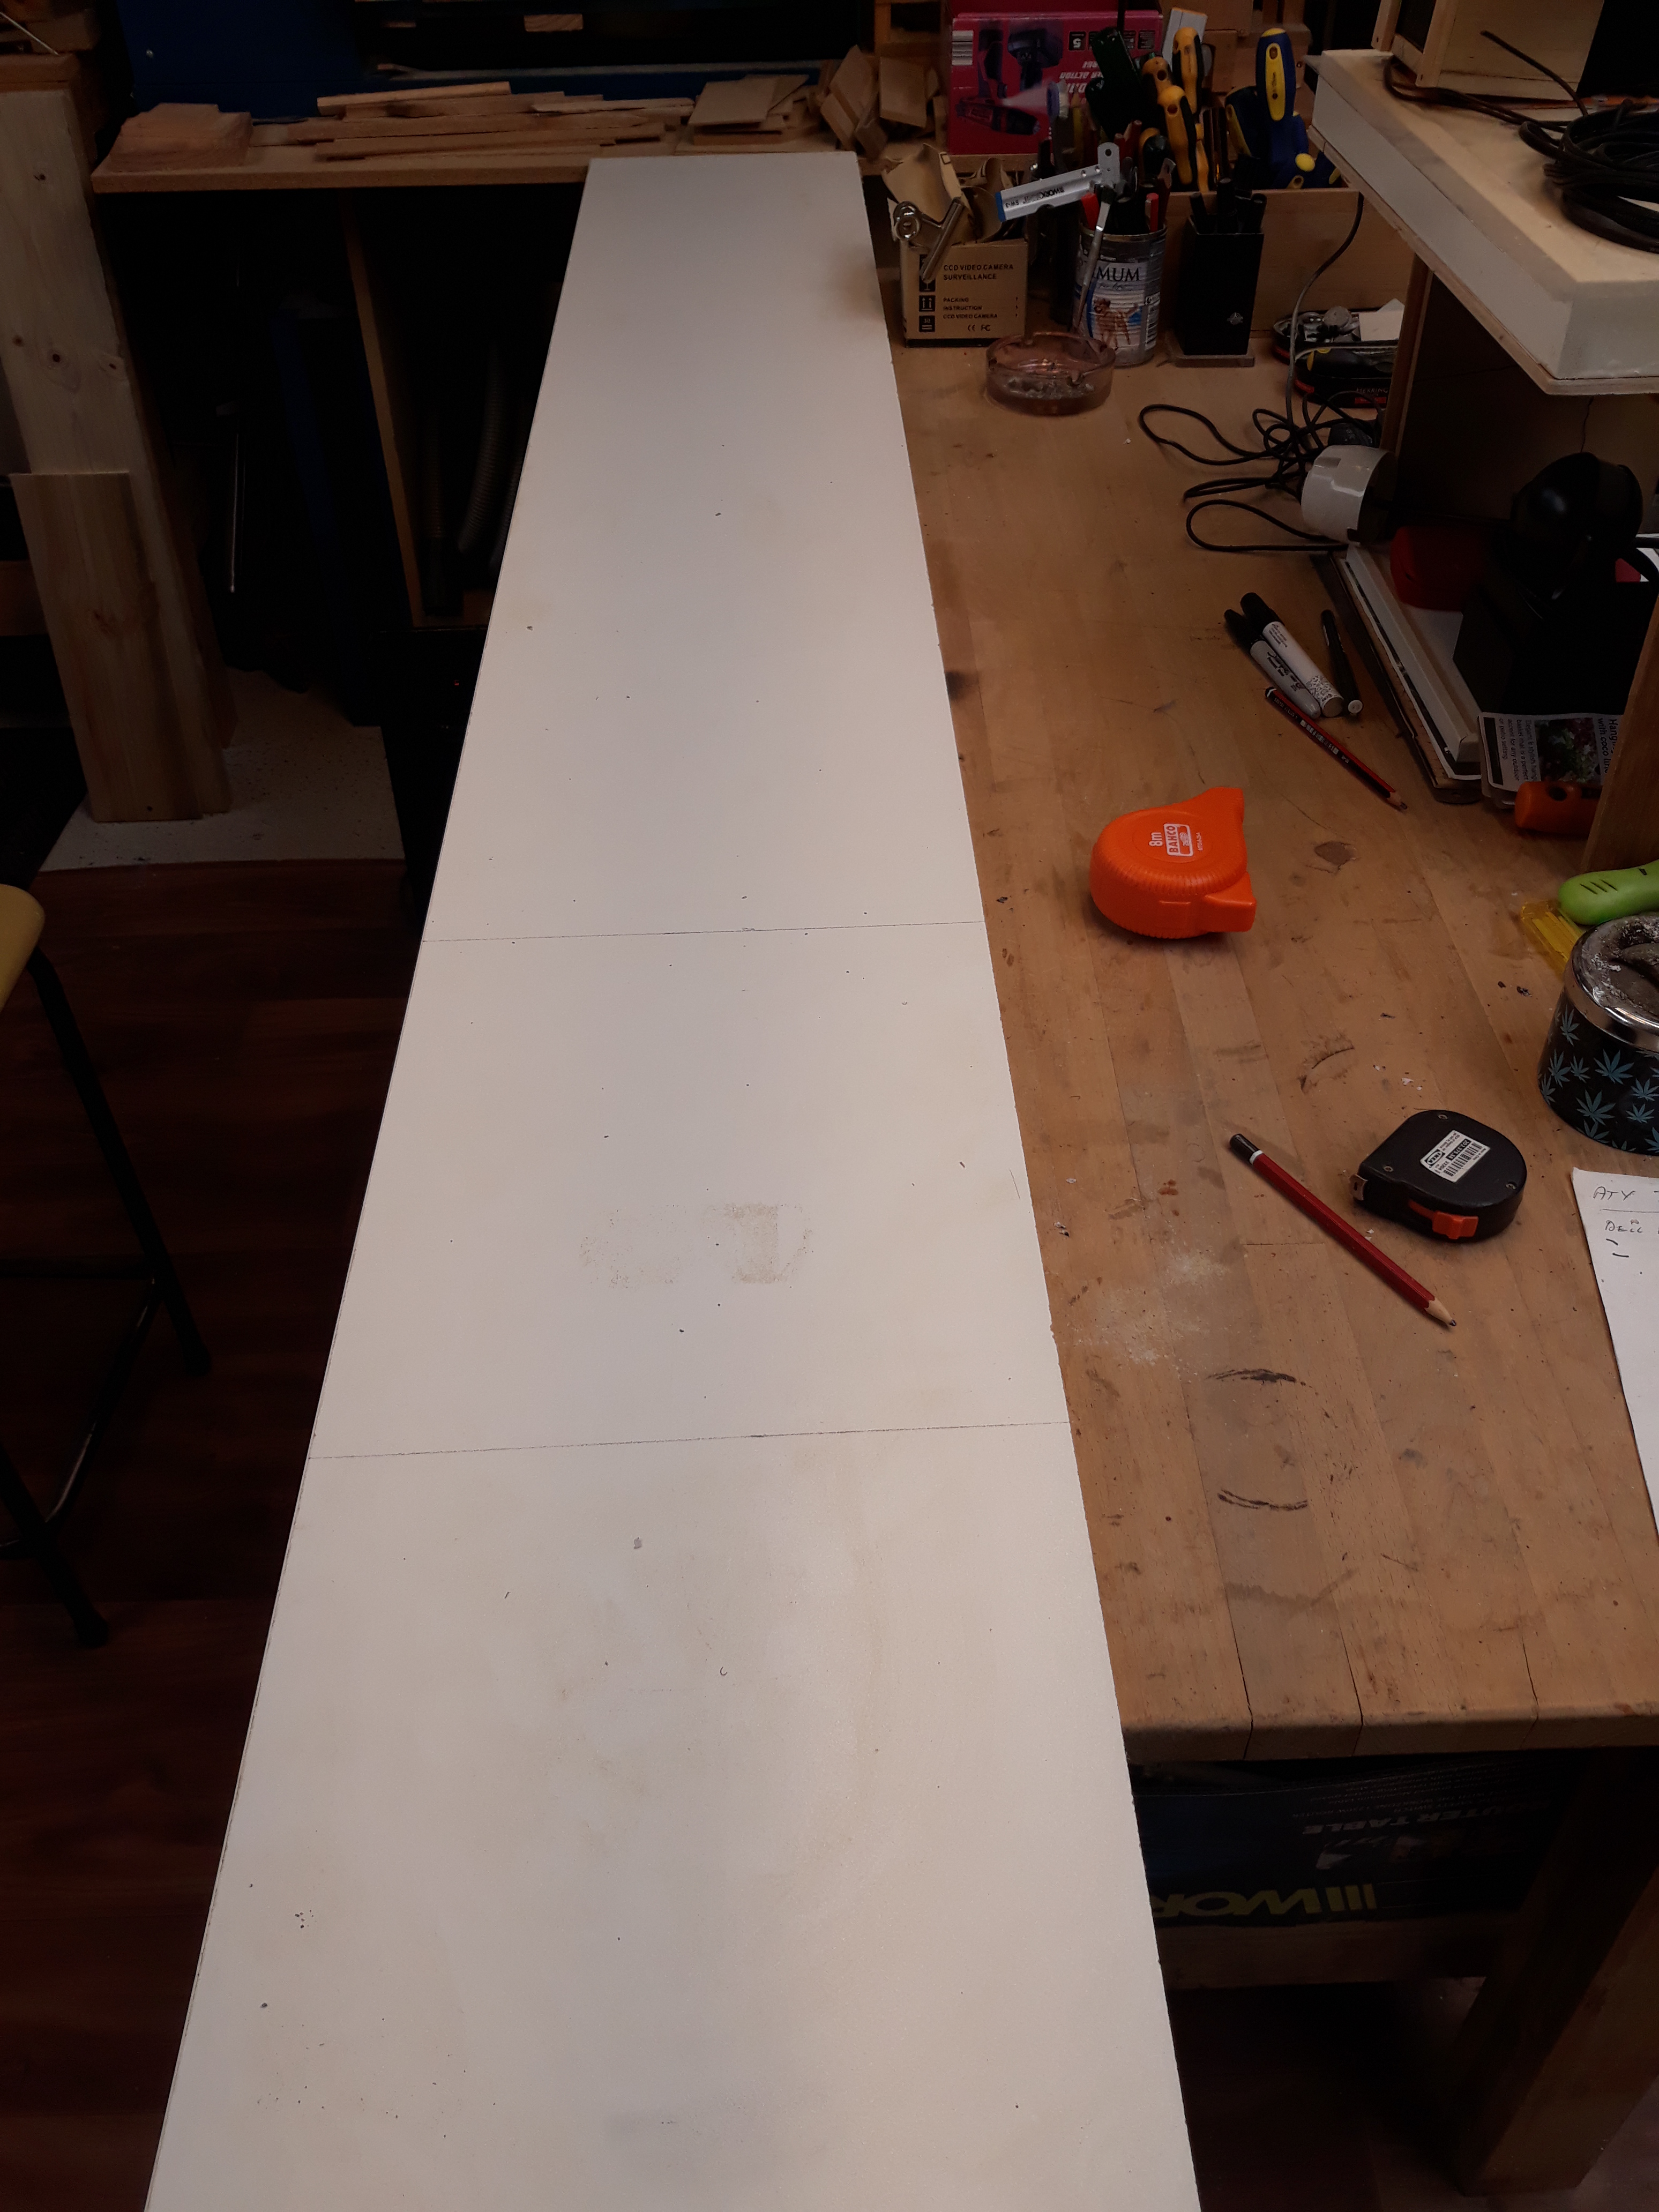
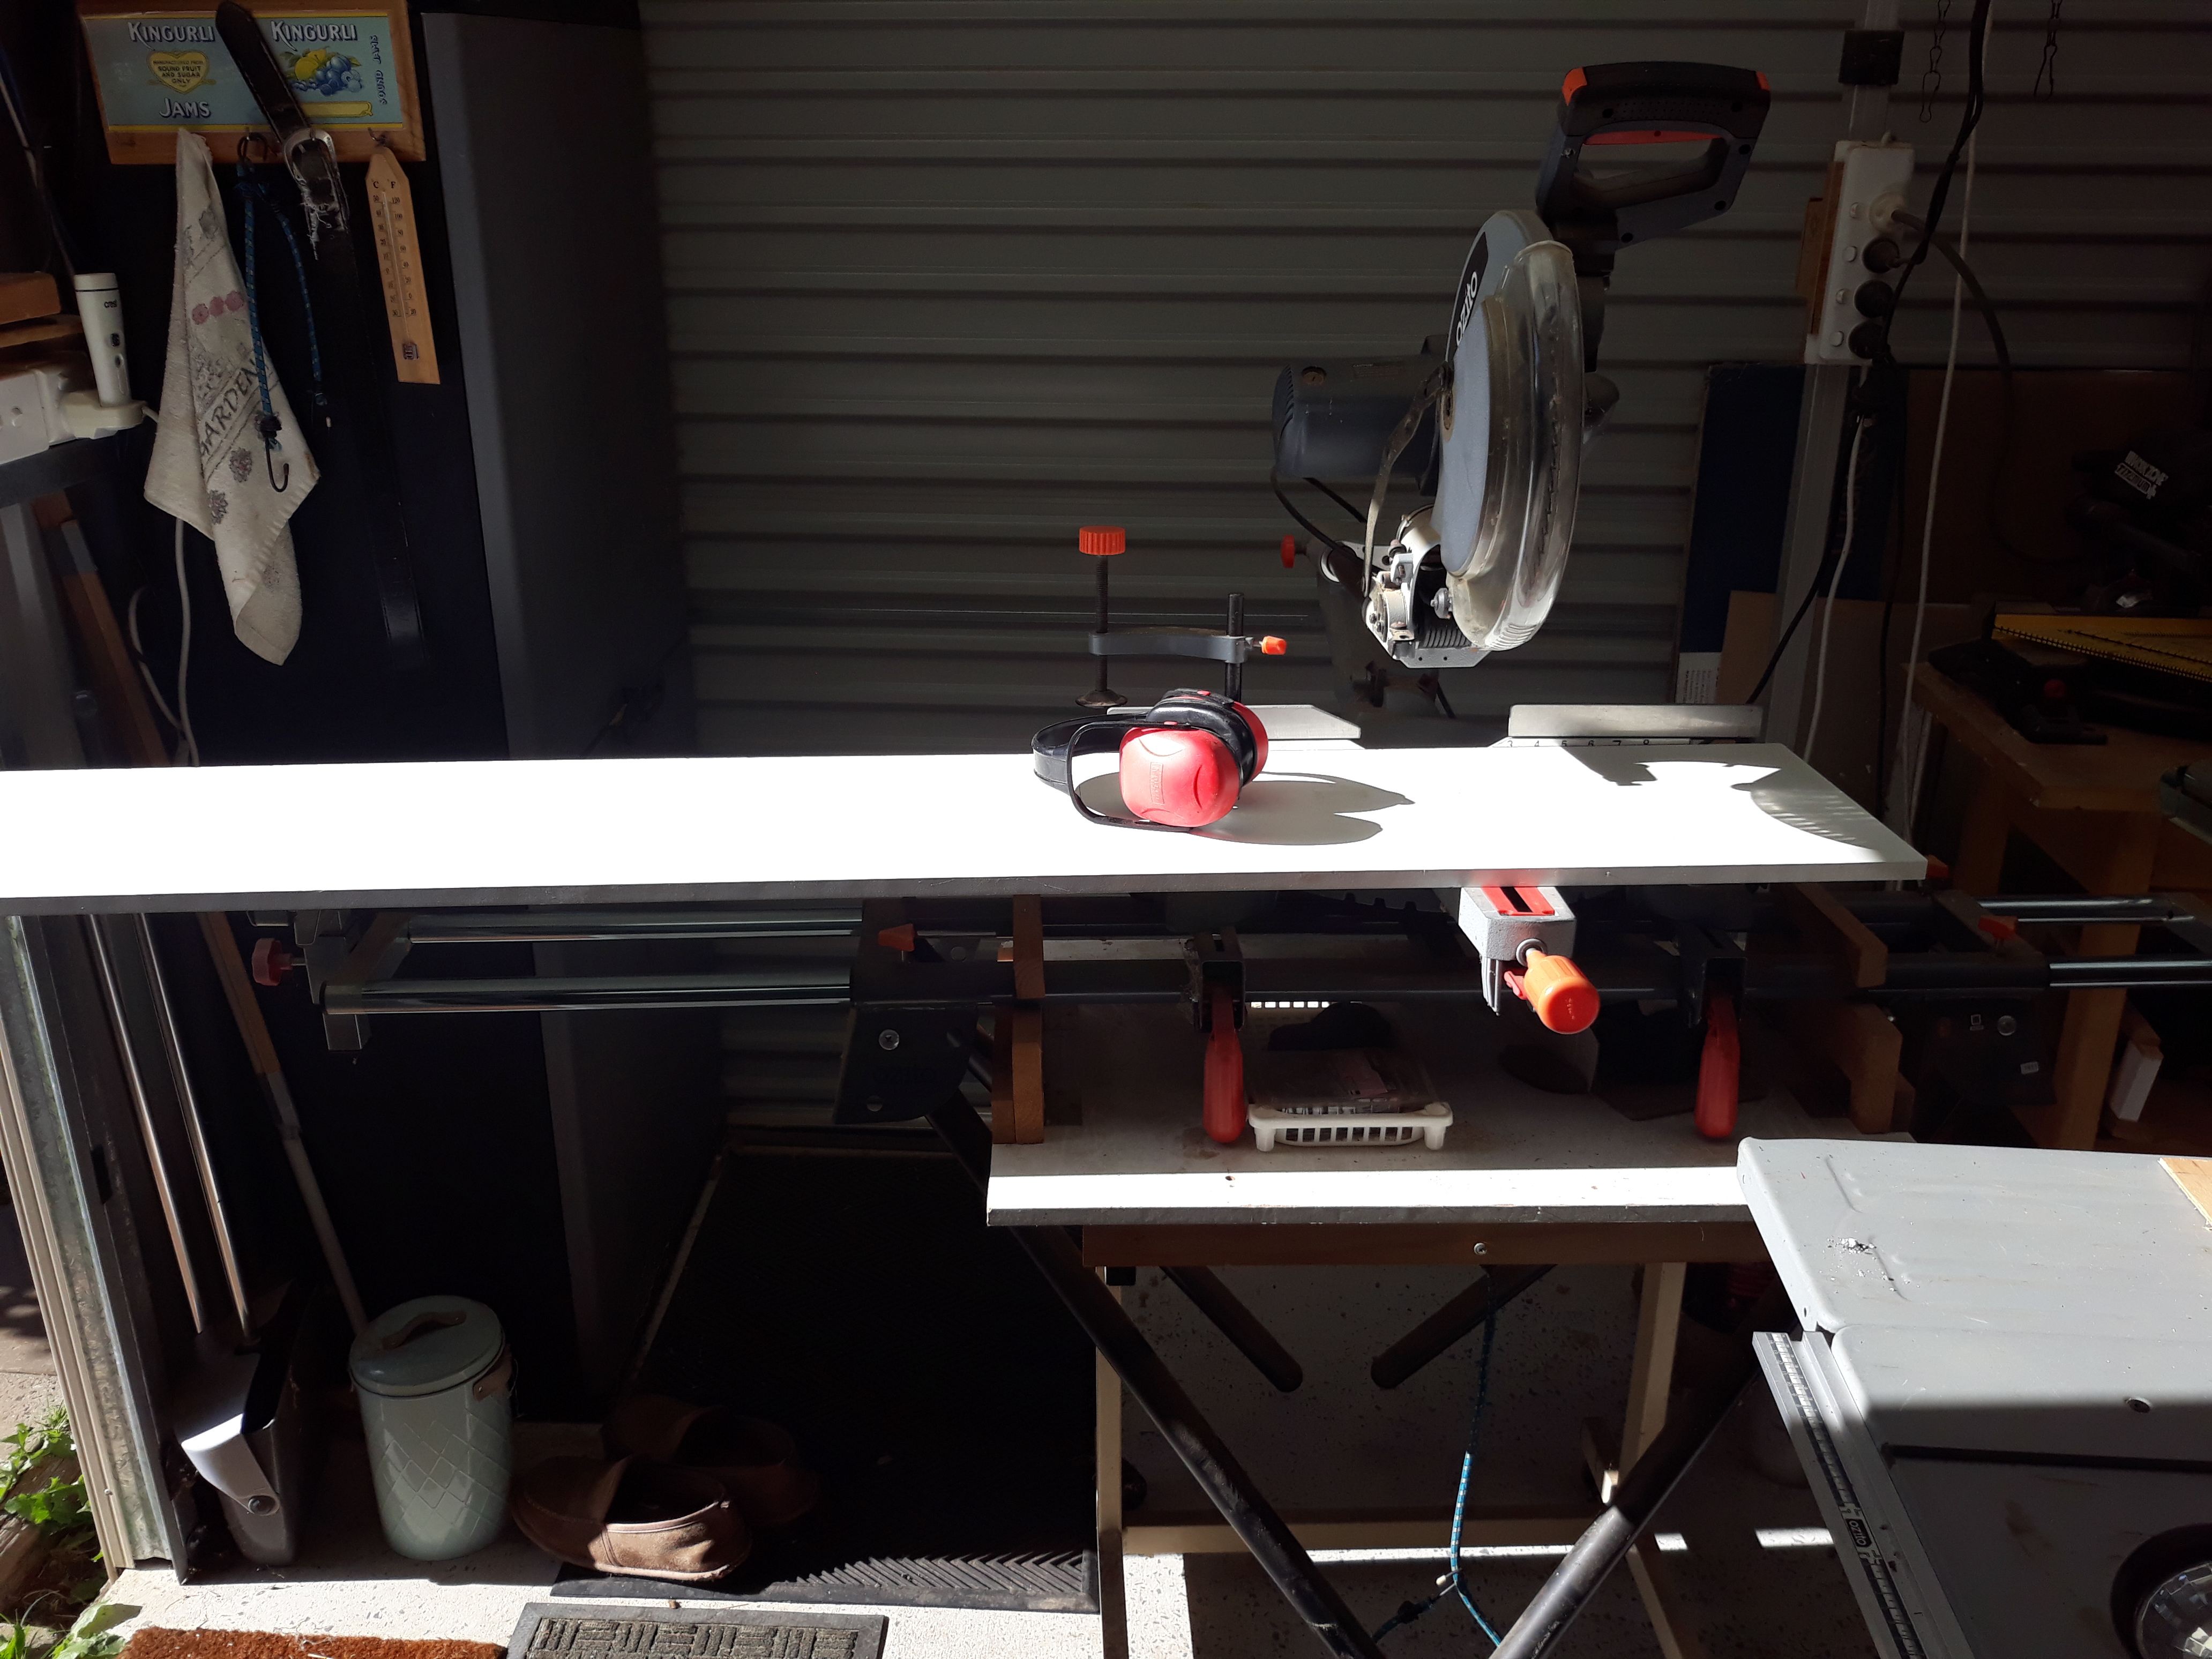
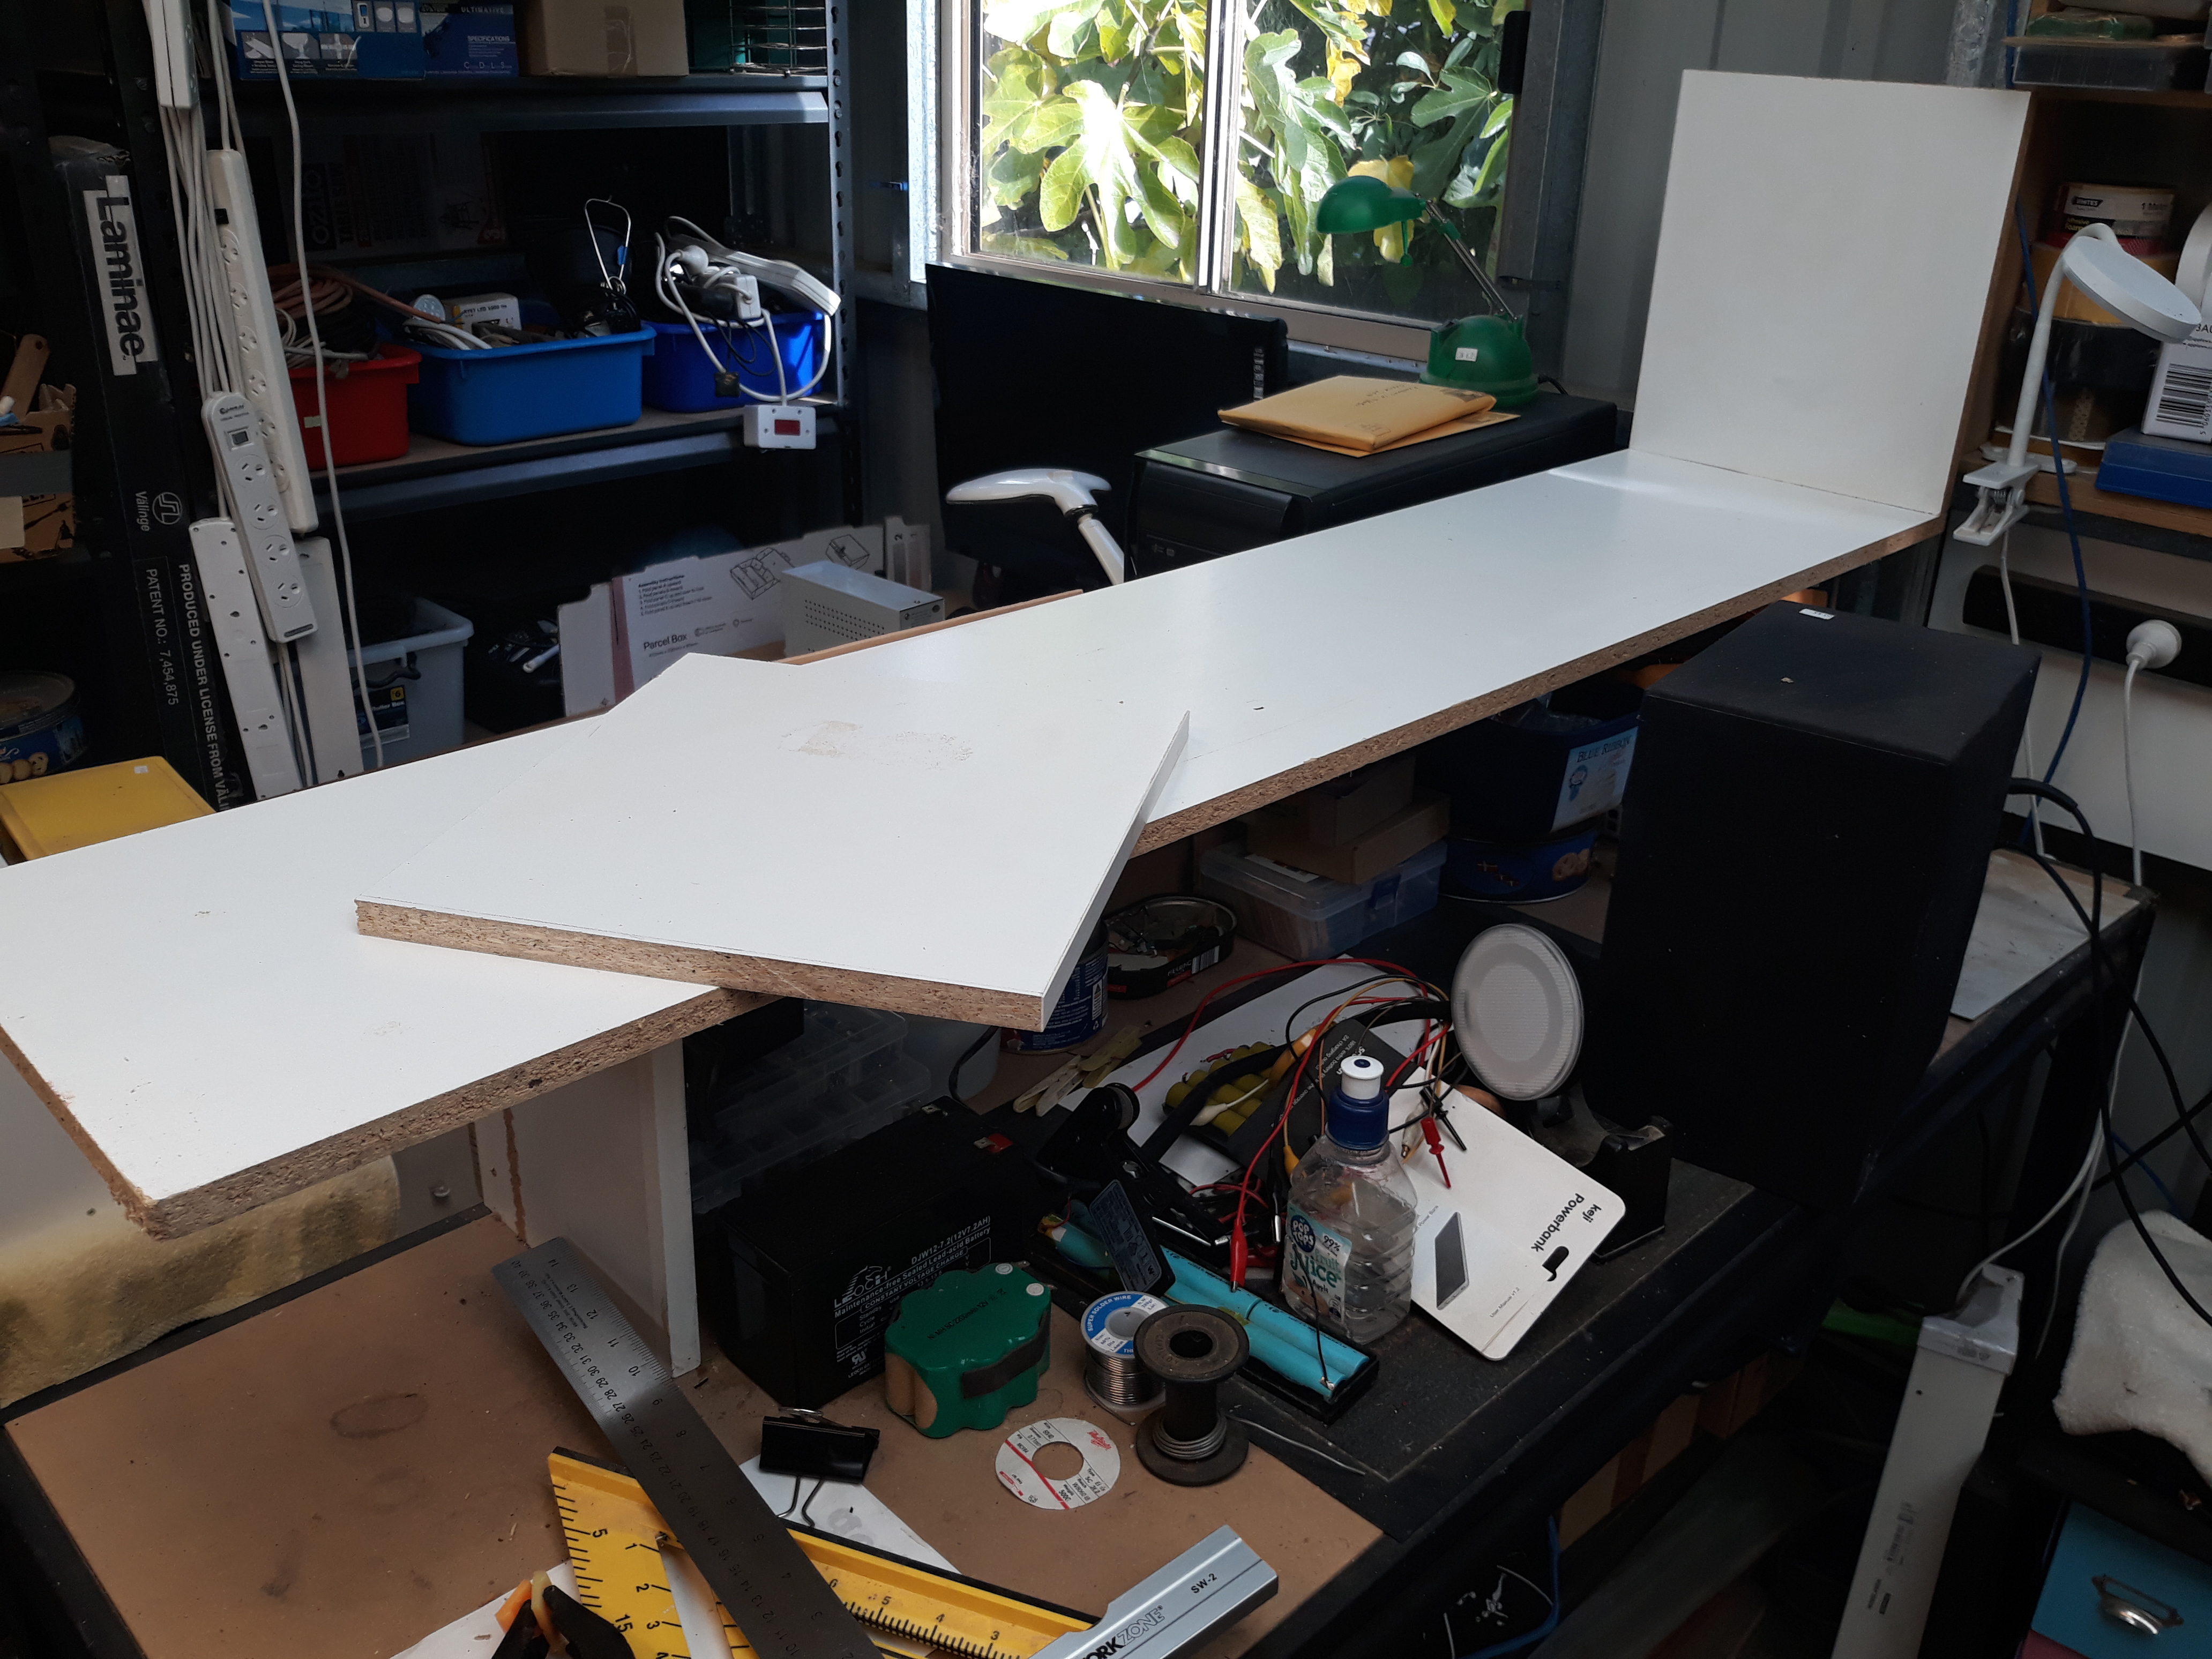
This is what started this project, I came across a nice length of laminated chipboard while having a clean-up.
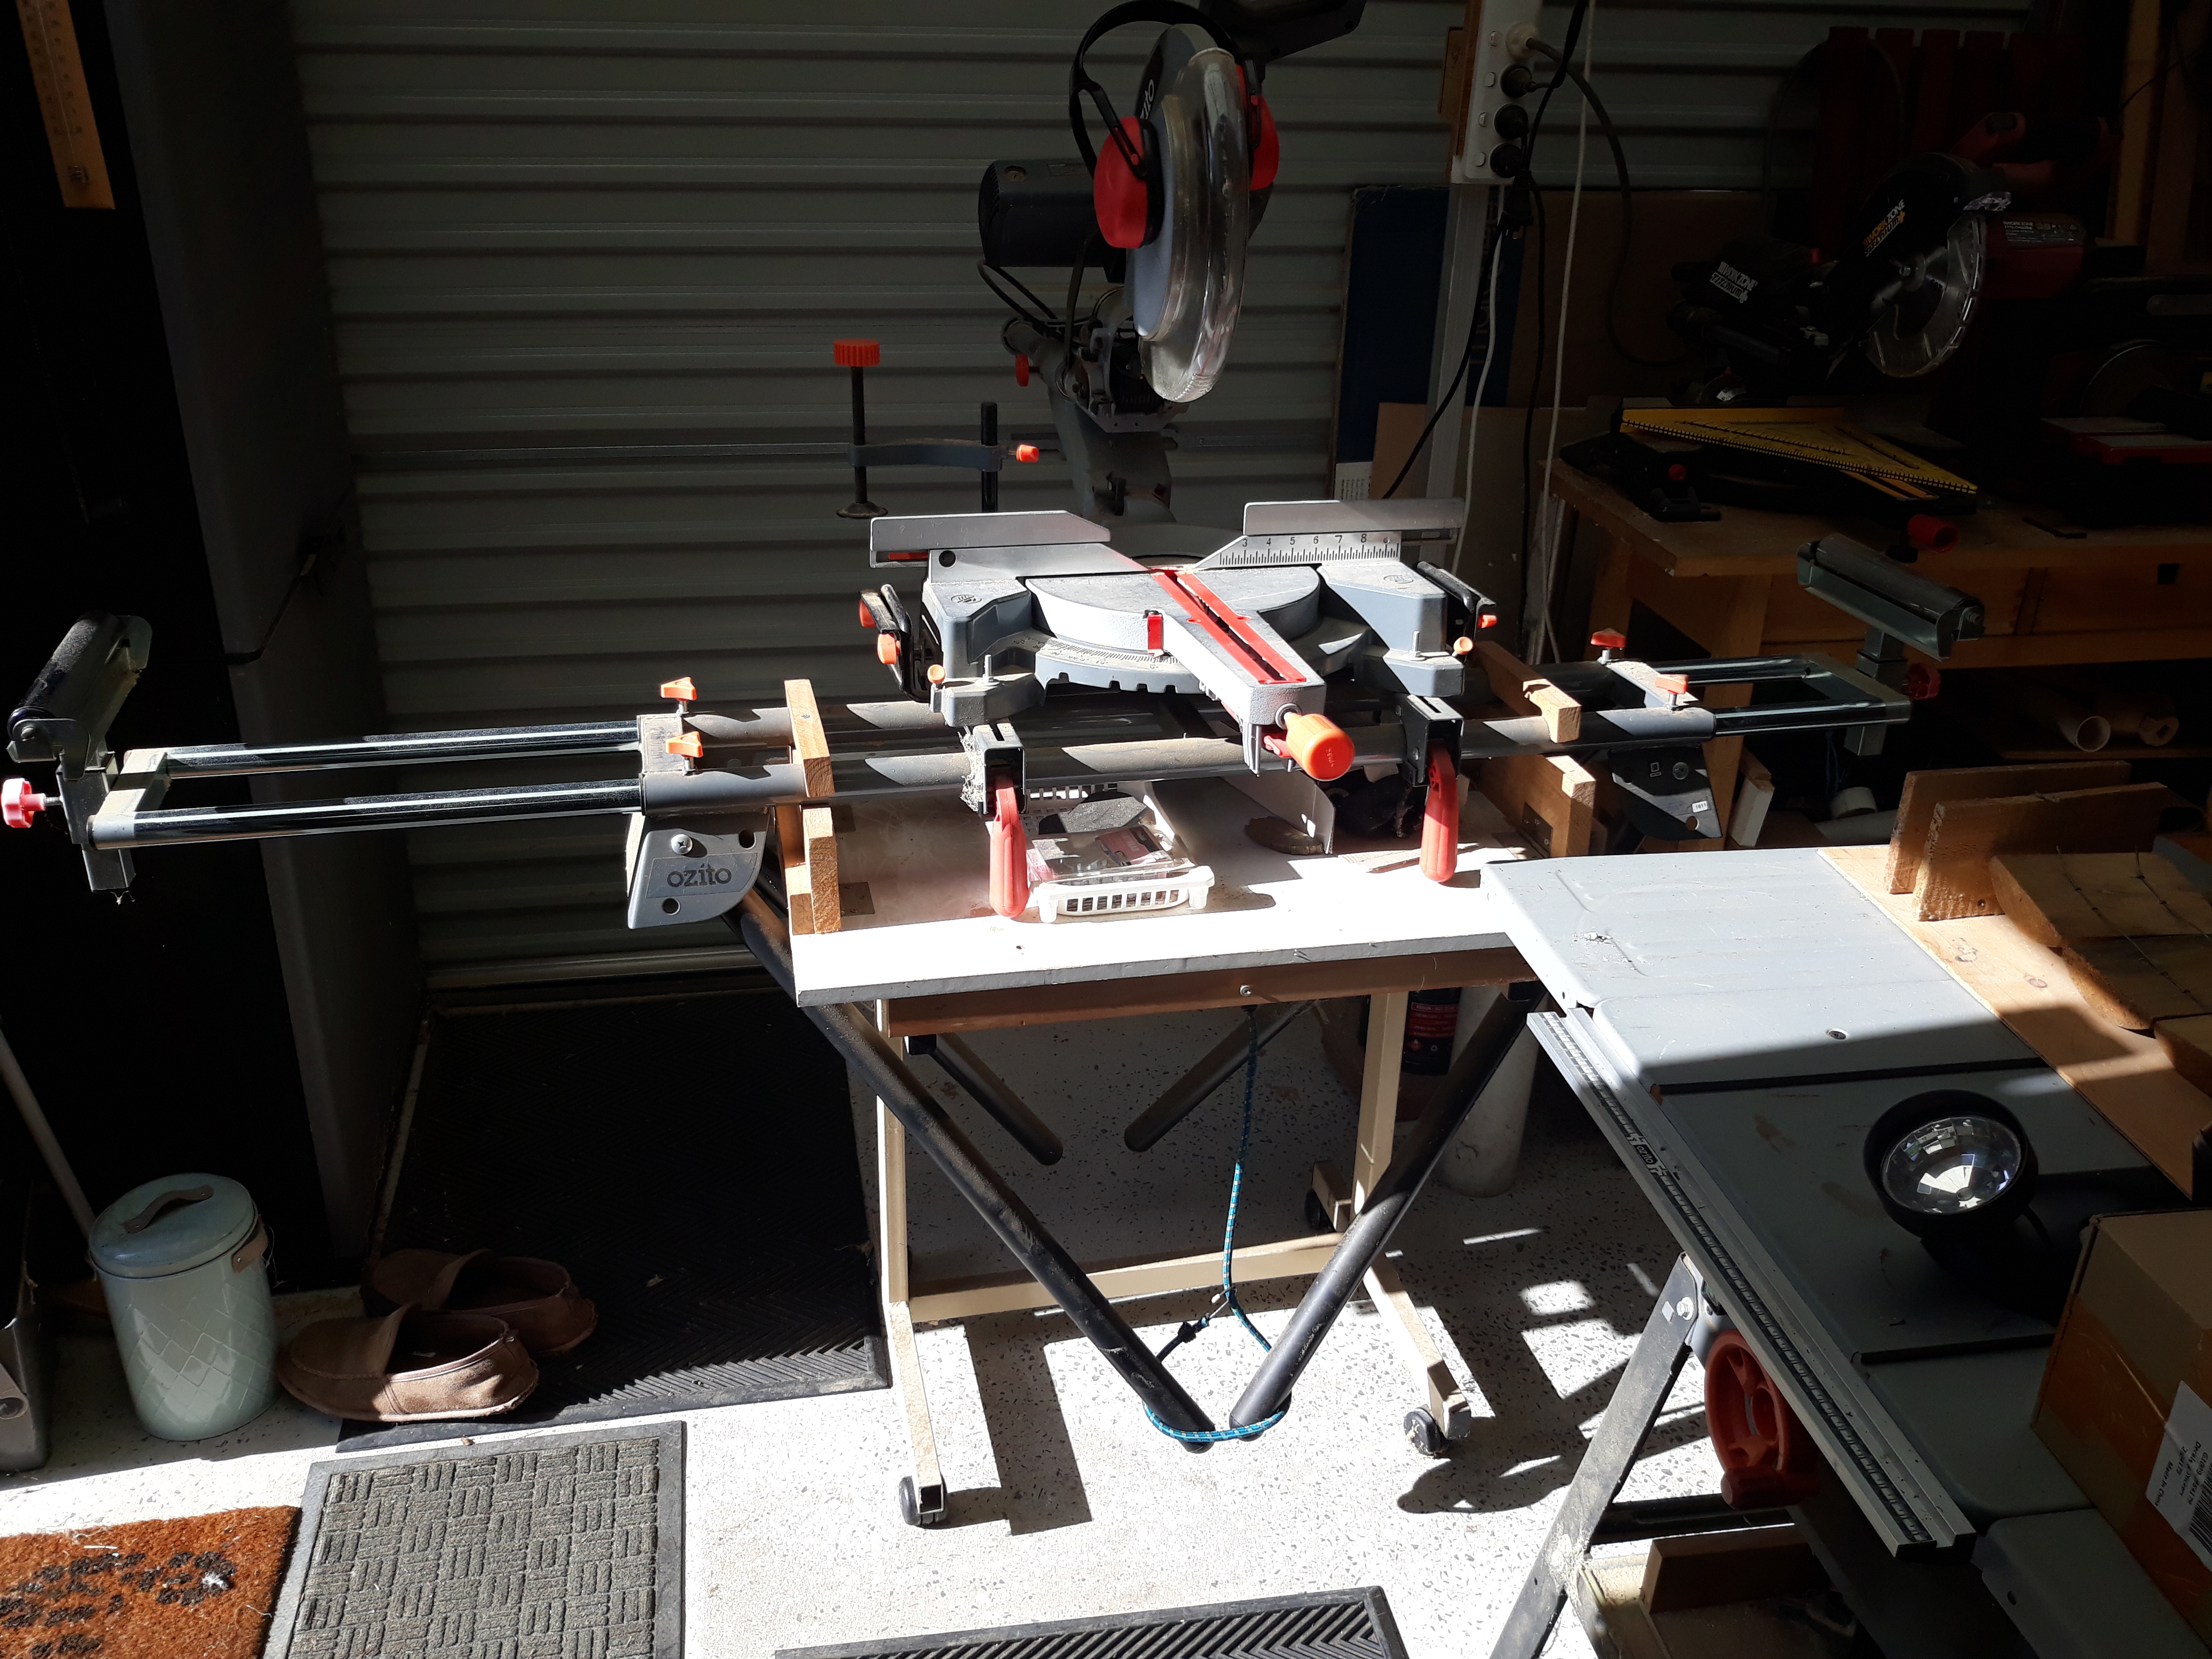
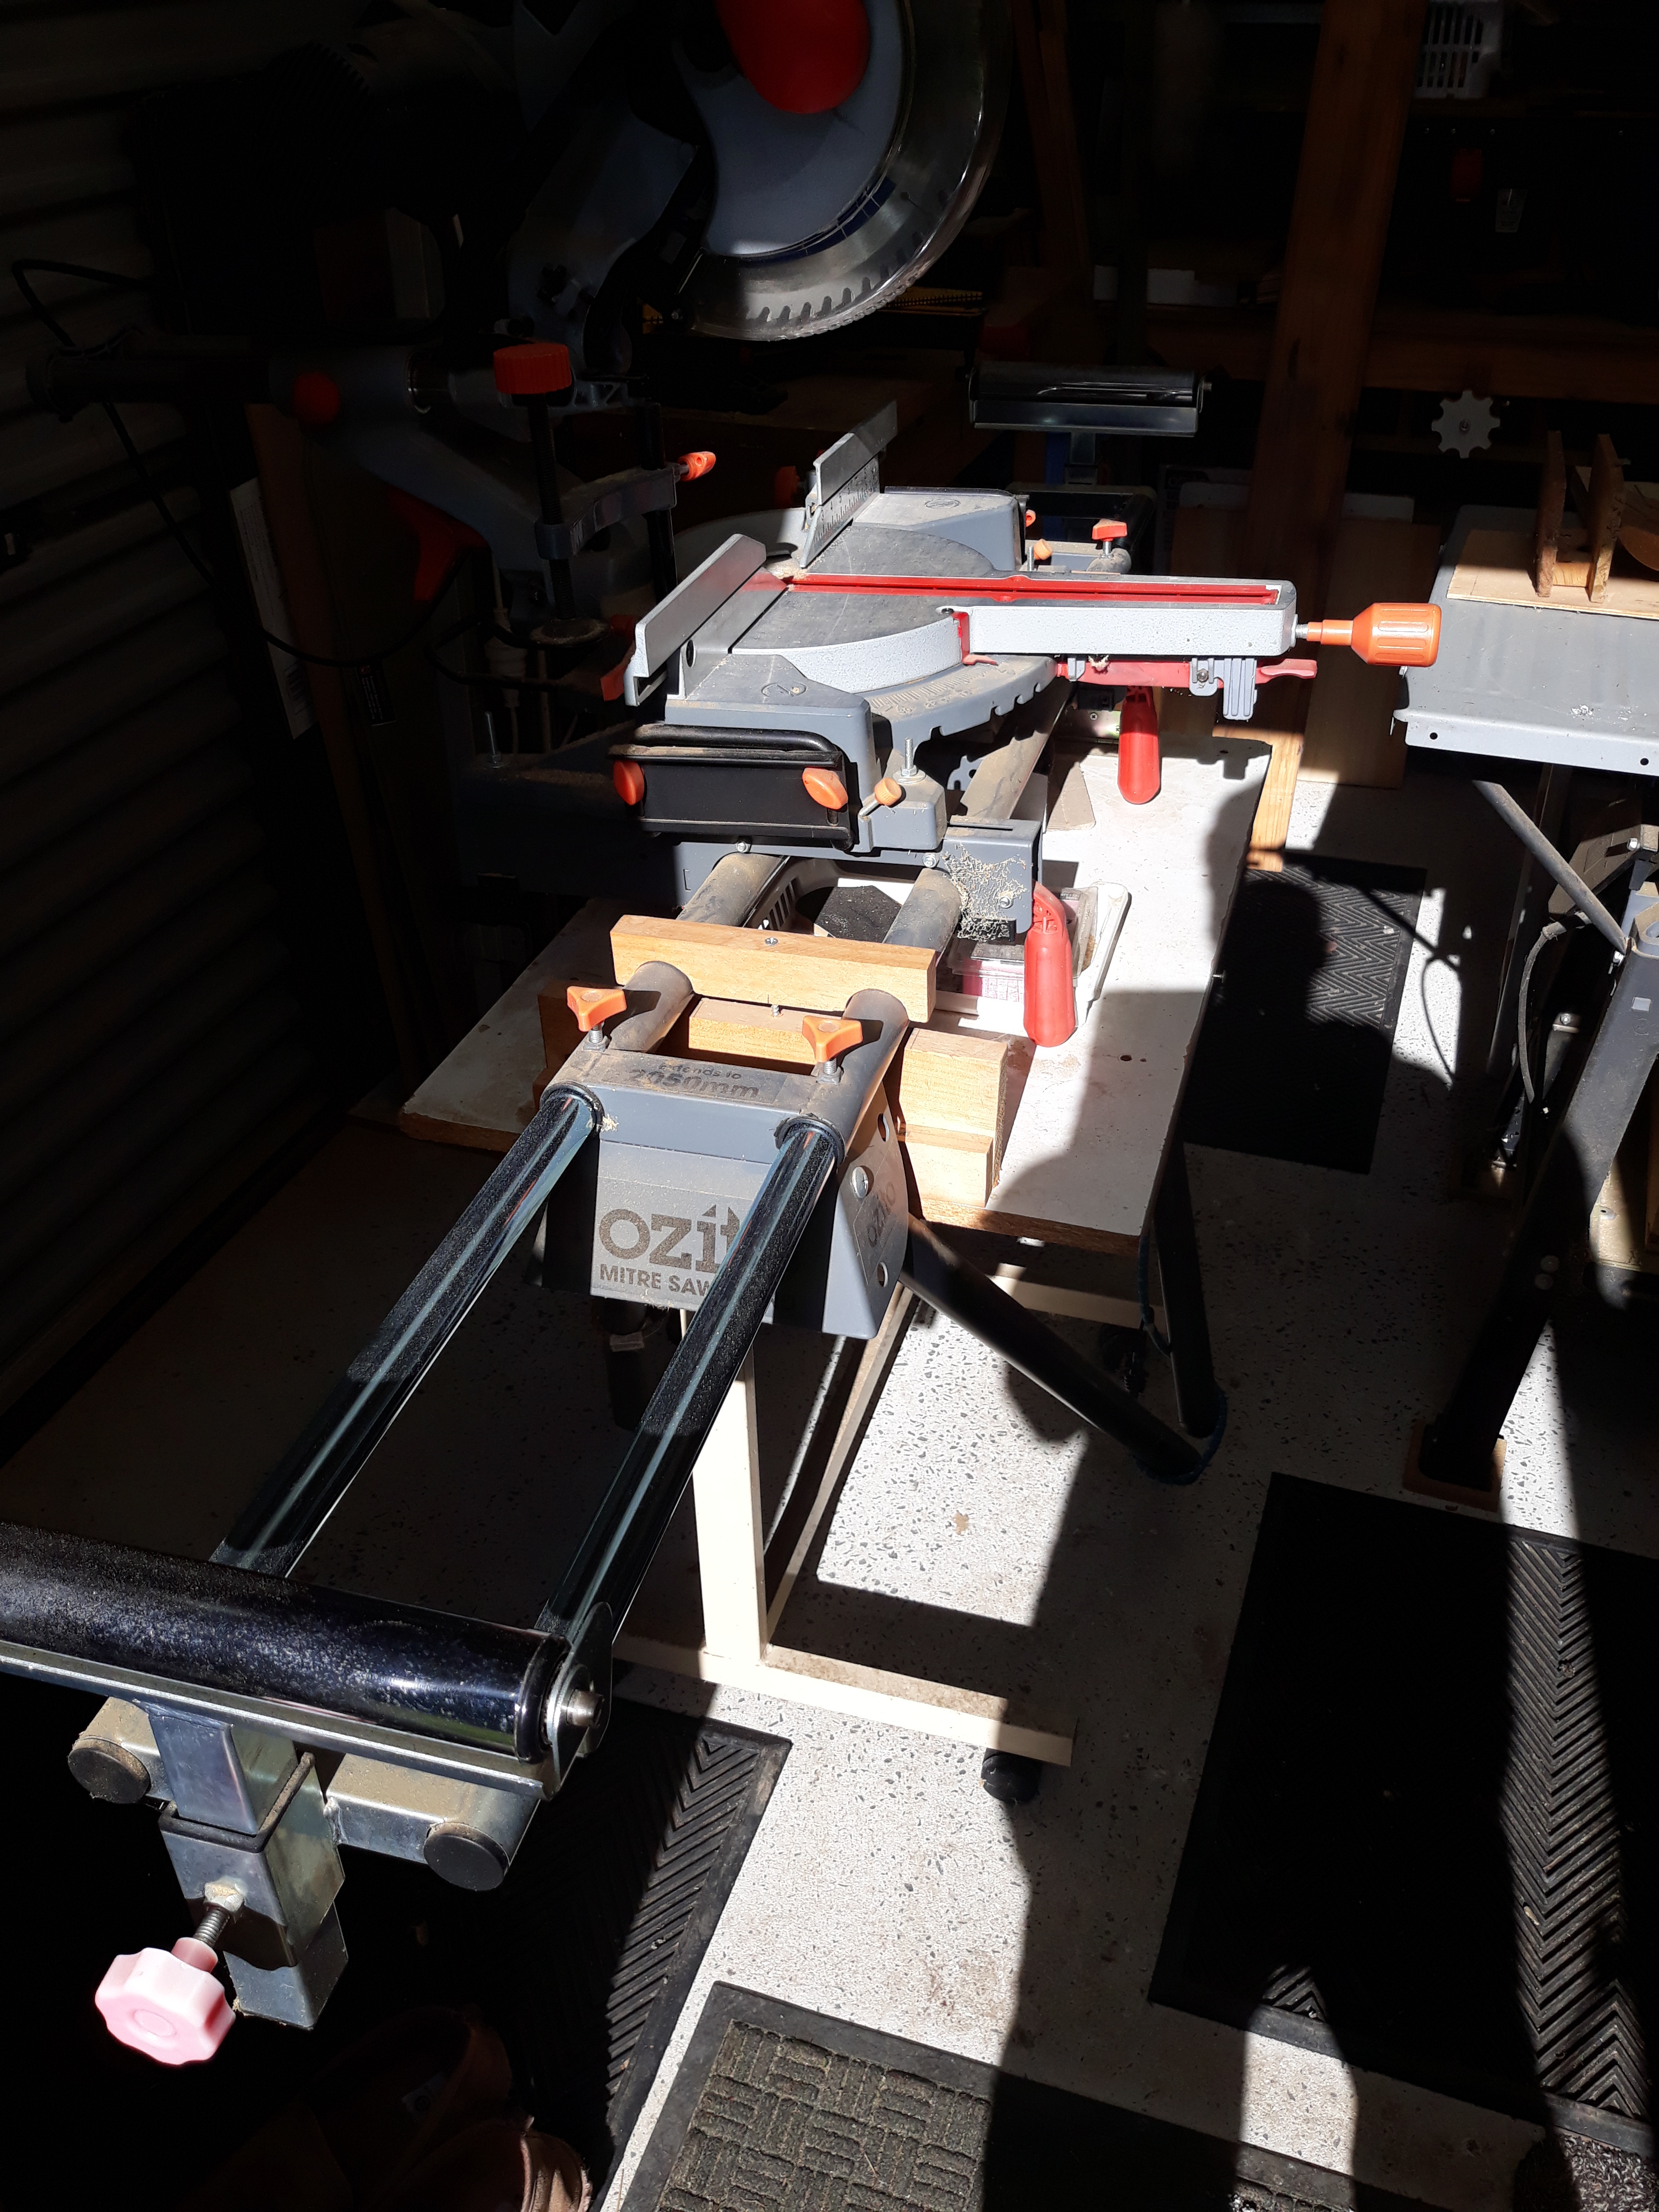
Setting up the Ozito 12″ sliding mitre saw.
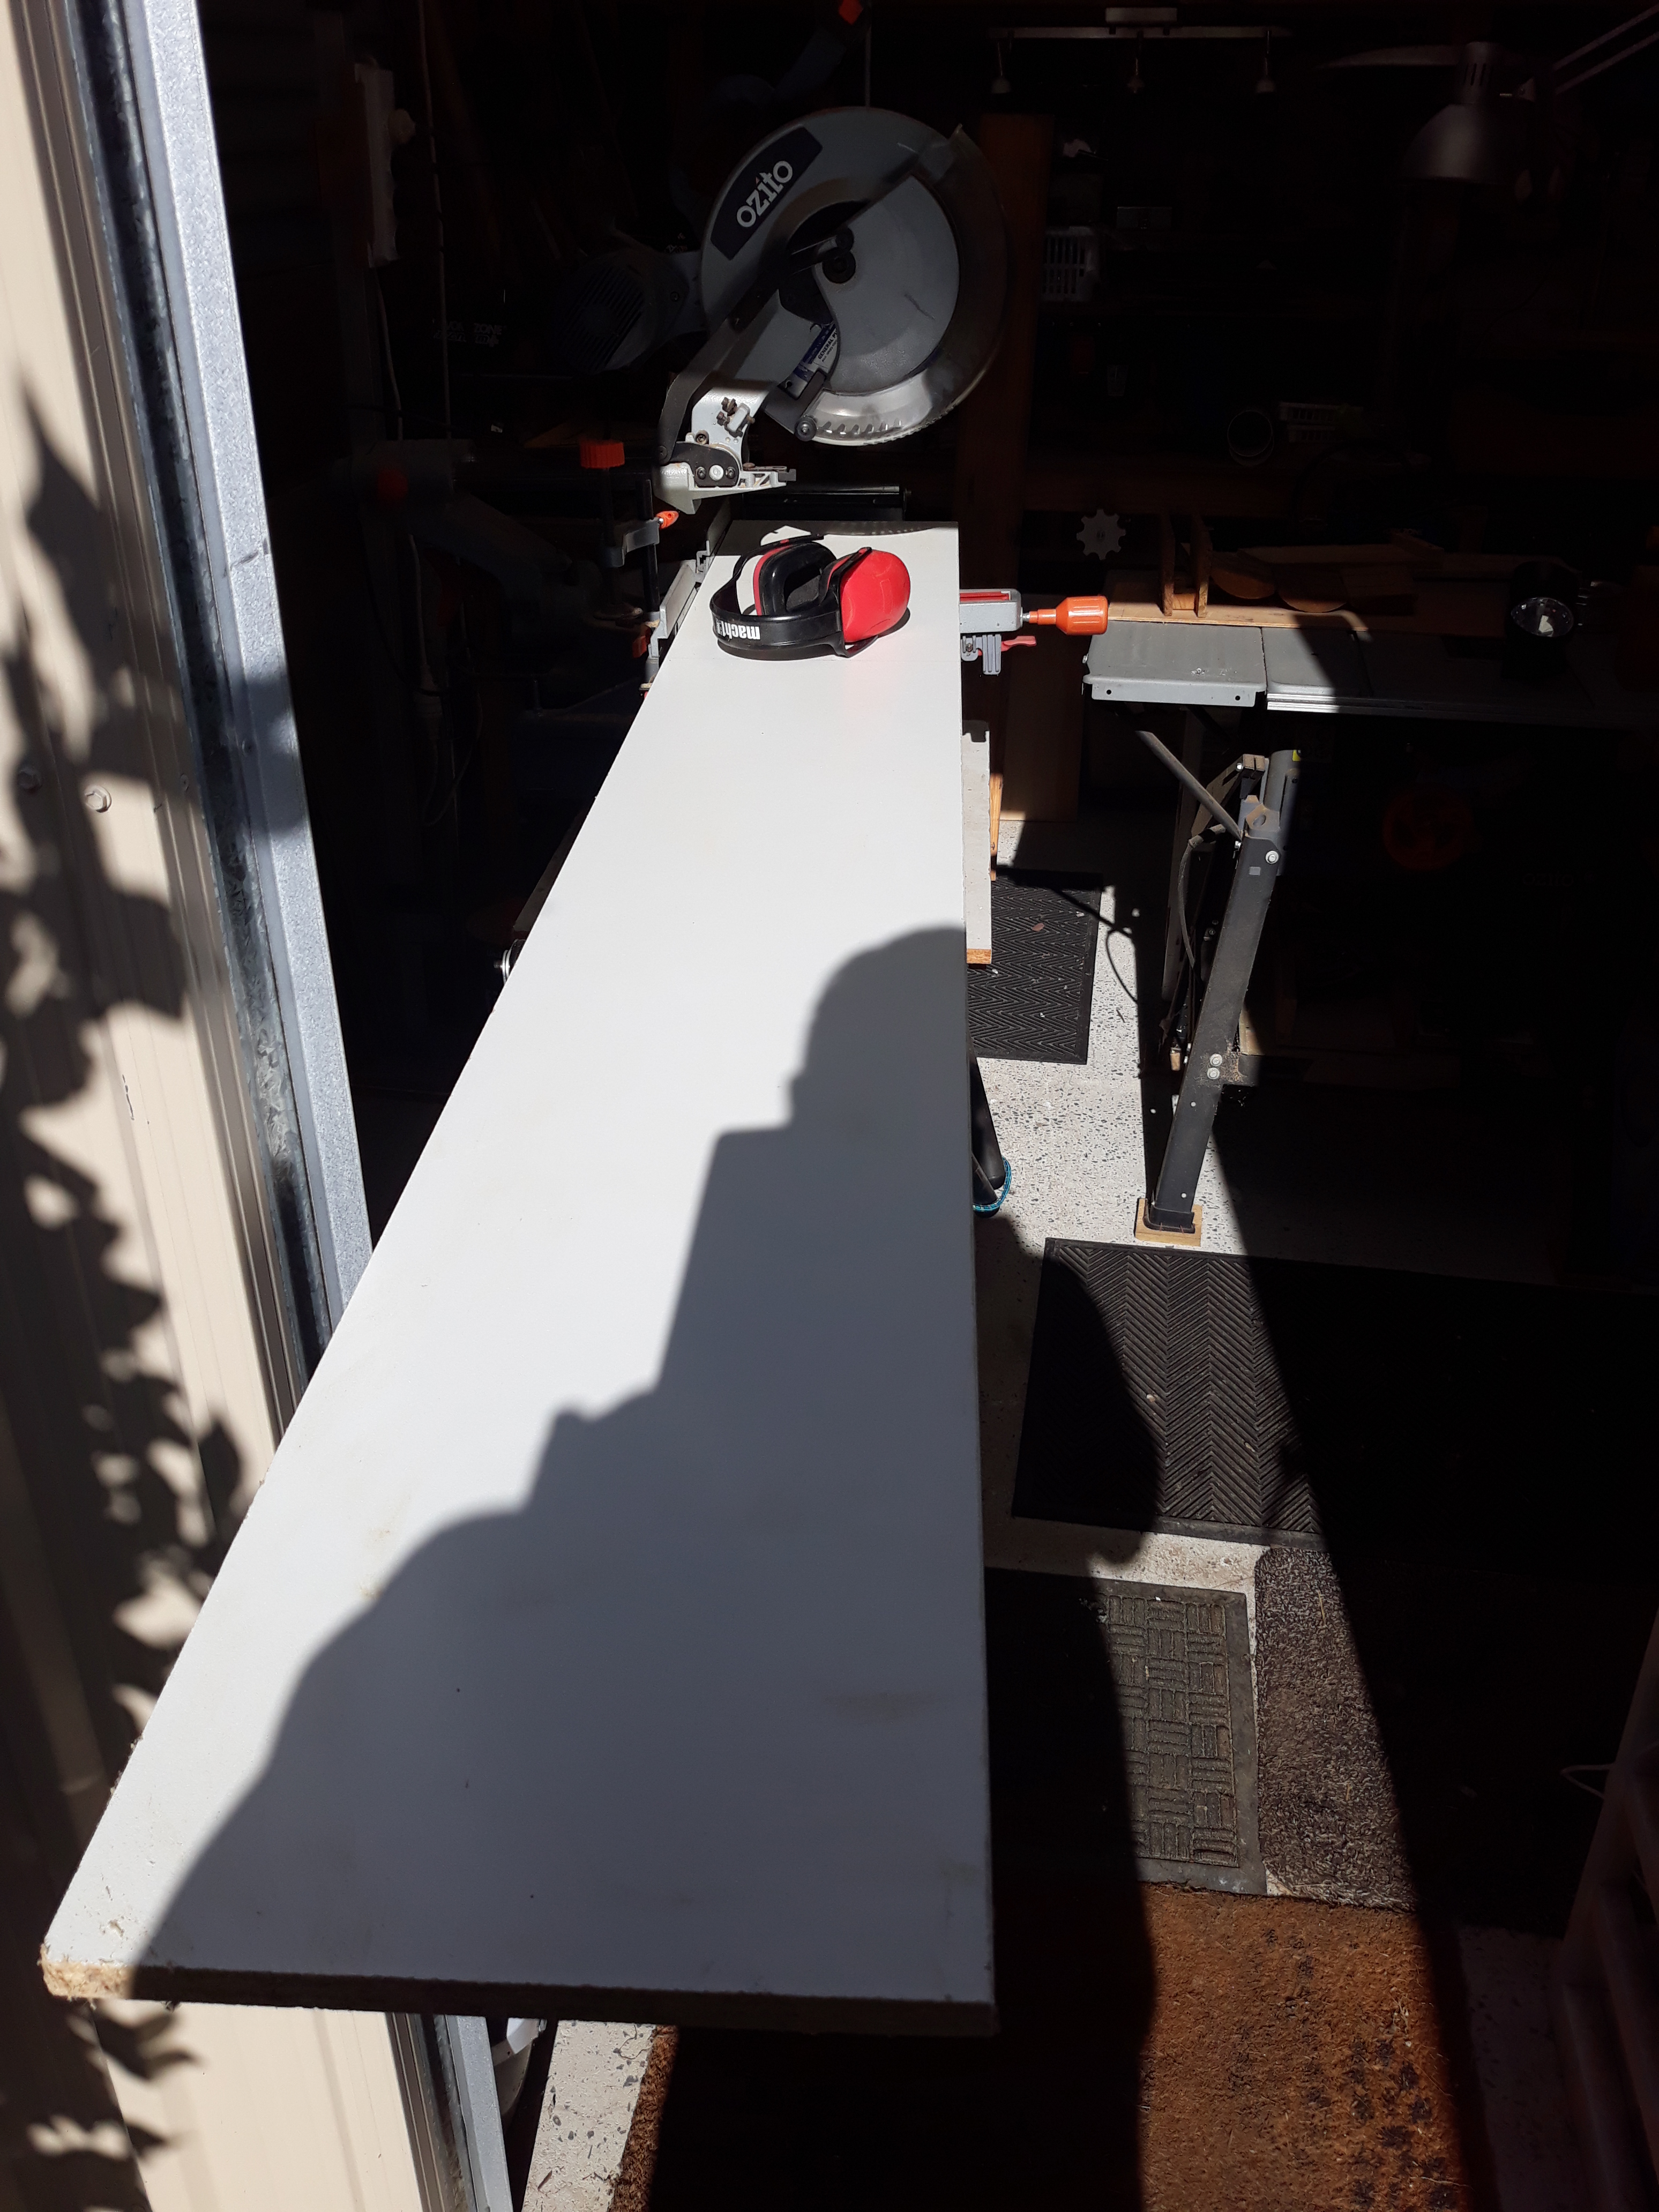
The board is long enough so that after I cut the shelf there will be enough for the two end supports

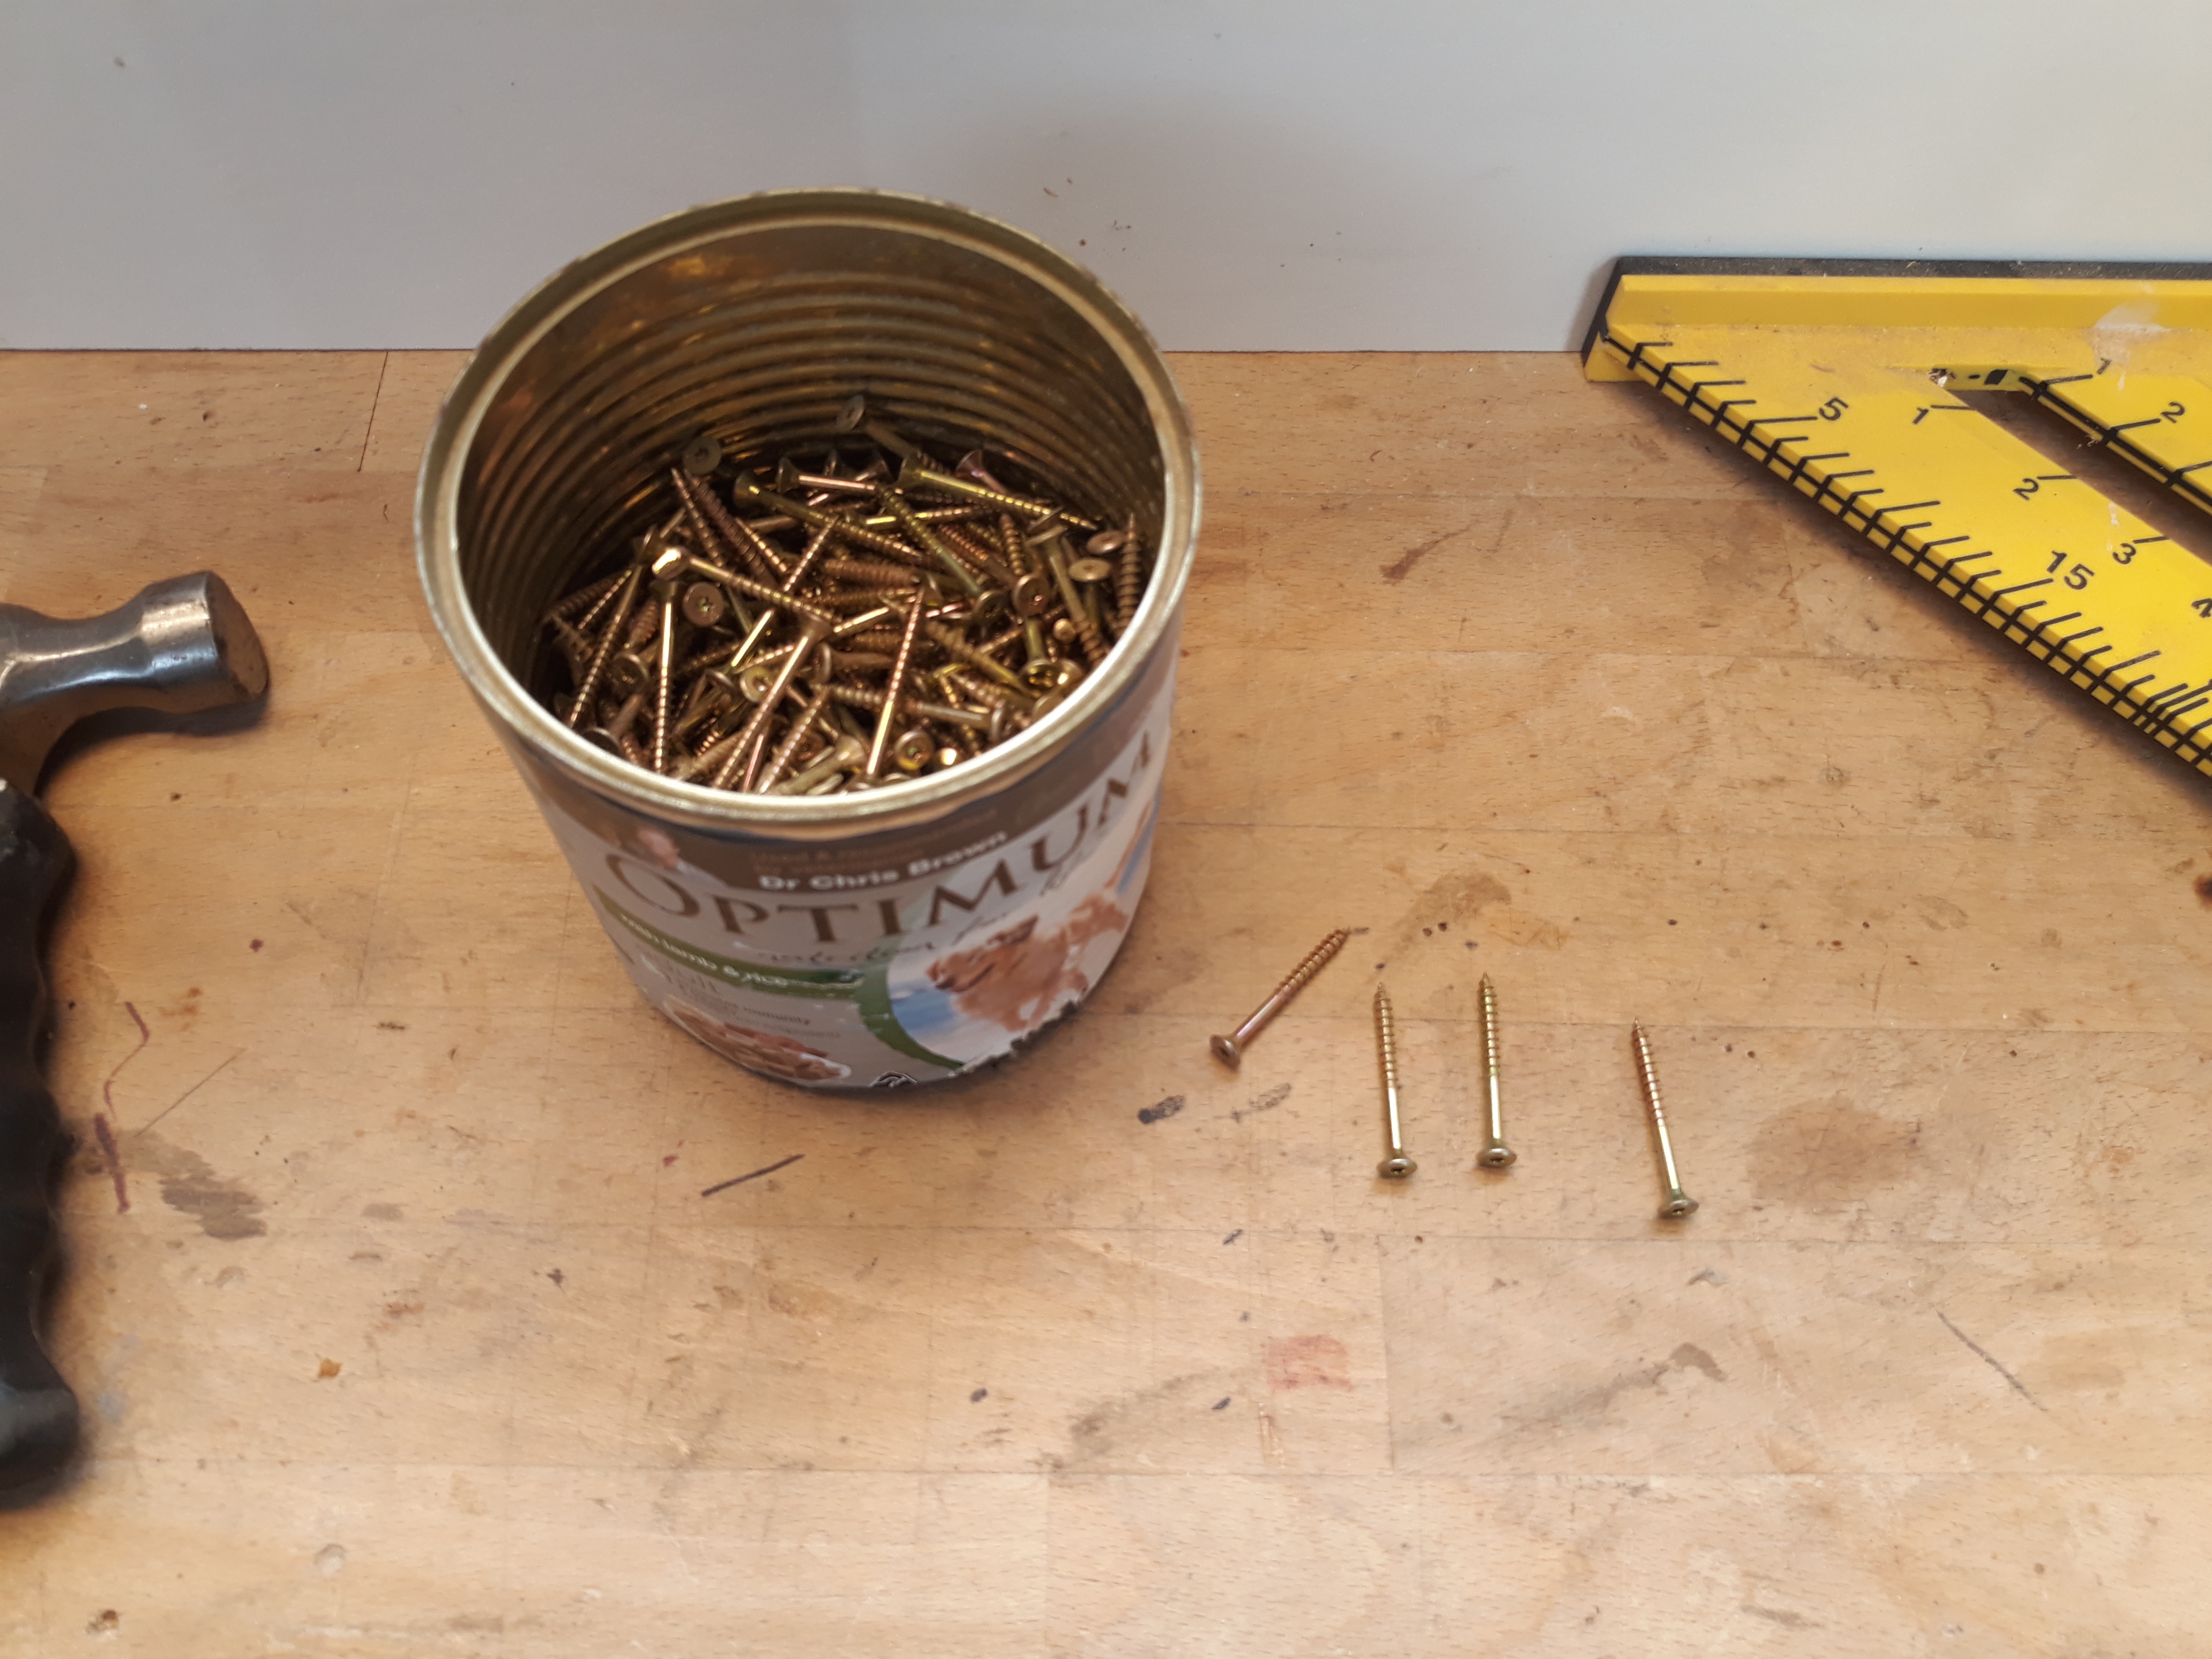
With that done we can start screwing it together.
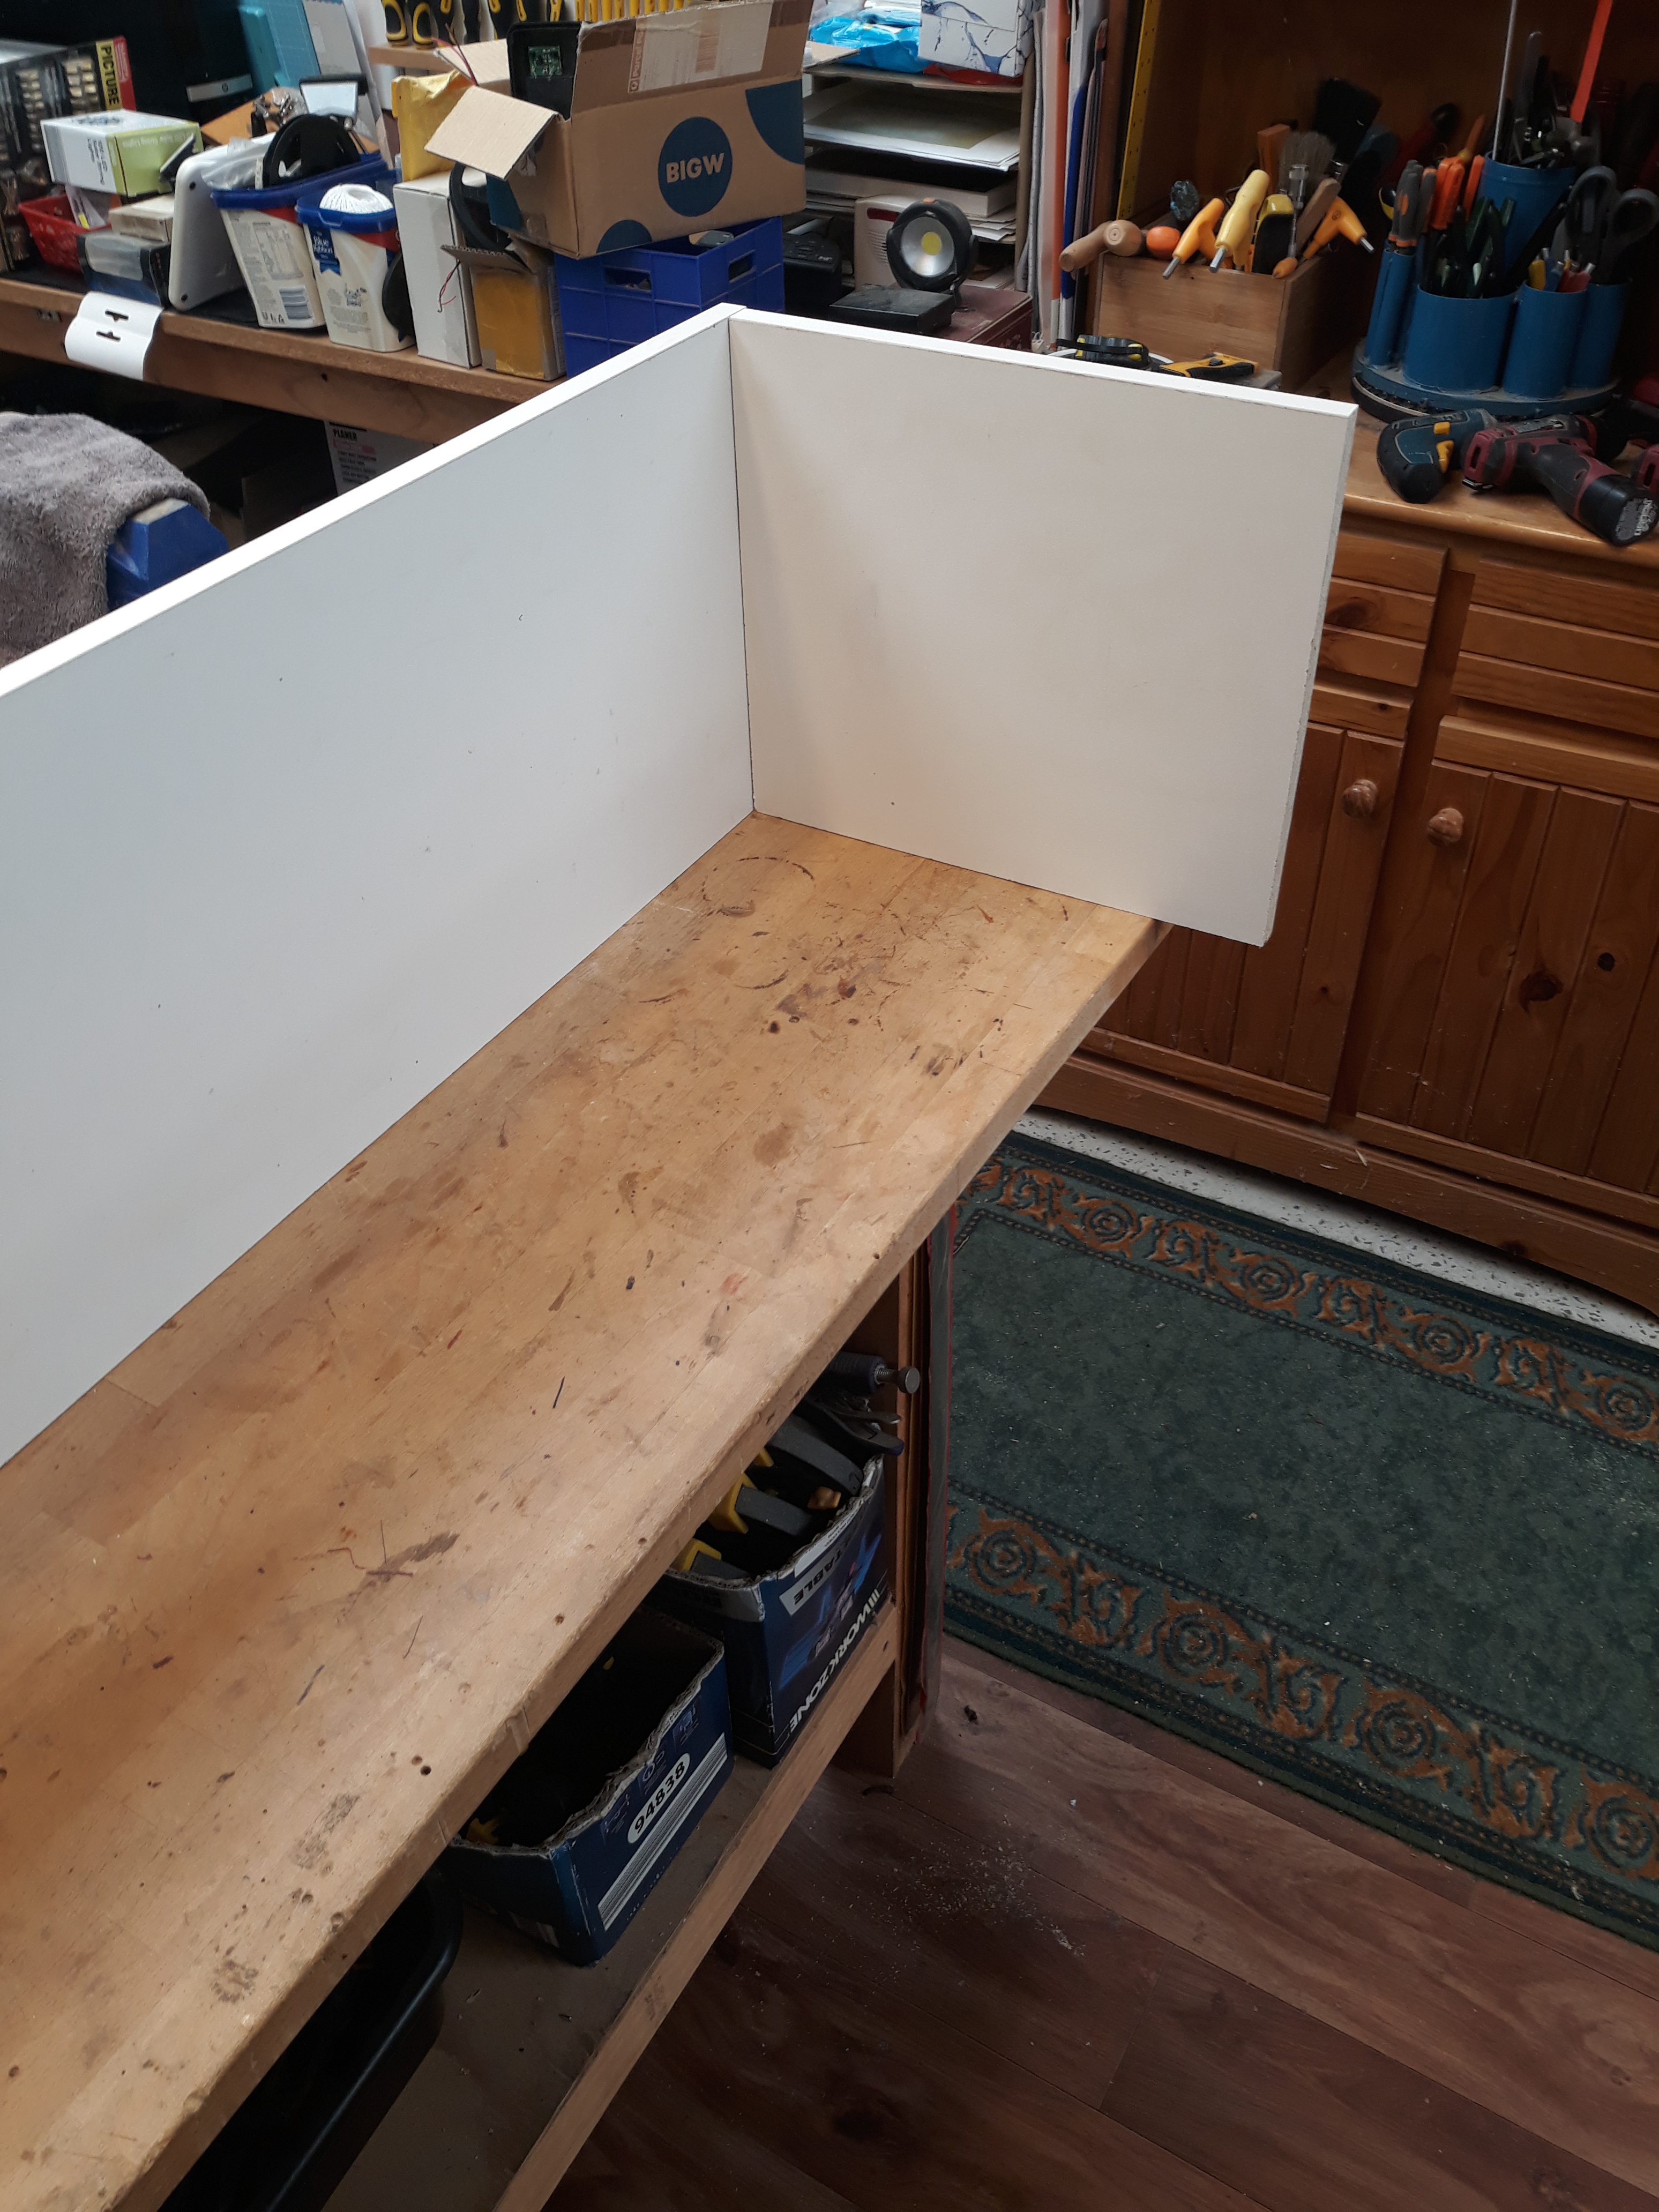
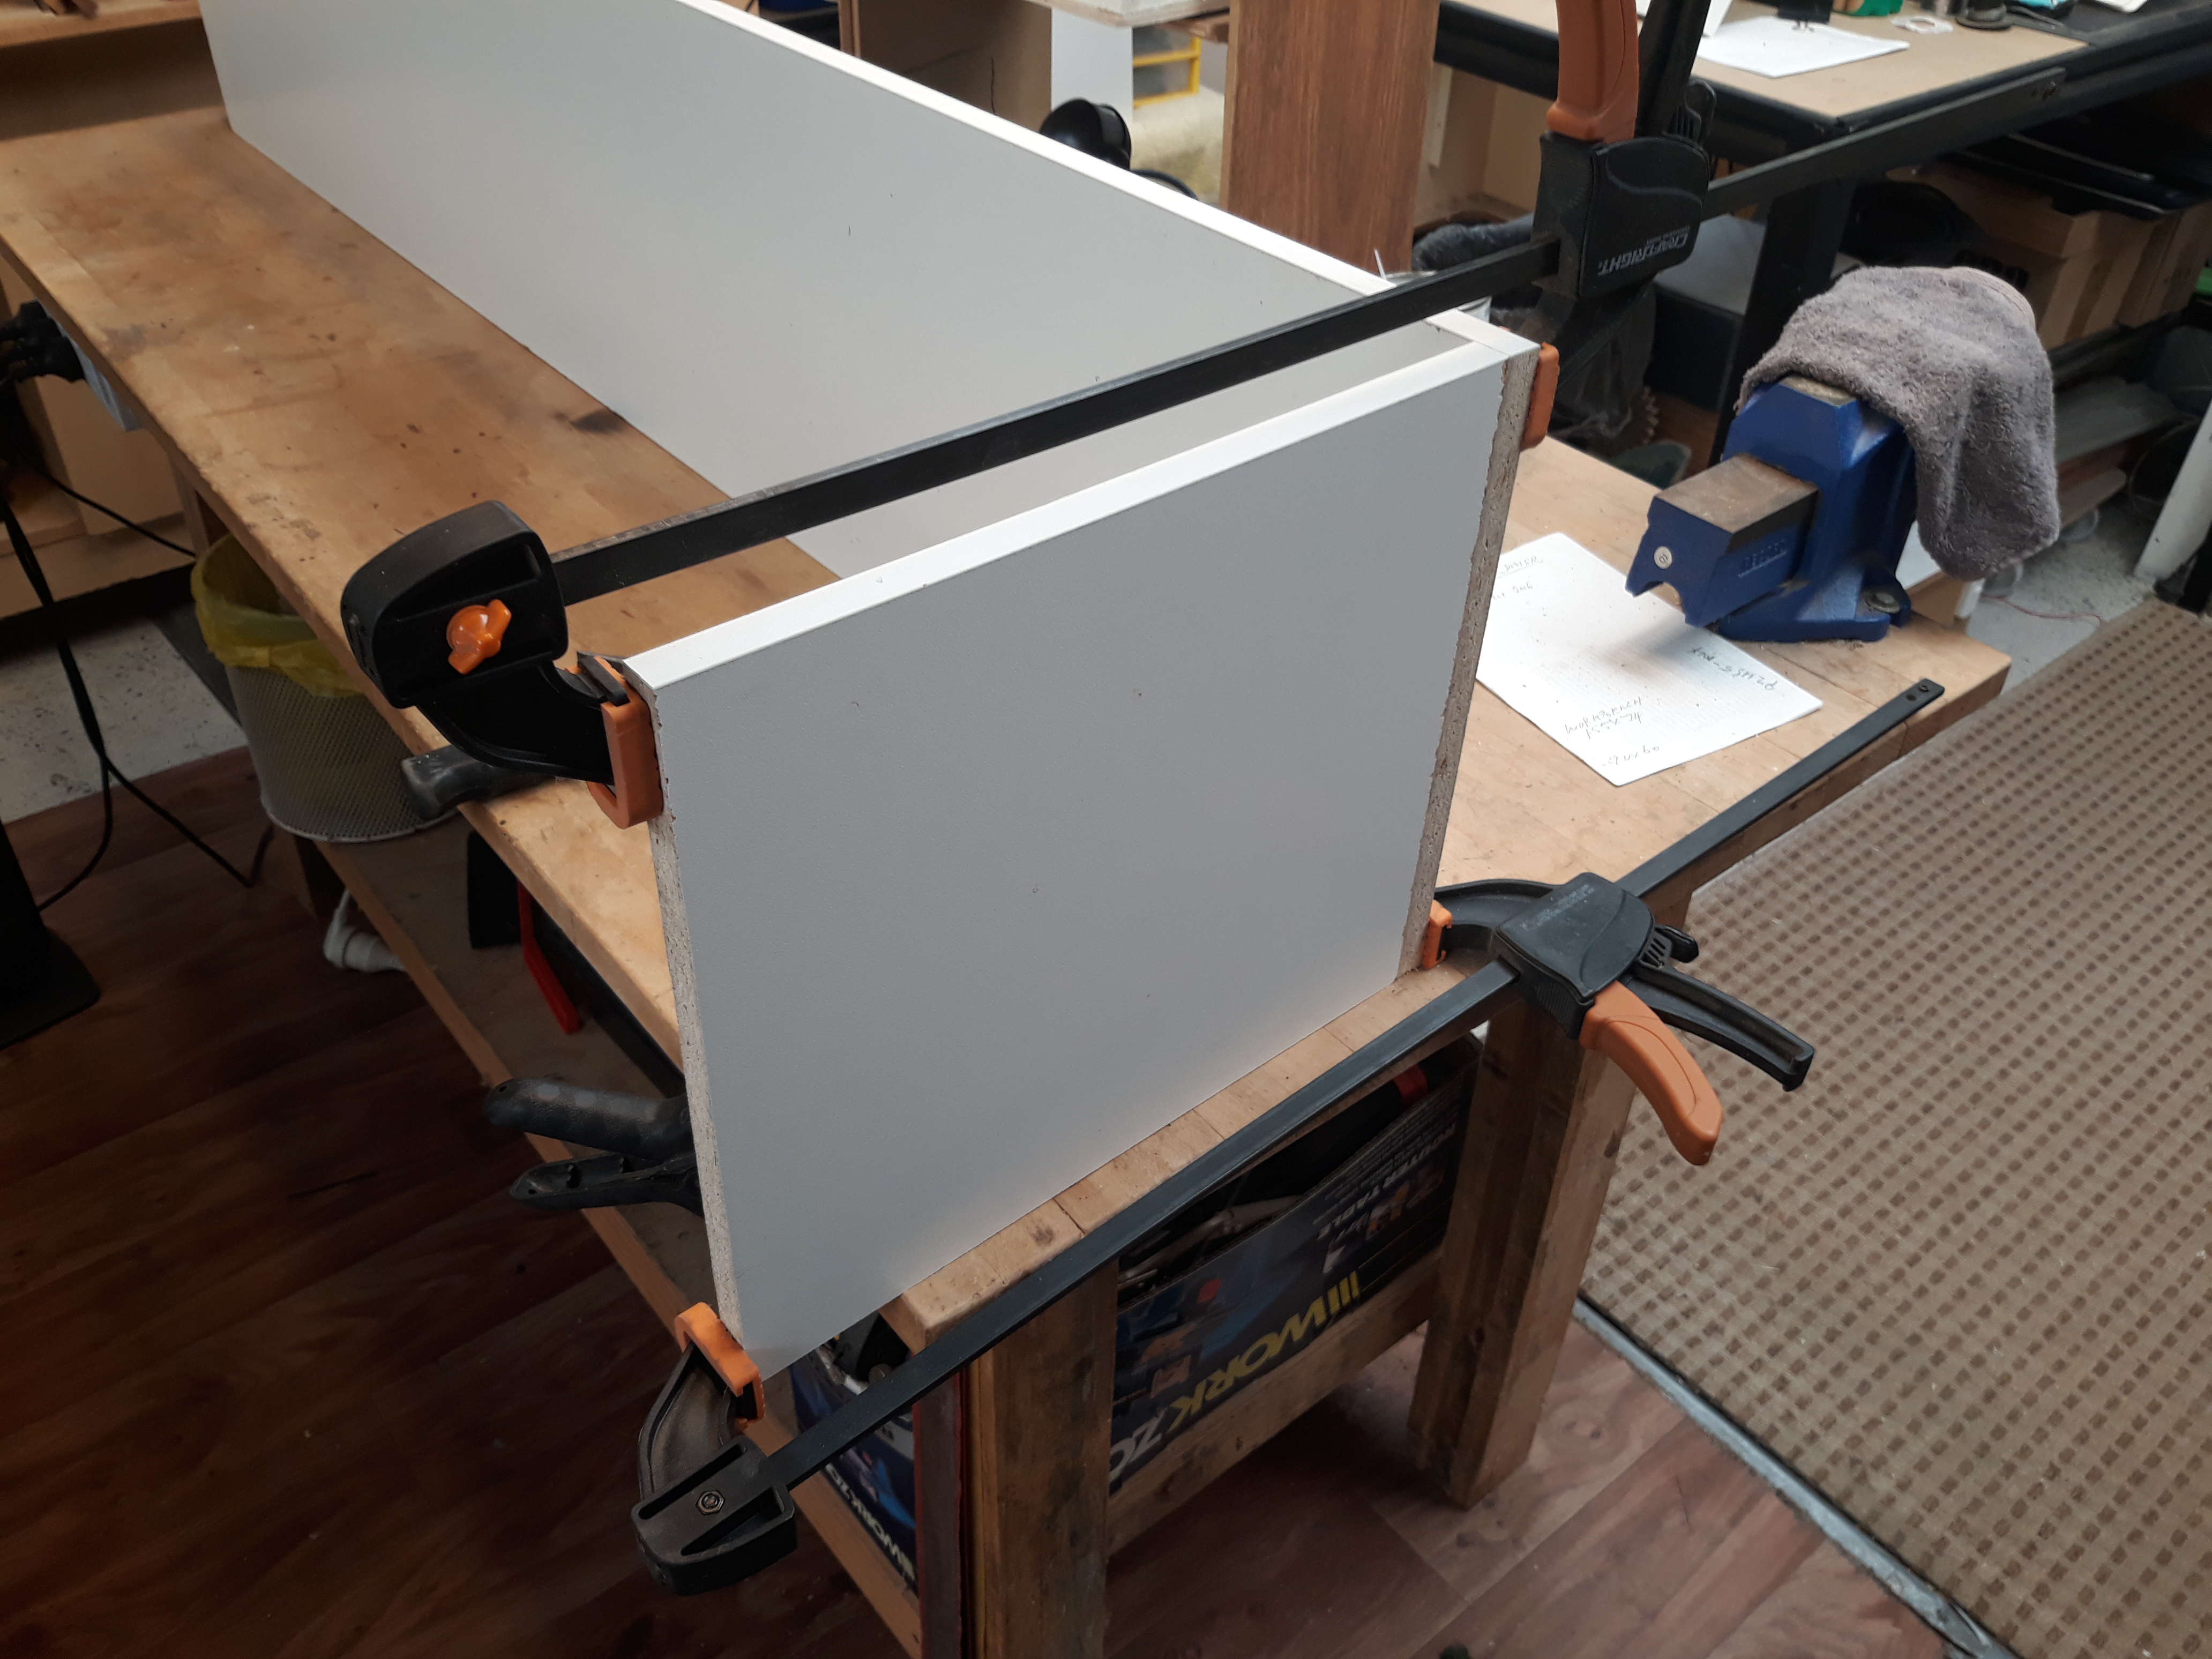
That’s the right side where the end support simply butts up to the edge or the shelf.
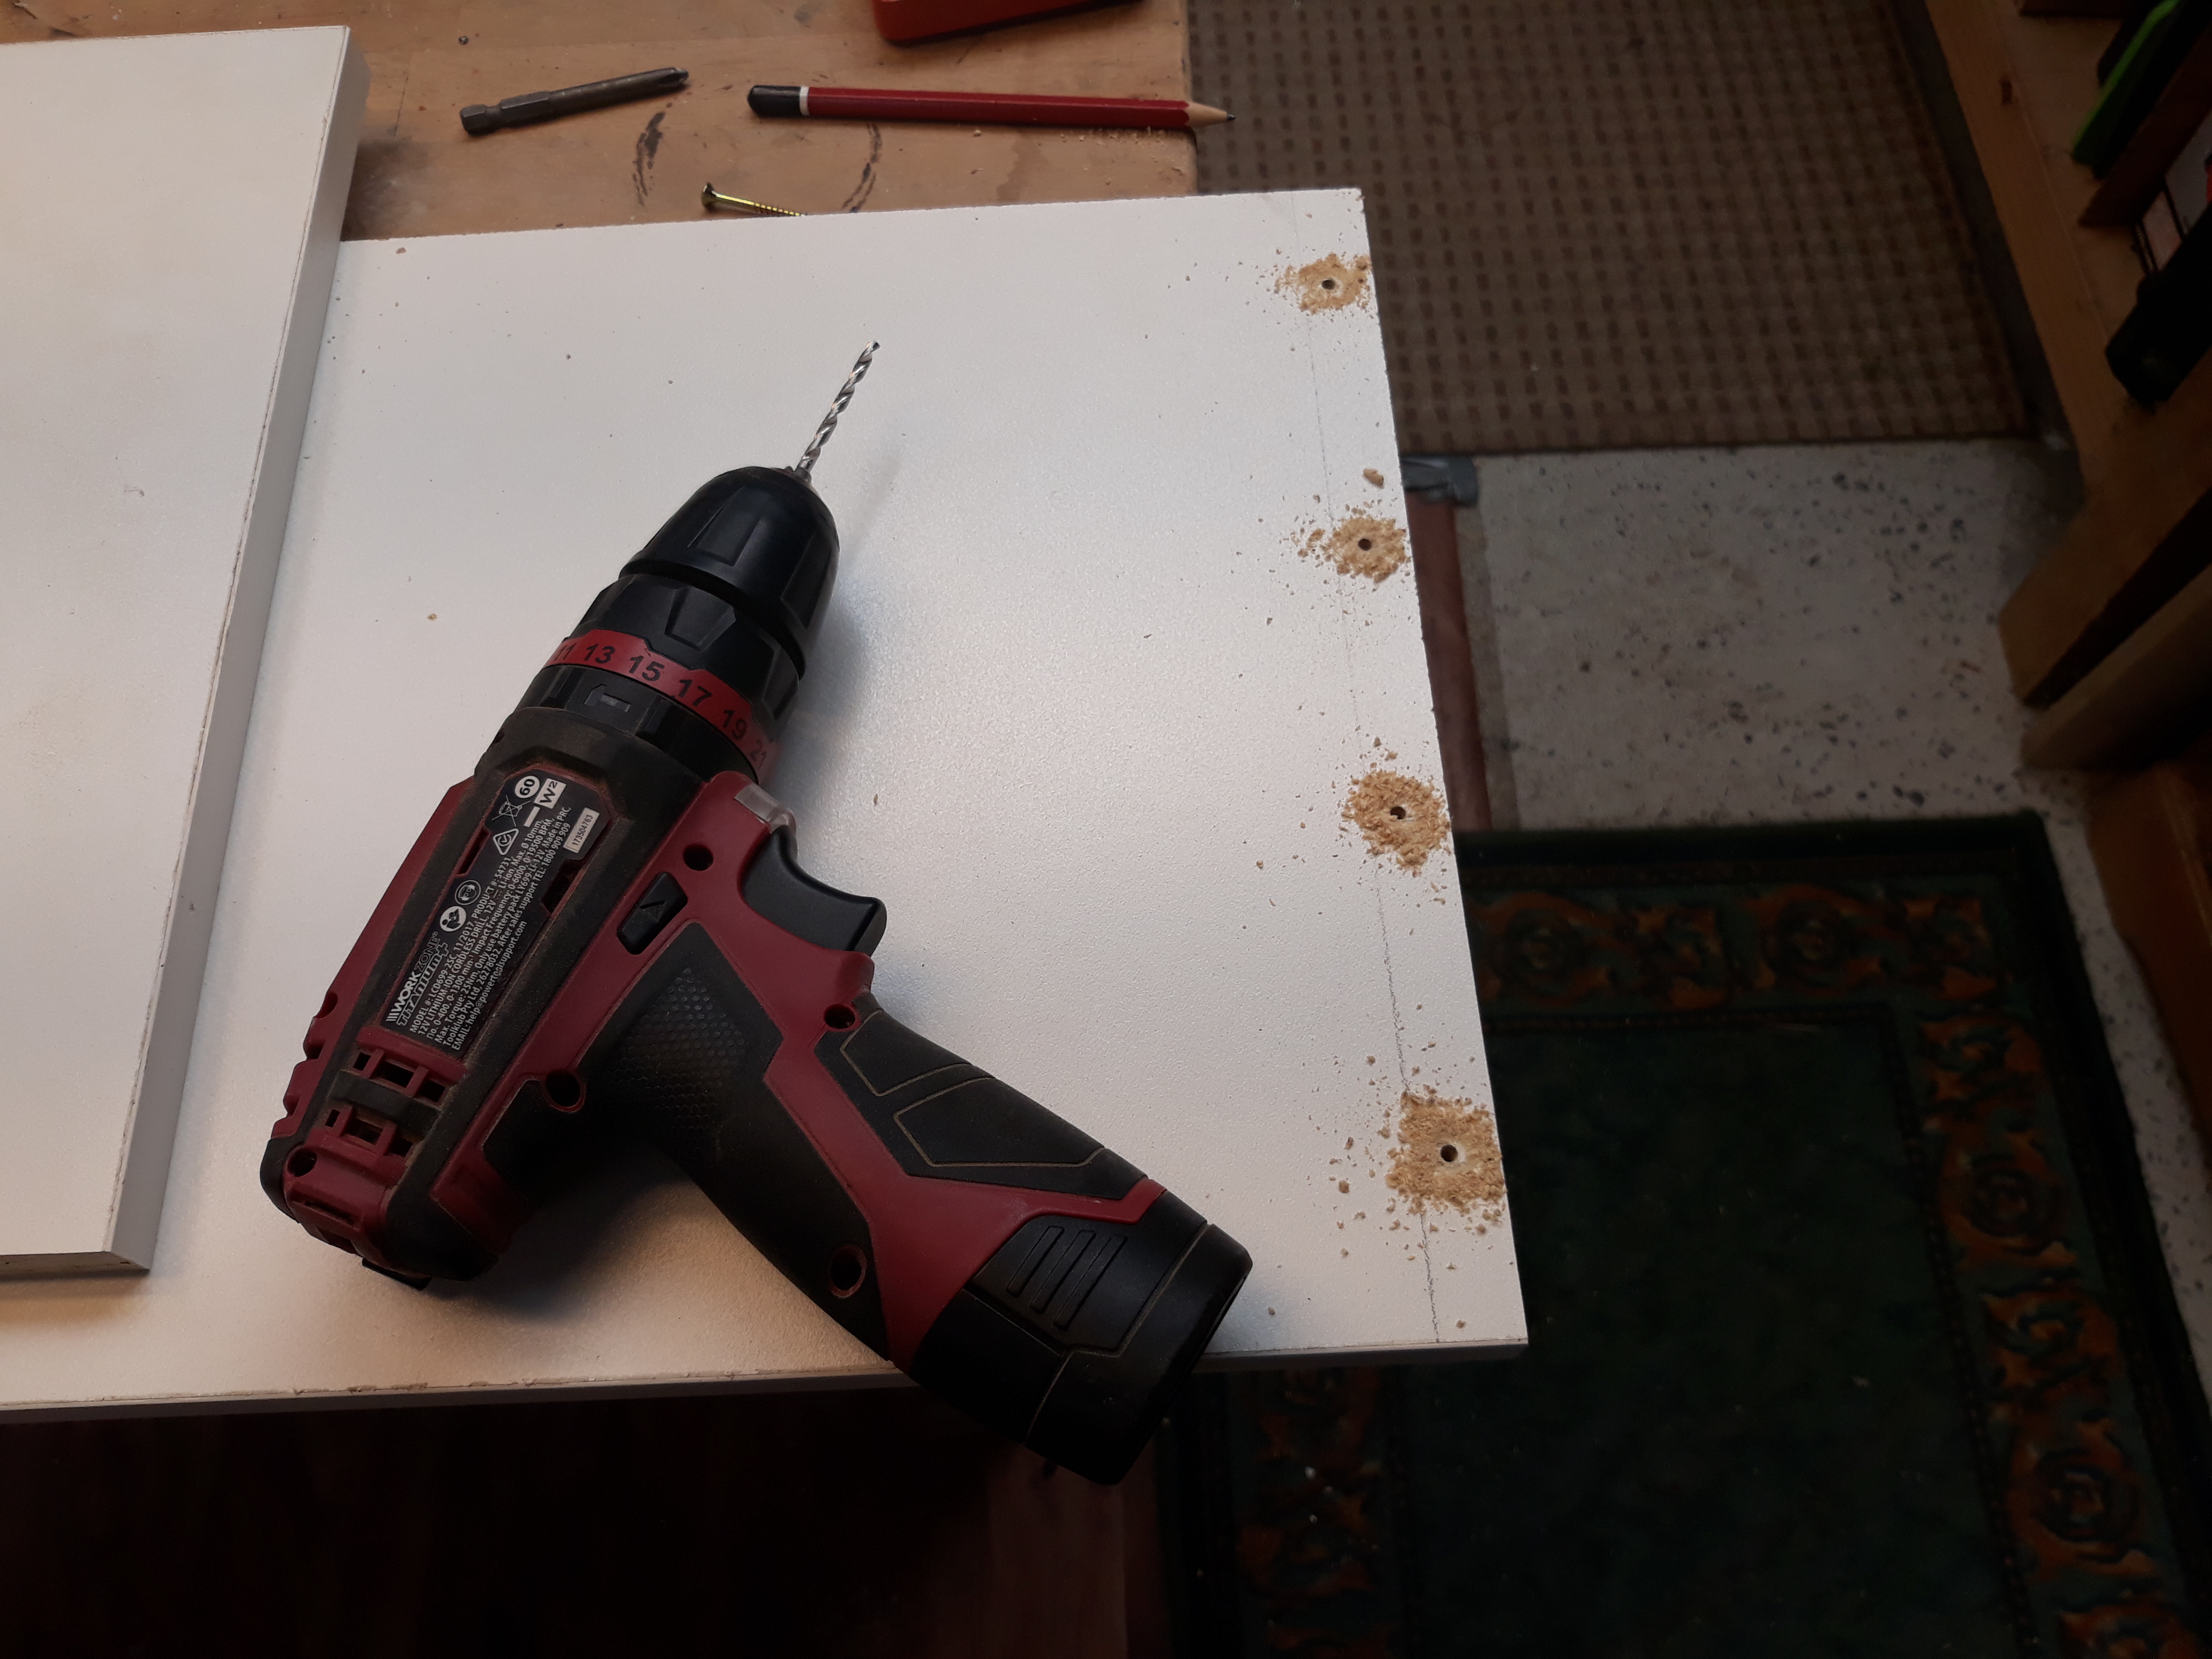
Pre-drilling and countersinking the four screws holes.
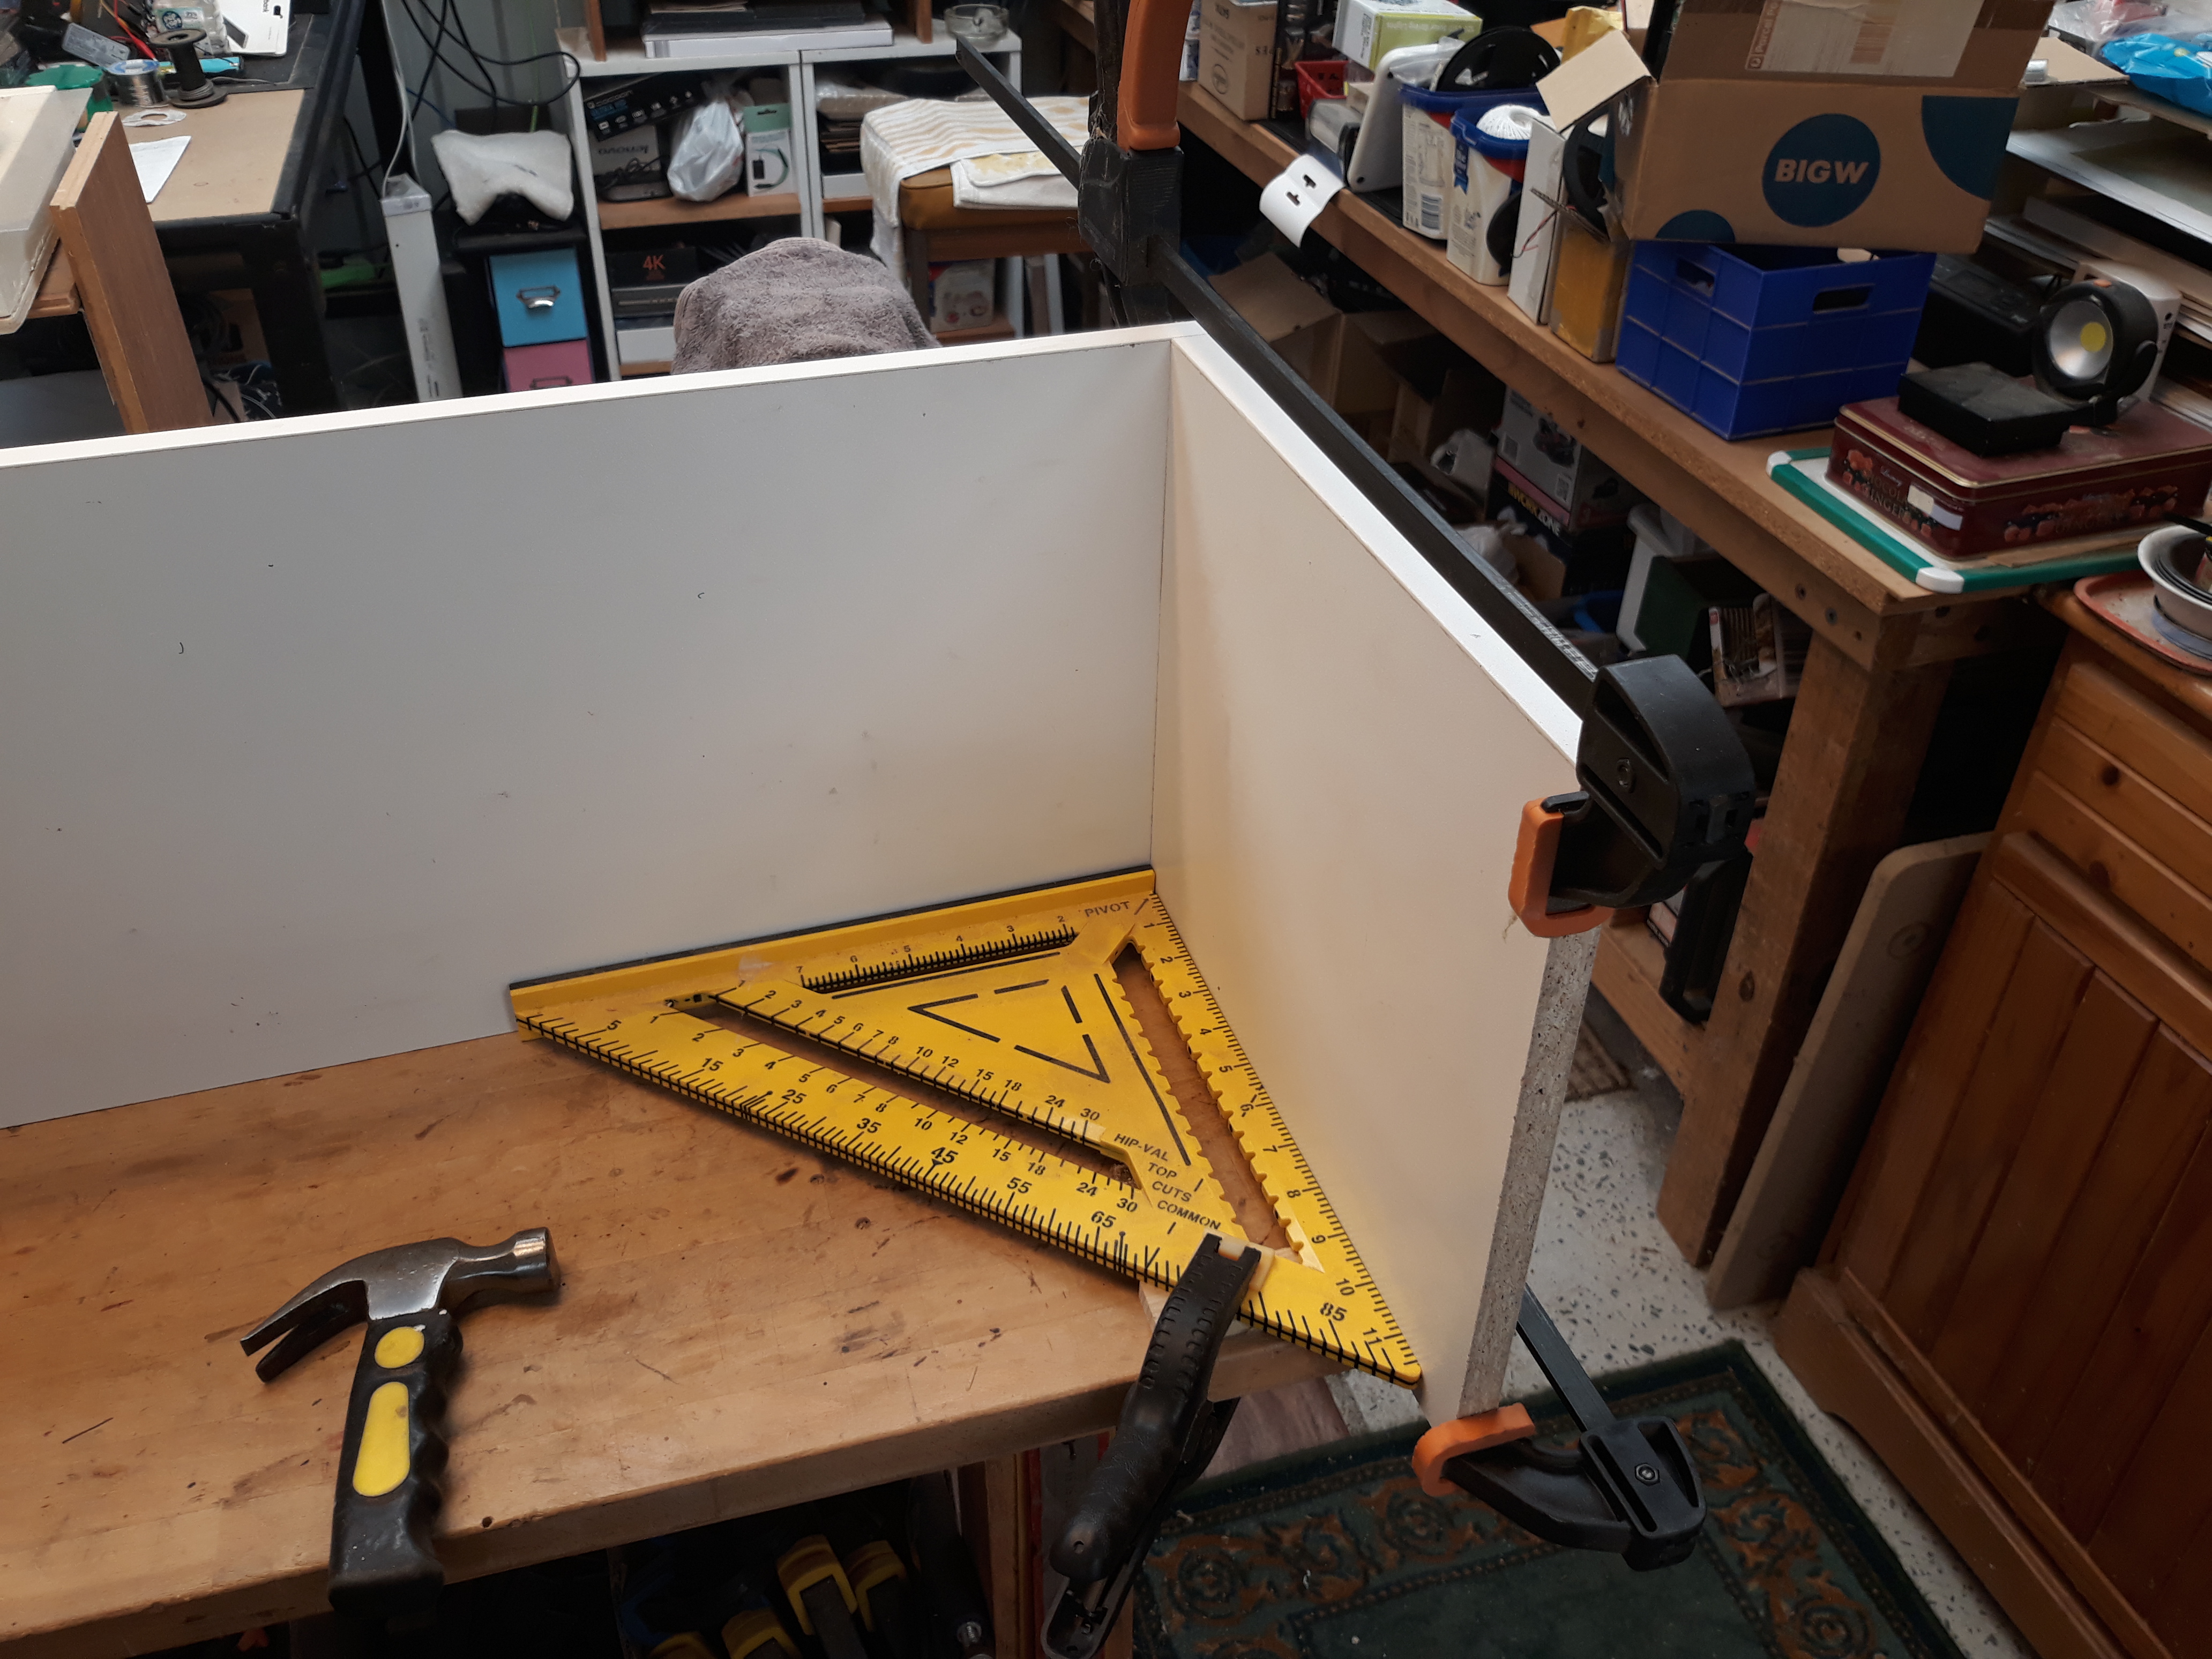
Ensure everything is square…
and clamped.
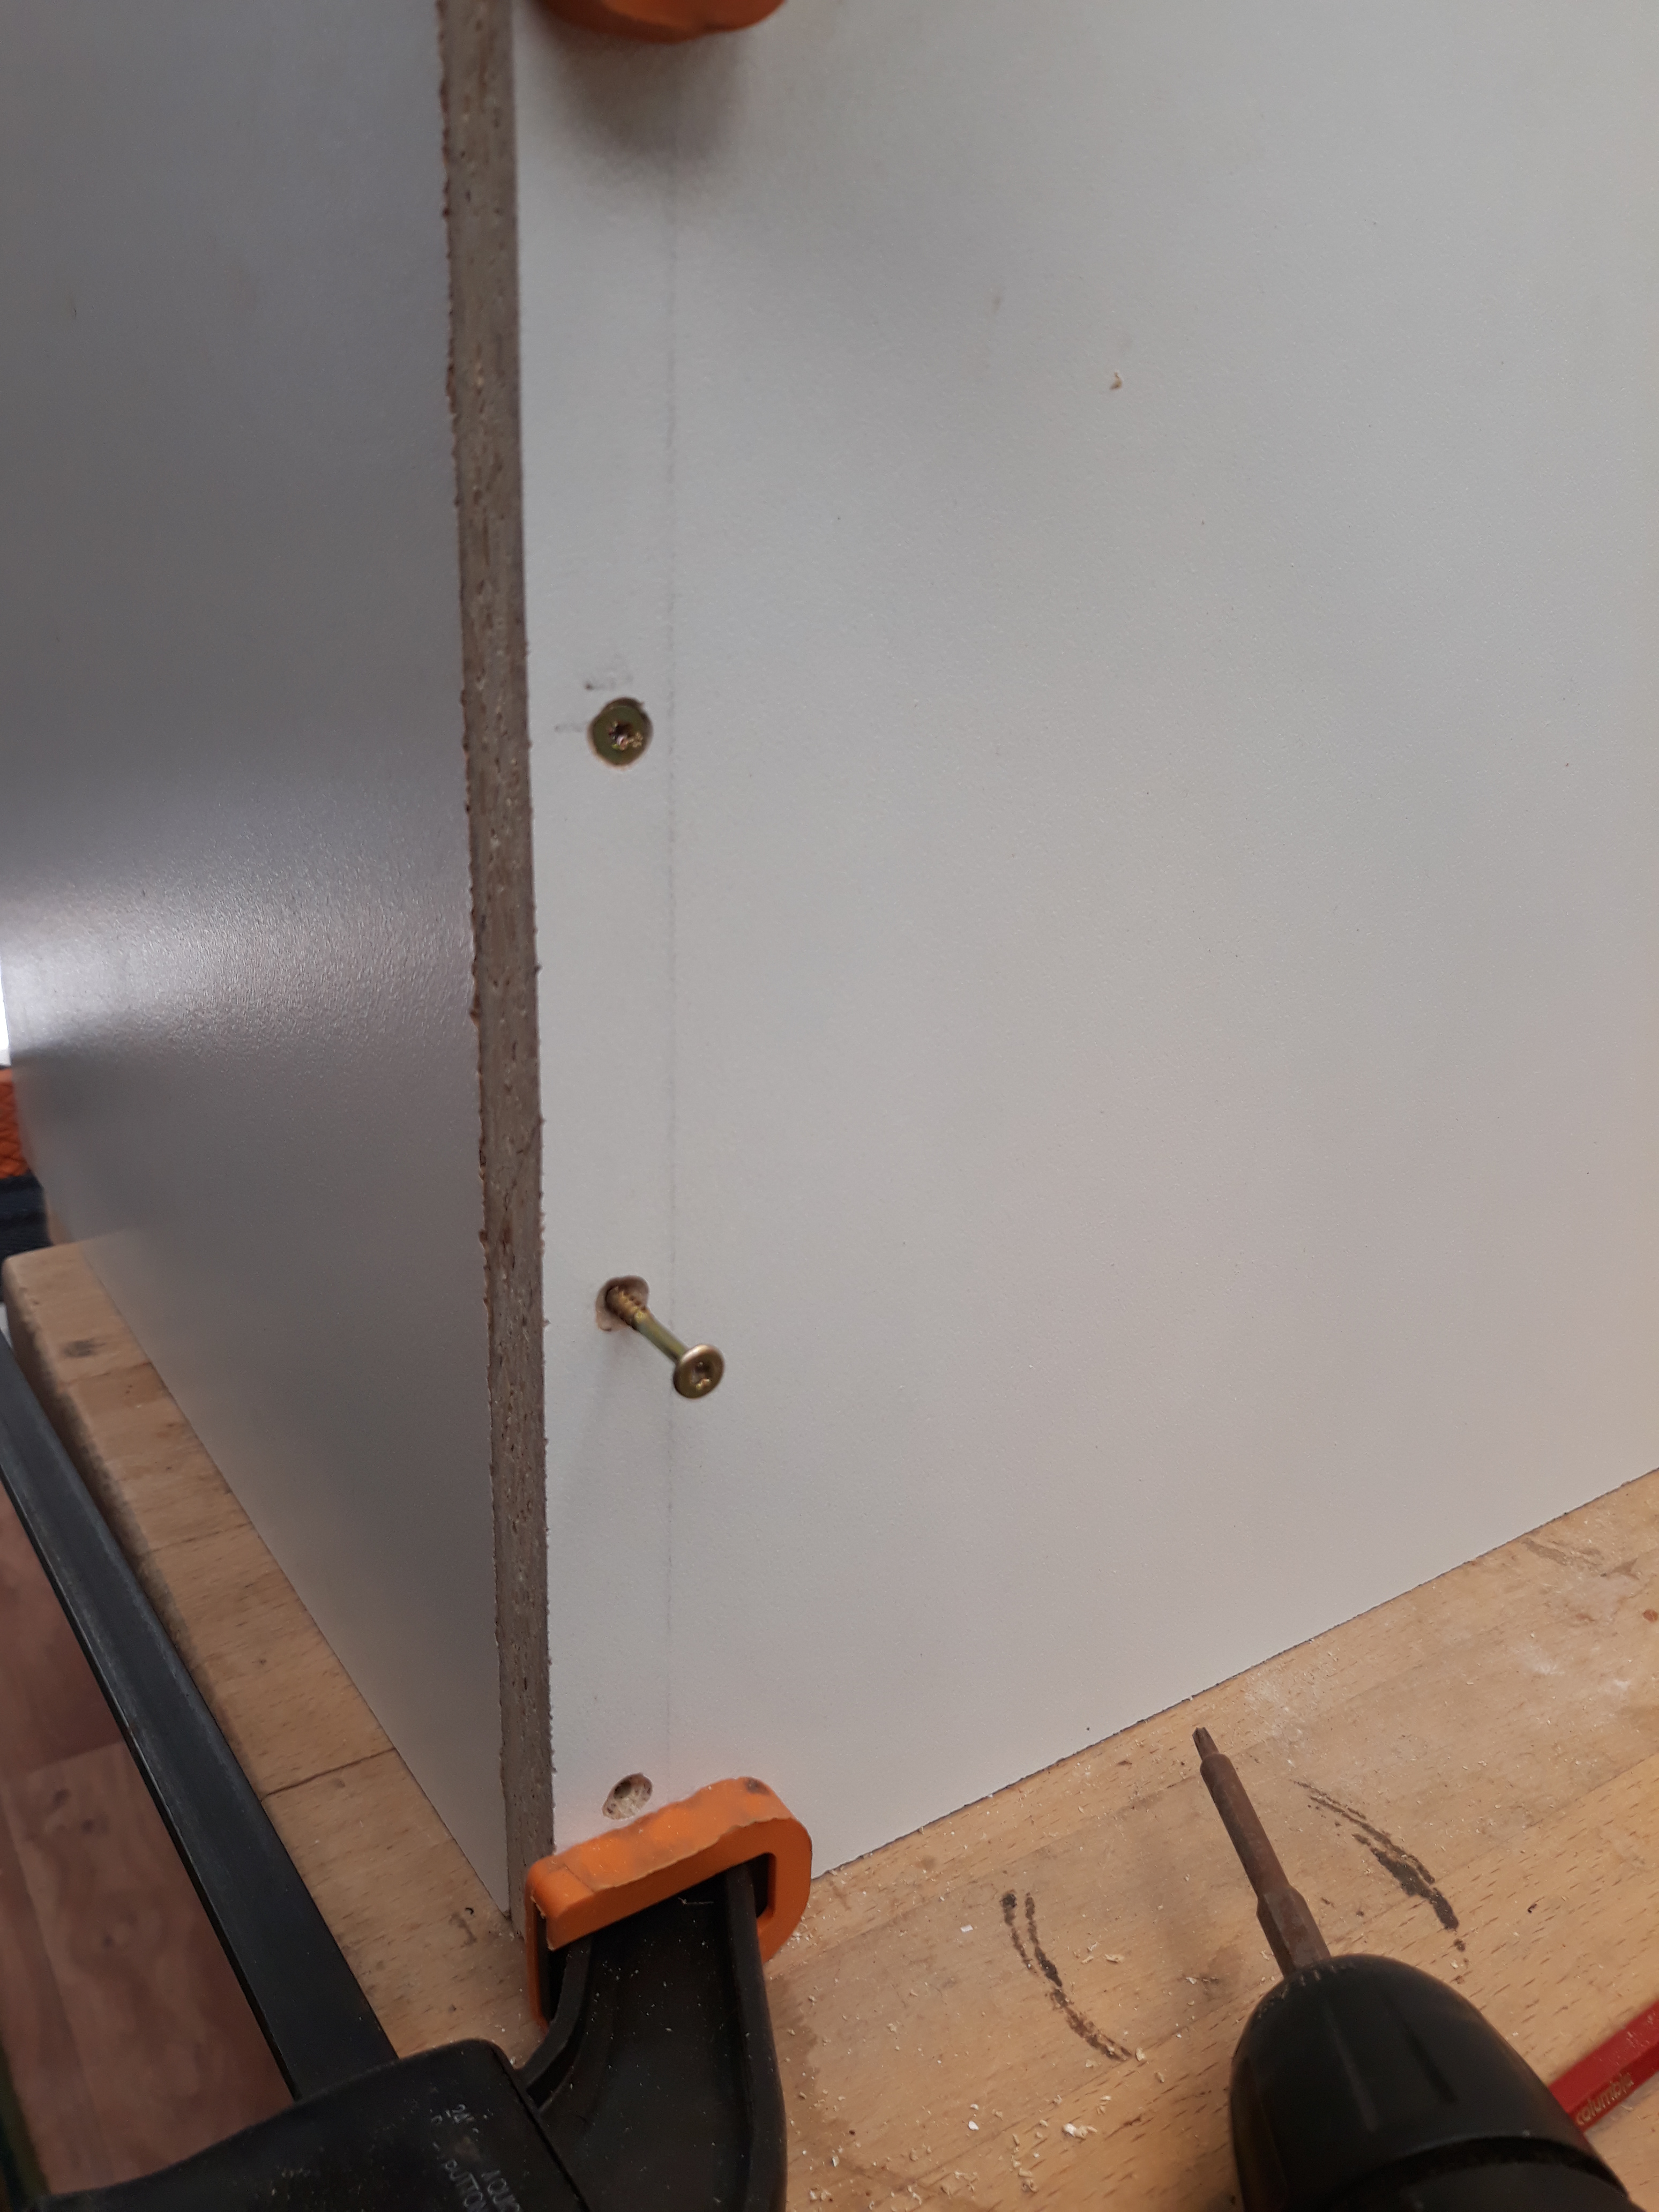
With top and bottom clamped drive in the two middle screws, then remove clamps and do the outside ones.
Now we need to measure and mark the location for the other end support.
Enough for this session back soon…
